
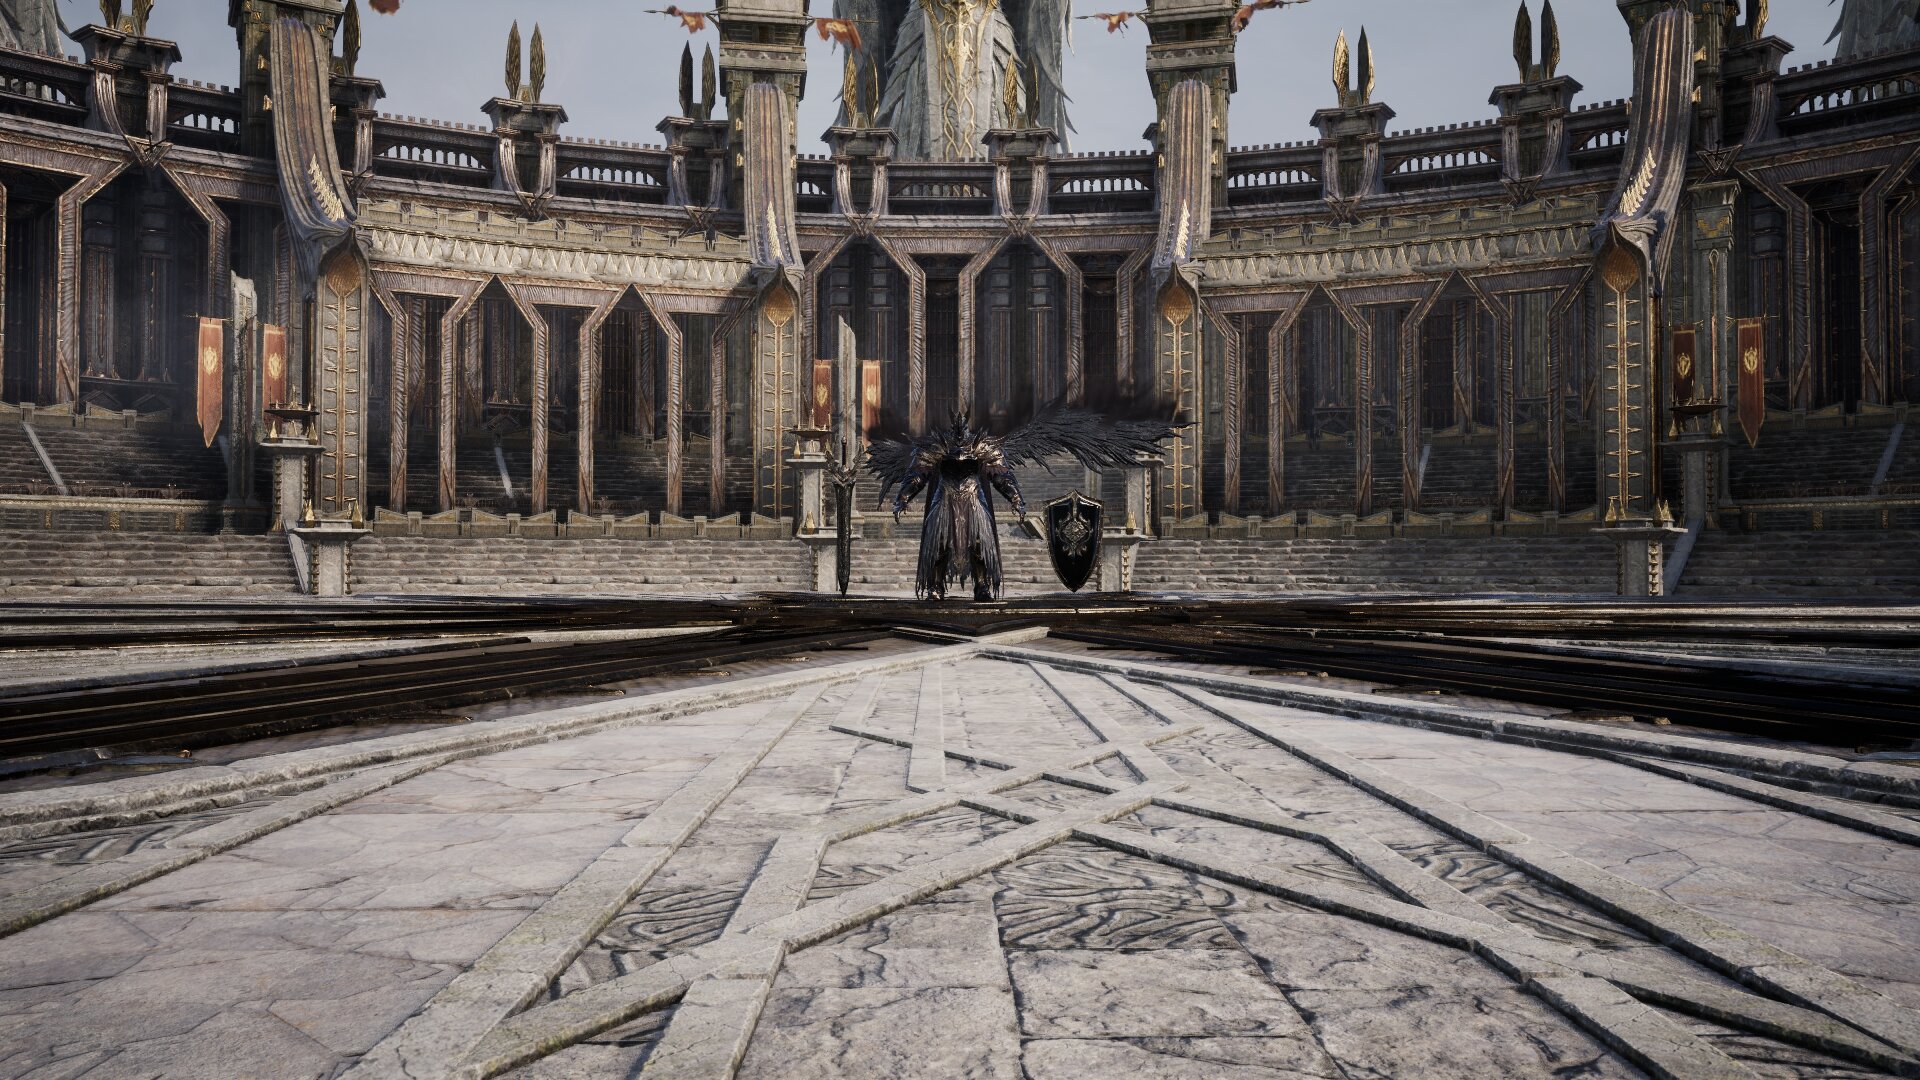
Citadel of the Fallen Daeva (Hard) — Dungeon Guide
A complete walkthrough of the Citadel of the Fallen Daeva on Hard difficulty: three bosses, each with its own key mechanic. Everything you need to clear it cleanly.
A word before you start
Do not let the mechanic names and red indicators scare you — this dungeon is much simpler than it looks at first glance. There is nothing here that takes hours to memorize: you will need literally a couple of runs to piece it all together, and after that you clear it on autopilot.
The main thing is to understand the logic of the three bosses (especially the last one, Basilus) and not panic. Once your group plays the color auras and golden circles correctly a single time, everything else goes like clockwork.
Boss 1 — Willful Turgen
A relatively simple and straightforward boss with one primary mechanic to manage.
⚔️Summoned Swords
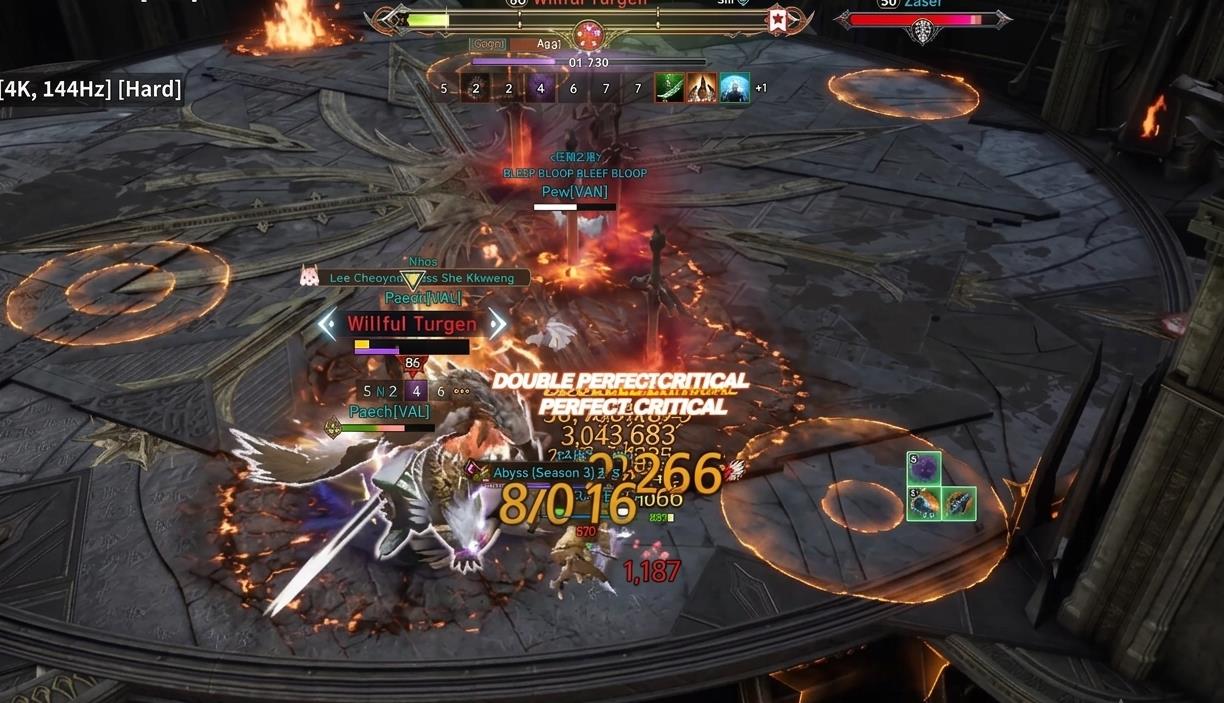
The boss spawns circles with arrows and summons giant swords.
- Standing near these swords deals massive direct damage
- It also applies a deadly DoT (damage over time) — keep your distance from the swords
🎯Sword Cleansing — Red Arrows
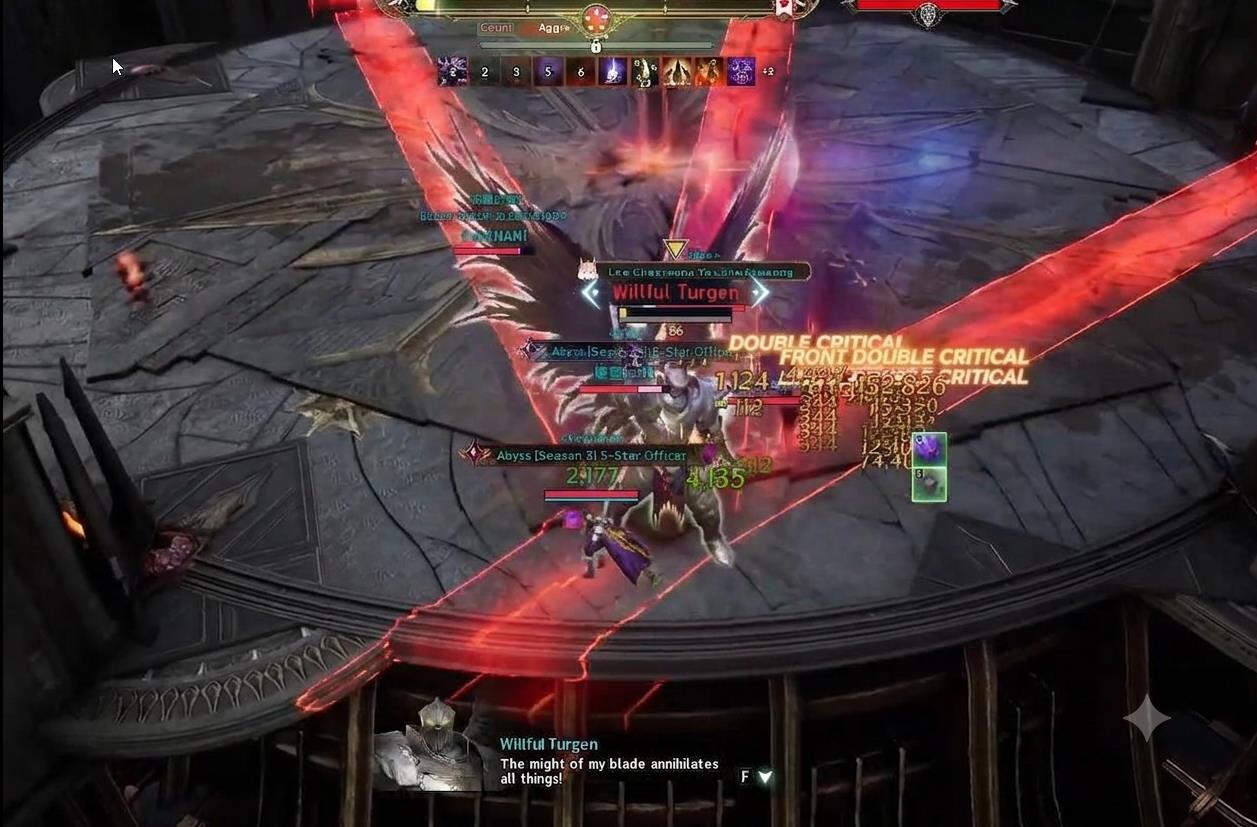
When the boss starts a red mechanic cast, red tracking arrows appear on the field.
- Aim these red arrows directly at the summoned swords to destroy them and clear the arena
- Do not stall — while the swords are up they keep grinding the group down
💥Standard AoE
The boss frequently casts standard AoE attacks.
- Easily avoided by simply stepping away
- Or use your block skills if you cannot step out in time
Boss 2 — Forbidden Hexbeast Griosa
This gryphon-like boss relies on coordinated party movement and damage sharing.
☠️Poison Pools
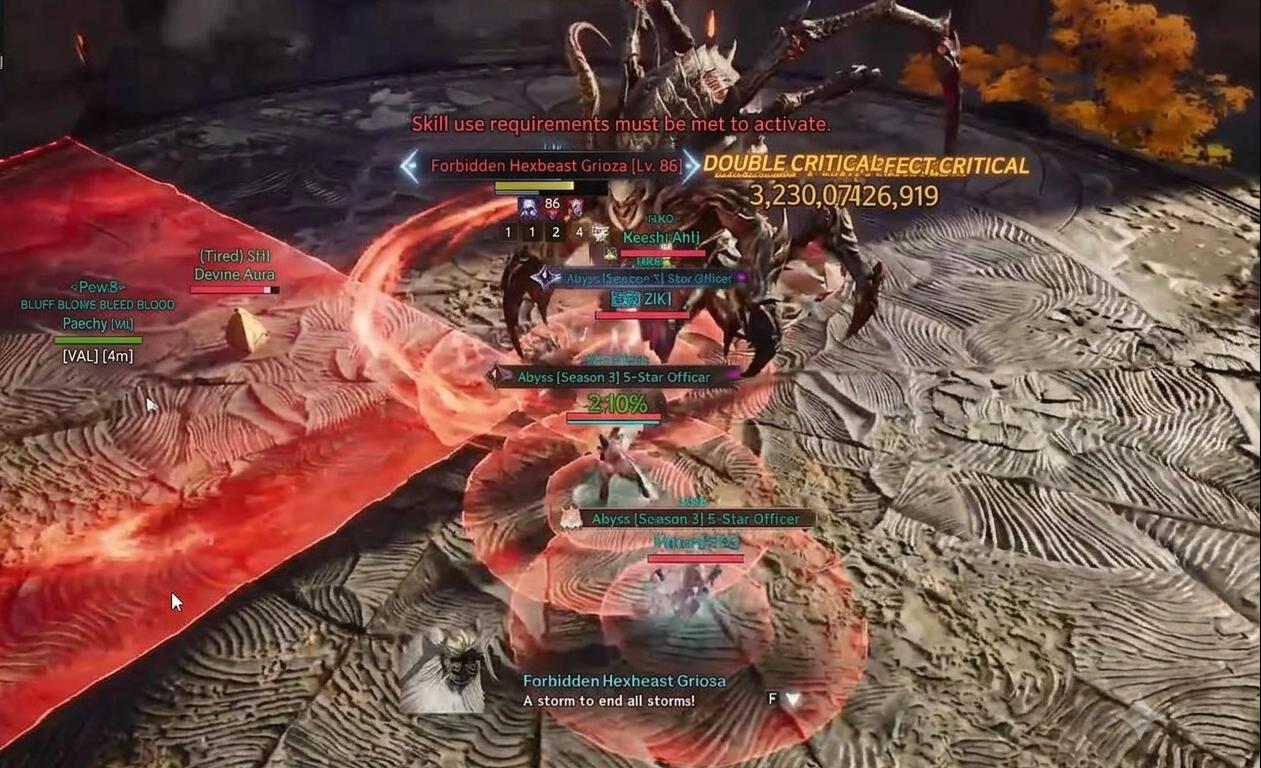
Every party member gets a red circle under their character. After a brief delay, these circles drop high-damage poison DoT pools on the ground.
- Stack together to drop all the poison pools in one tight spot
- As soon as they drop — immediately dodge or dash out of them
🌀Slice AoE (Pool Removal)
Right after the pools drop, the boss targets players with a wide slice attack.
- Position yourselves so the boss's slice hits the poison pools — this completely destroys and cancels them
- Correct positioning here = a clean arena for the next cycle
🔆Damage Share Explosion
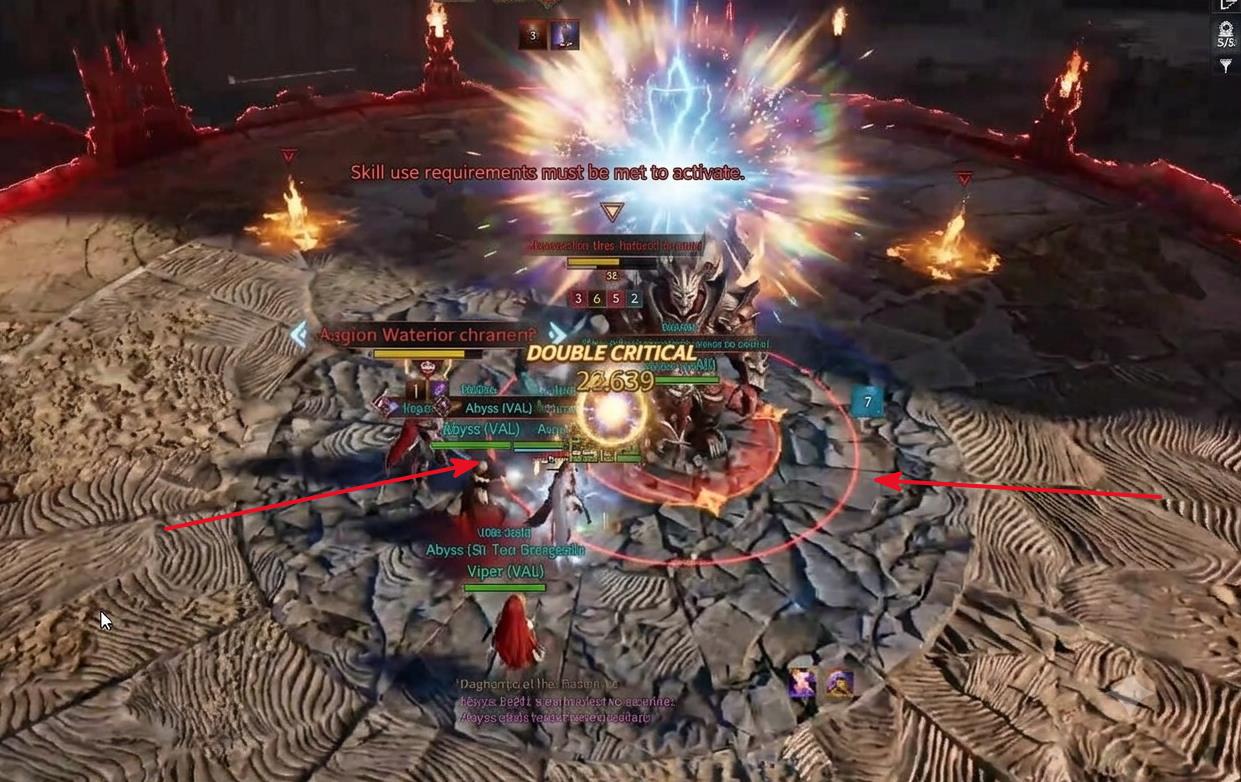
The boss casts a massive explosion mechanic.
- All party members must stand together inside the indicator to share the damage and survive
- If someone stands apart, they take the full hit and die
🏹Arrow Totems
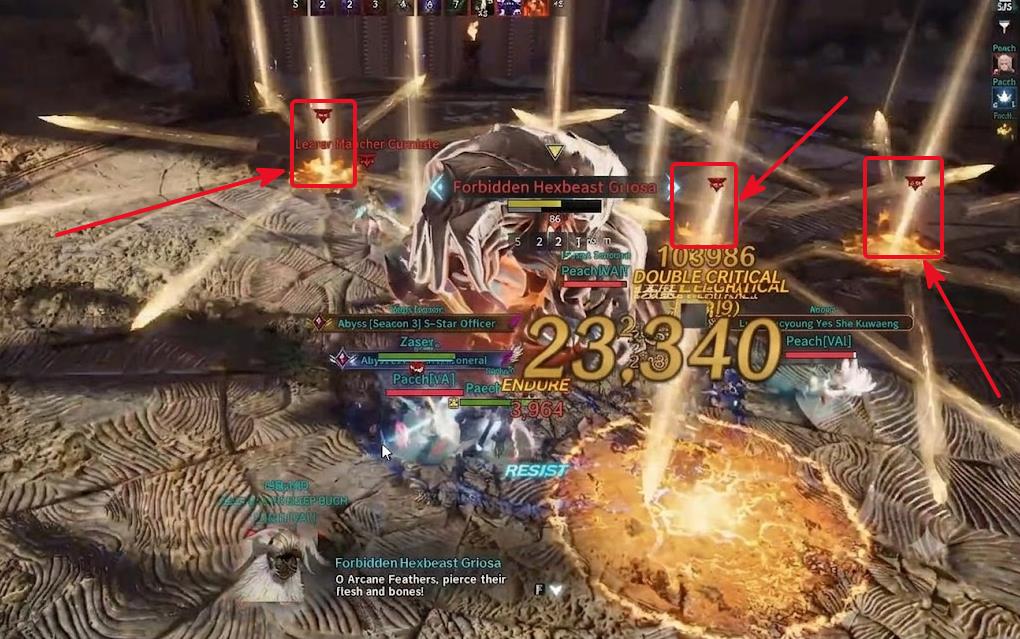
The boss summons static totems that shoot arrows every few seconds.
- Either destroy them to clear space
- Or simply use your block skills and step out of their line of sight
Boss 3 — Basilus the False
The final, most important, and most difficult boss of the dungeon. Mistakes here will easily wipe the group.
🎨Color Aura Assignment
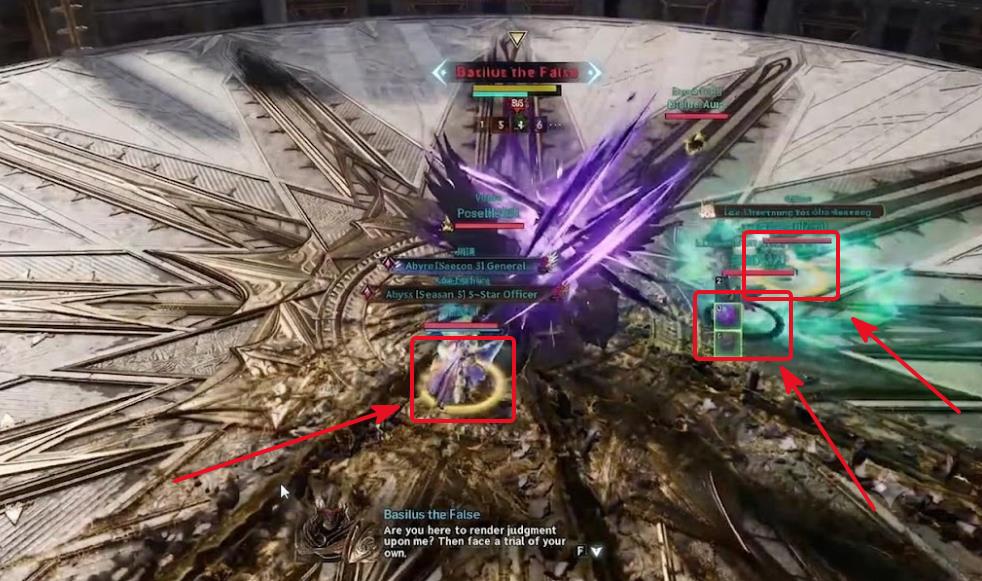
At the start, every player receives a distinct colored ring under their character: either Golden or Dark Blue/Black.
🛡️Color-Coded Shields
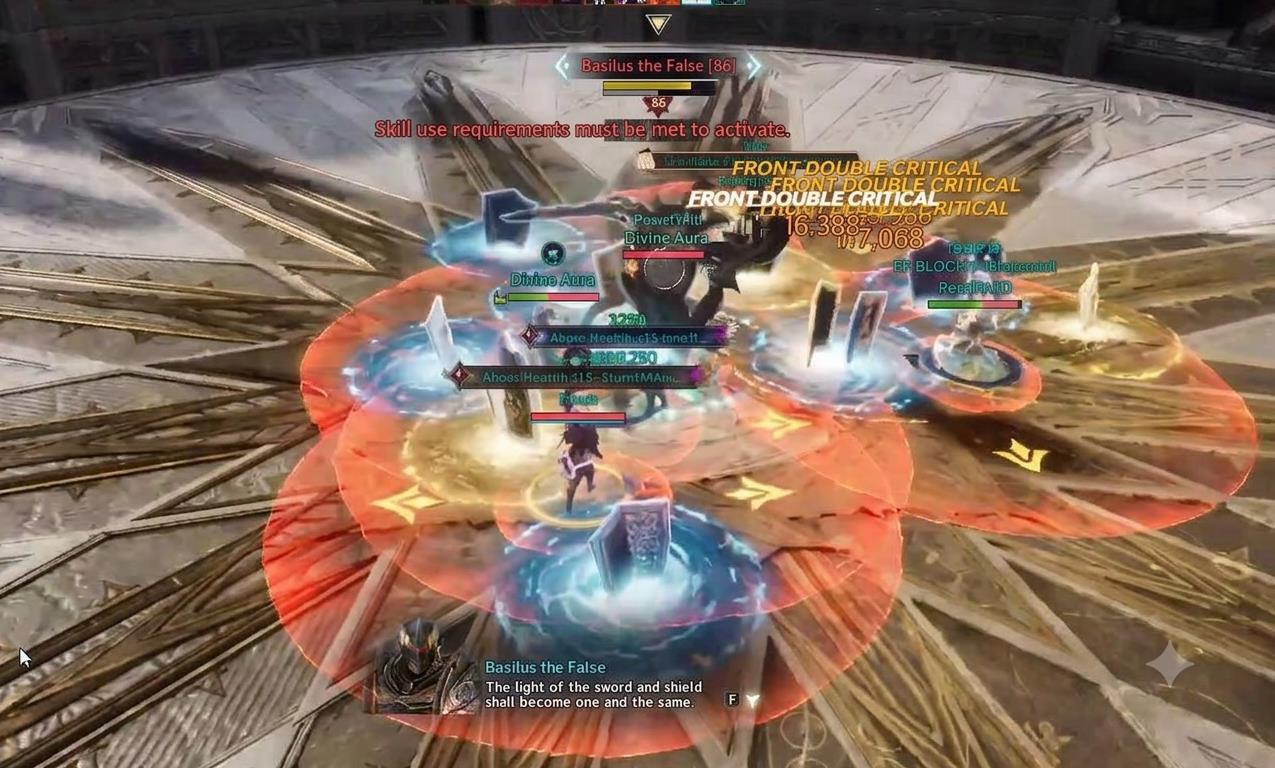
Basilus summons multiple shields around the room.
- Quickly run to and destroy the shield that matches your assigned color
- Failing to break your color's shield in time triggers an explosion that instantly kills players
🗡️Safe Zone Slices
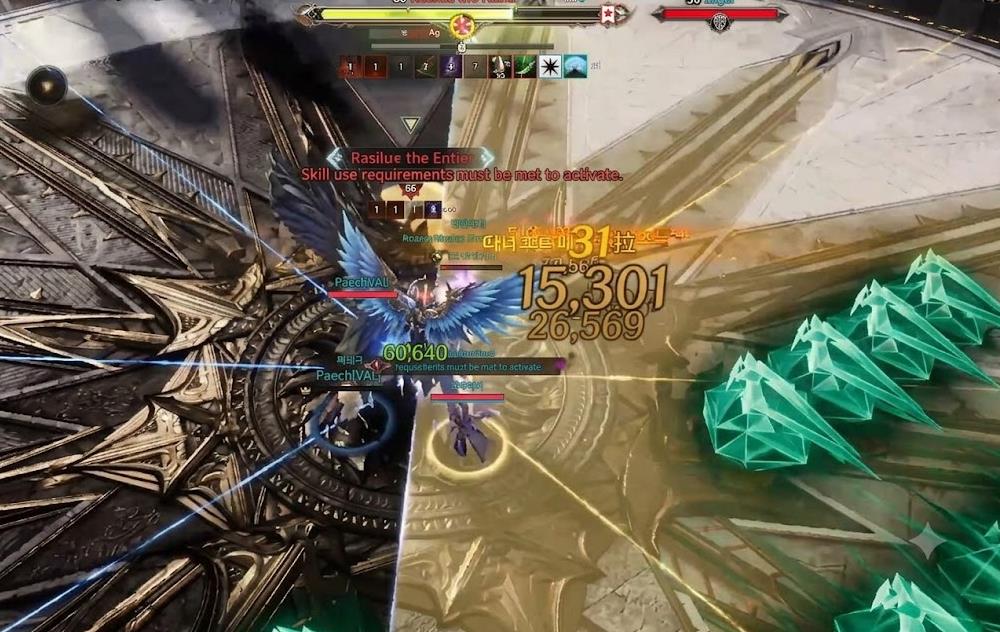
The boss fires multiple slice attacks across the floor.
- To avoid damage, stand exclusively on the slice sections that match your color aura
- Your aura color = the color of your safe zone
👻Fear Ghosts
Floating ghosts cross the arena. Getting hit by a ghost deals high damage and inflicts a long Fear effect, making you lose total control of your character.
🟡Golden Circles — Wipe Mechanic
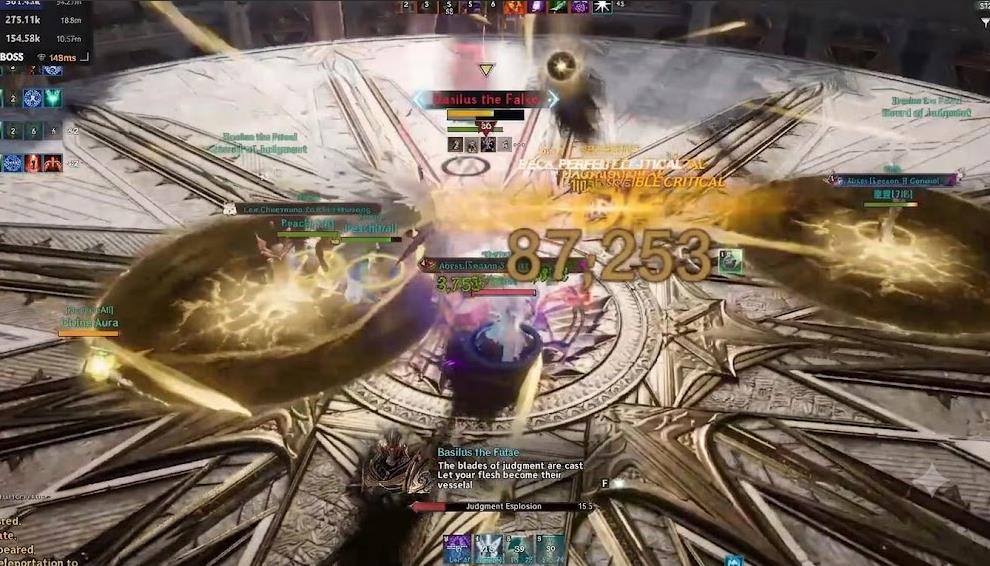
The boss spawns dangerous golden floor circles.
- All players must quickly step inside these circles to safely diffuse them
- Player with an EYE on him must stay out of the golden circles, to get boss away, it will jump and deal massive damage.
🔴Red Circles — Reducing the Count
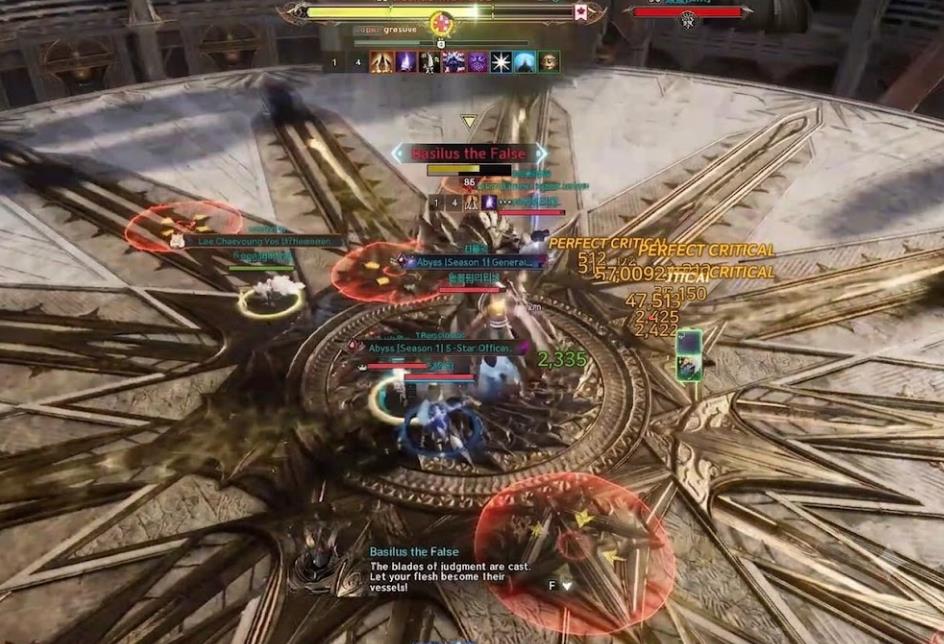
Standing on these temporary red circles in time reduces the total number of Golden Circles the boss can cast in the next phase.
- Do not ignore red circles — the more you close, the easier the next golden-circle phase
⚡Enrage Skip
If the boss is at very low health during the second circle phase, you can ignore the circles completely and burn the boss down — provided your party has enough DPS.