
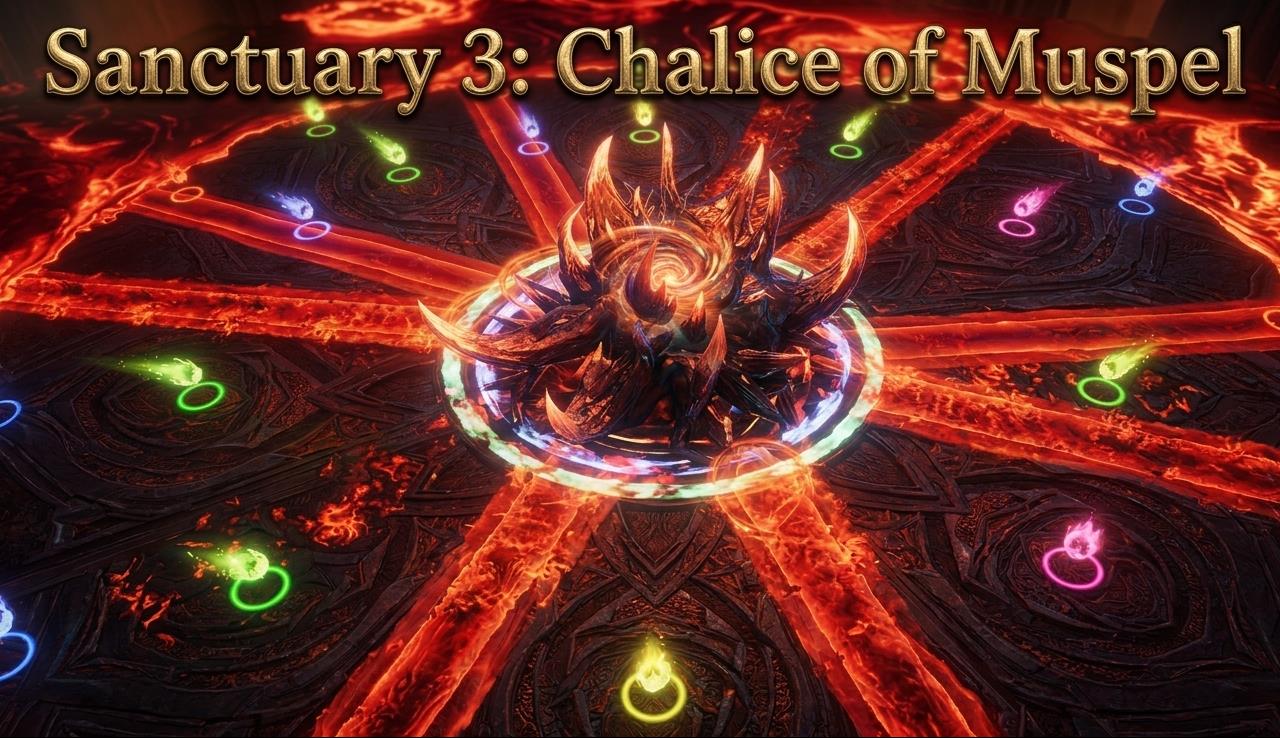
Sanctuary 3: Chalice of Muspel (Hard) — Dungeon Guide
A full walkthrough of Sanctuary 3 on Hard (the Chalice of Muspel raid): the gatekeeper miniboss Iscariel and the final boss Kaldrix. This is an 8-player raid that lives and dies on color assignments, spread positioning, and tight coordination.
Boss 1 — Iscariel (Gatekeeper)
Iscariel is the sole miniboss and gatekeeper of Sanctuary 3. He drops no direct loot, but you must defeat him on every re-entry. His fight revolves around color-coded assignments, positioning, and a bomb-kicking "soccer" mini-game.
🎨Phase 1 — 75% HP: Color Assignment & Bomb Push
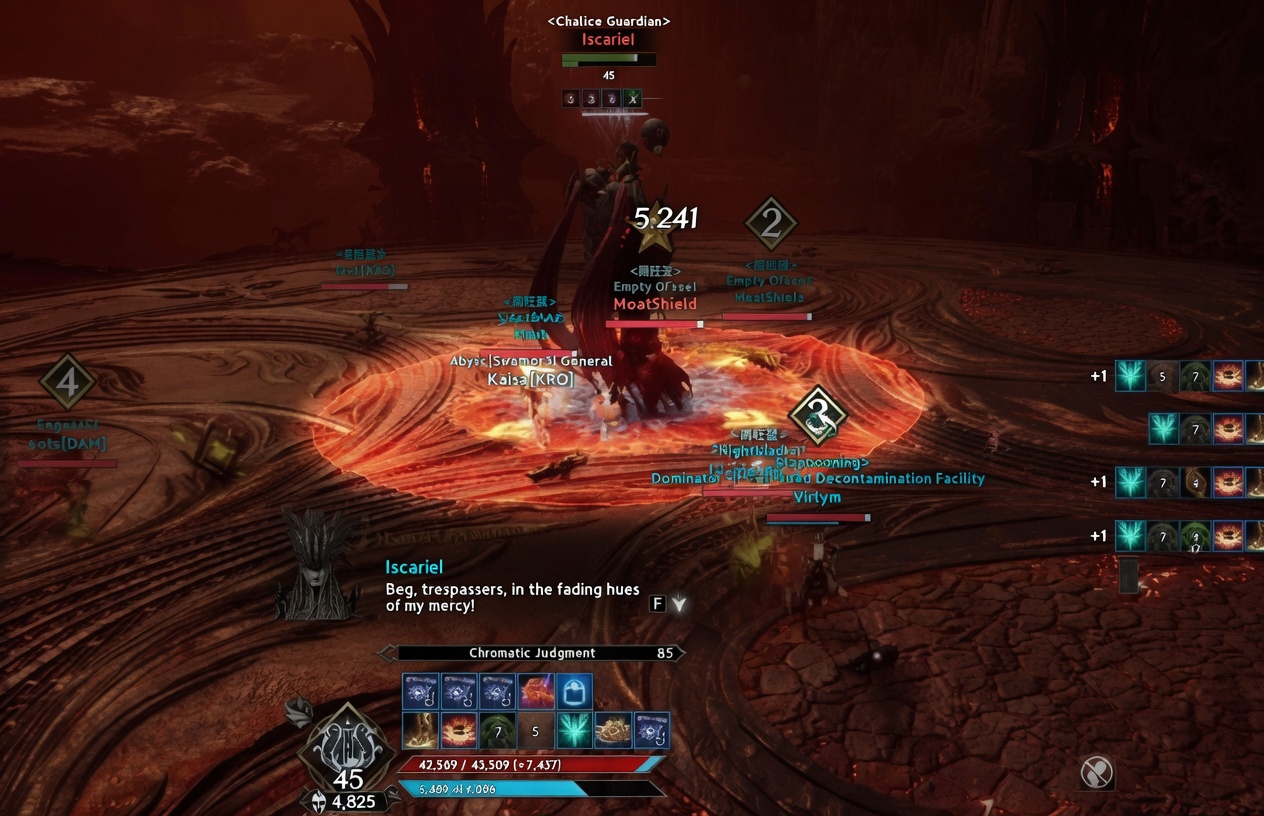
At 75% HP the boss locks his stagger bar, teleports to center, drops a central reverse-stack marker, and becomes untargetable.
- Reverse stack: anyone inside is knocked down; more than 3 players inside = instant wipe
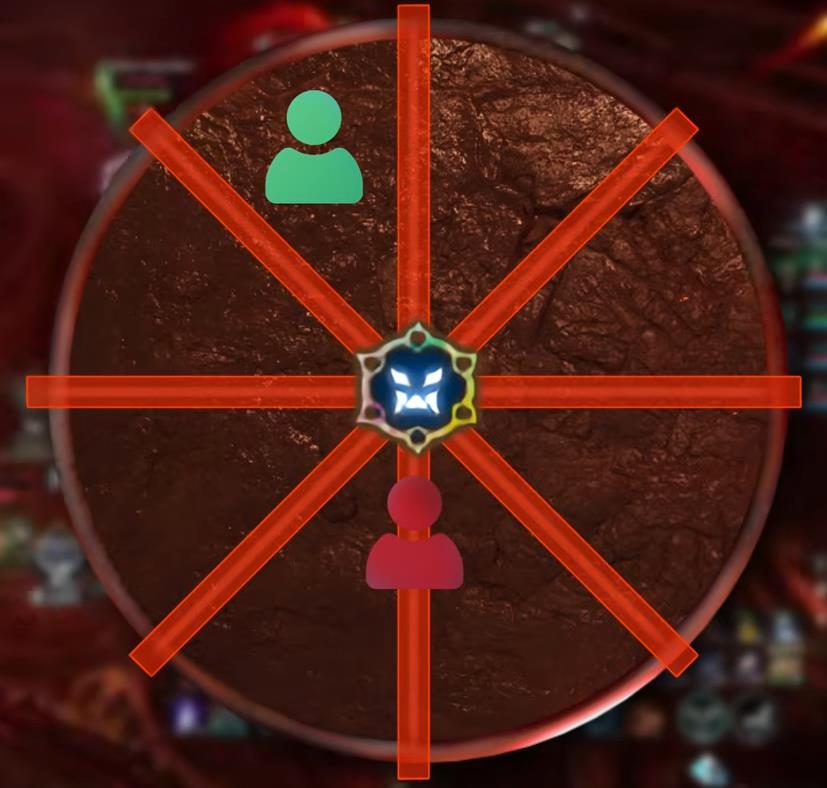
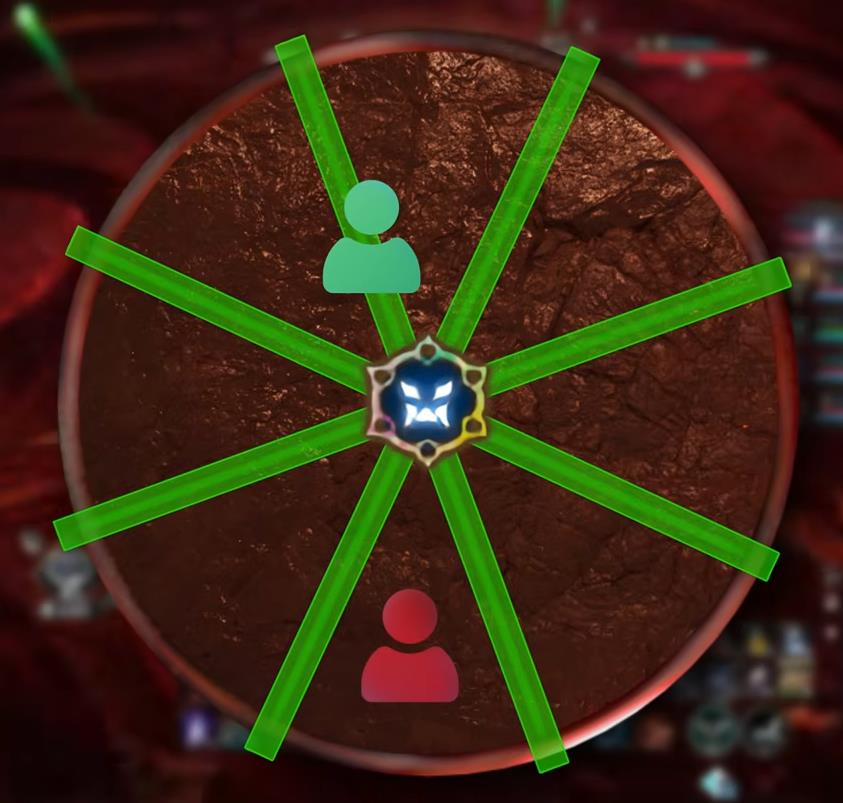
- Color aura: Iscariel fires two consecutive sets of 8 line AoEs — first red, then green. The line that hits you grants a permanent color aura for the rest of the fight
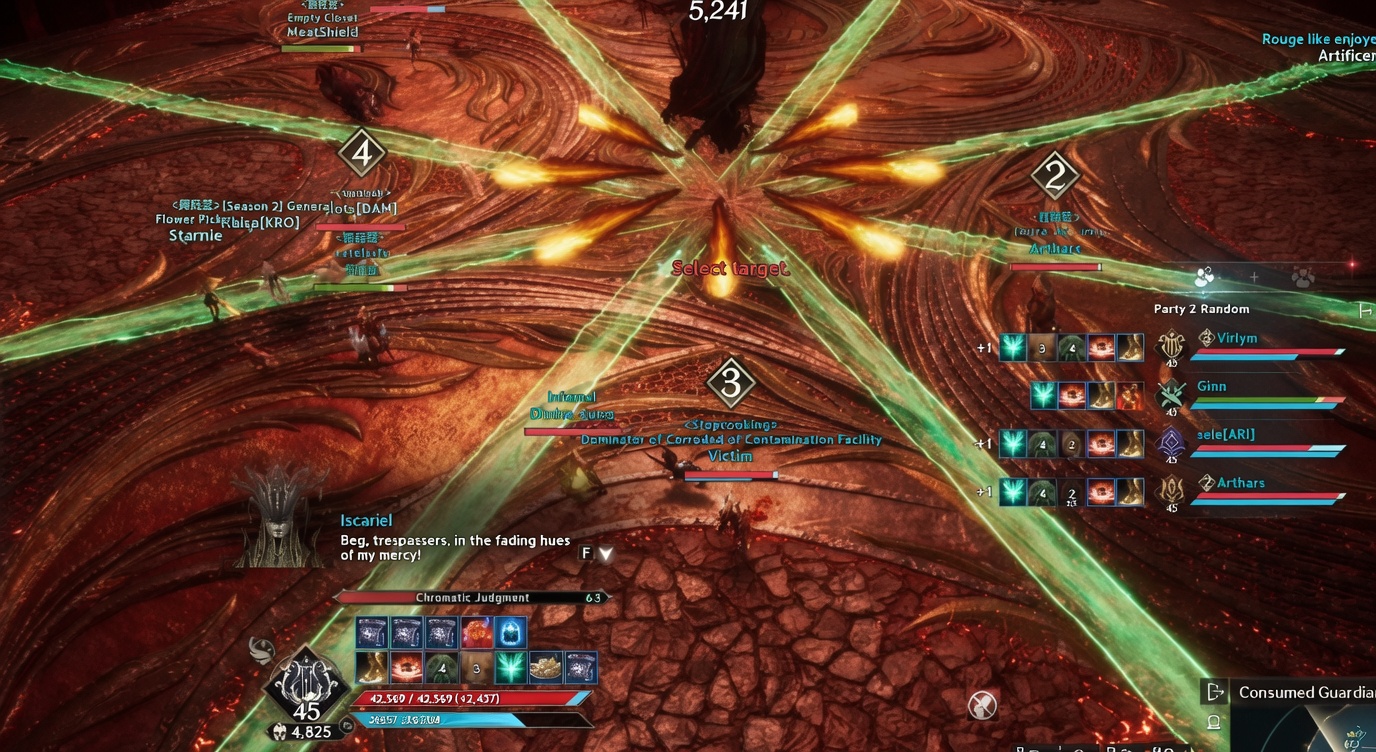
- Missing your line means you cannot execute later mechanics — that is a death sentence, so make sure you catch the right color
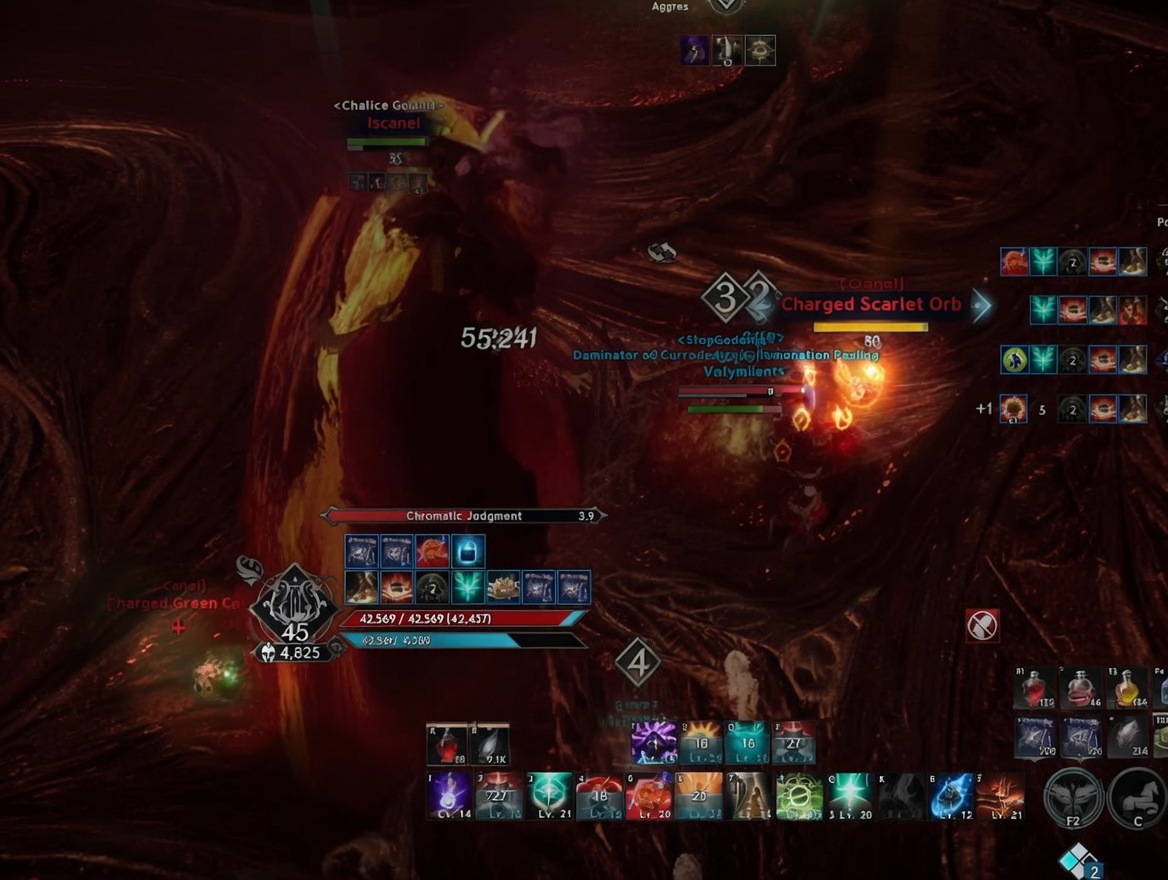
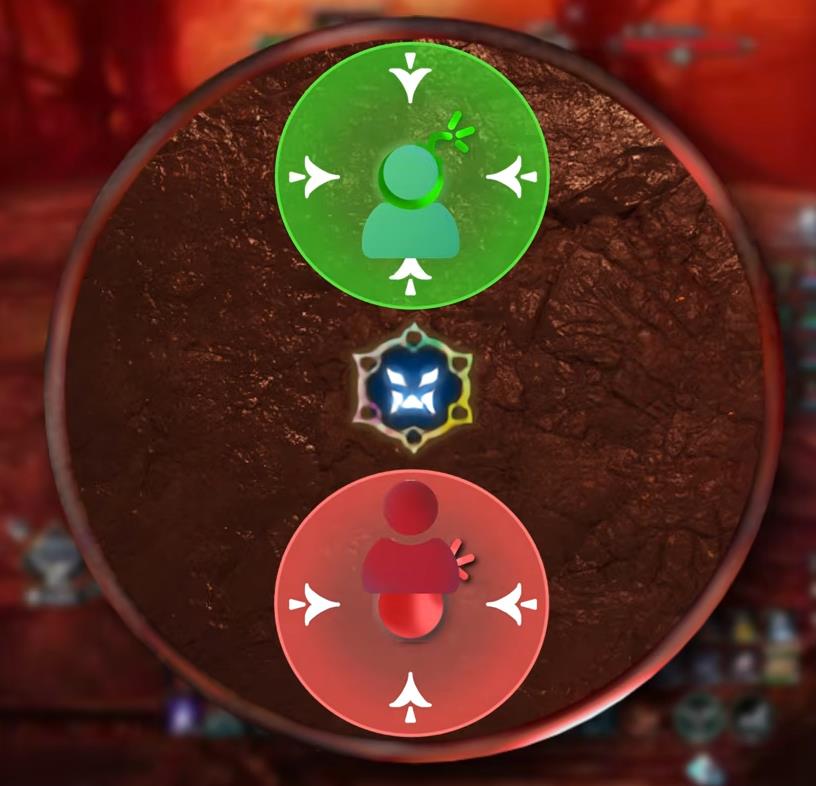
Then the bombs spawn: a green bomb North and a red bomb South, each with a color-matched stack marker.
- Run to the bomb that matches your aura — standing on the opposite color or outside the stack is instant death
- Hit your bomb to kick it away from the other bomb
- Keep the two bombs separated — if their AoE circles overlap even slightly they detonate and wipe the raid
- Hold your ground inside your color stack until the mechanic resolves
🛡️Phase 2 — 65% HP: Shield Barrier & Portals (Soccer)
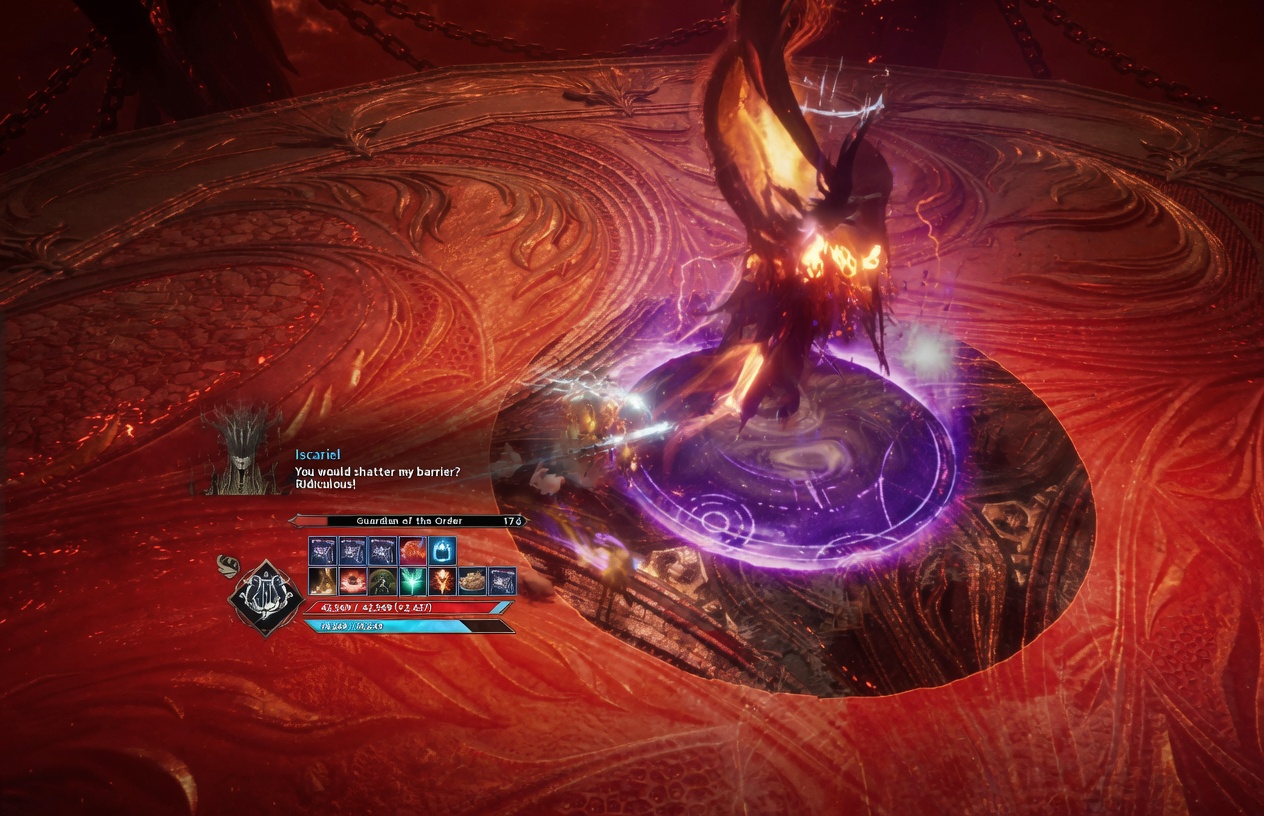
The boss recenters, locks his stagger bar, wraps himself in a purple barrier that drastically cuts incoming damage, and casts Guardian of the Order. A central donut AoE explodes shortly after the cast begins.
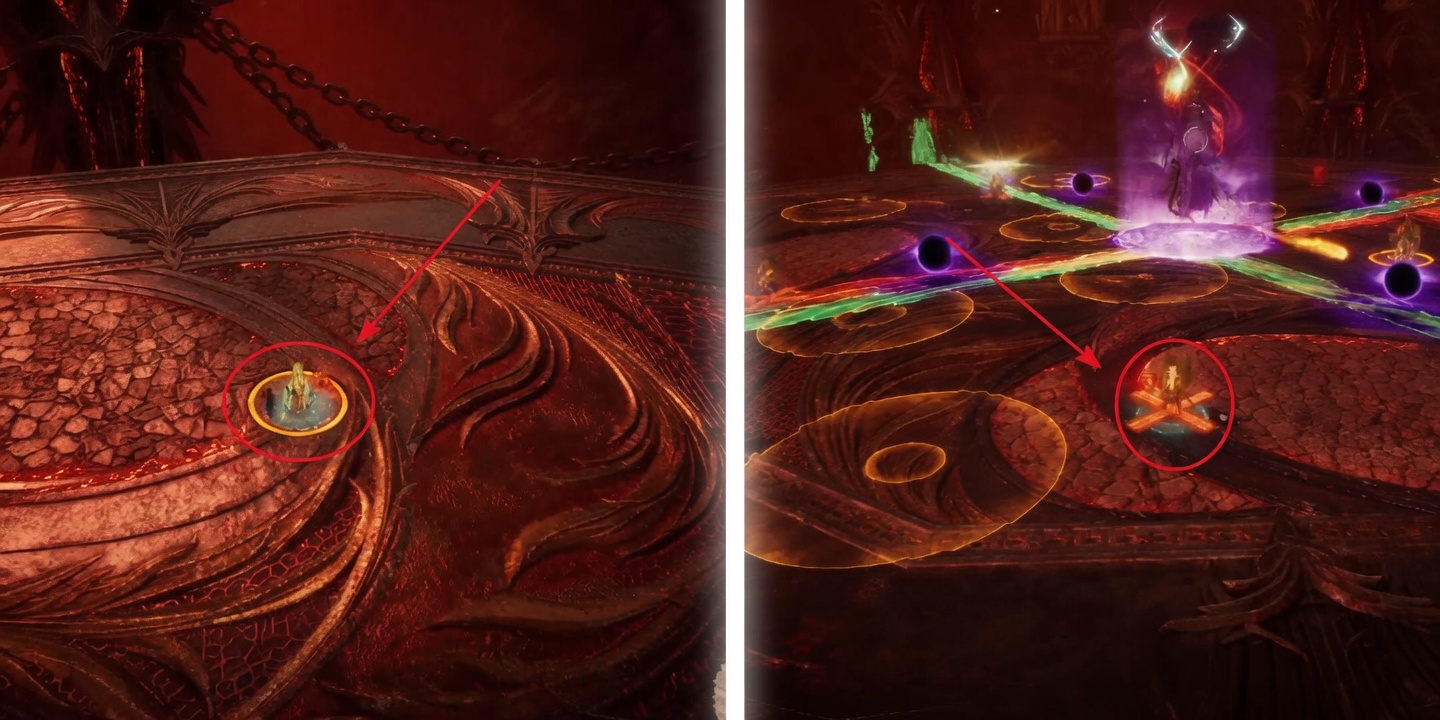
- 2 red bombs (West/South) and 2 green bombs (East/North) spawn near the boss
- Color-matched portals spawn at the arena edges, with 4 black holes halfway between the bombs and the portals
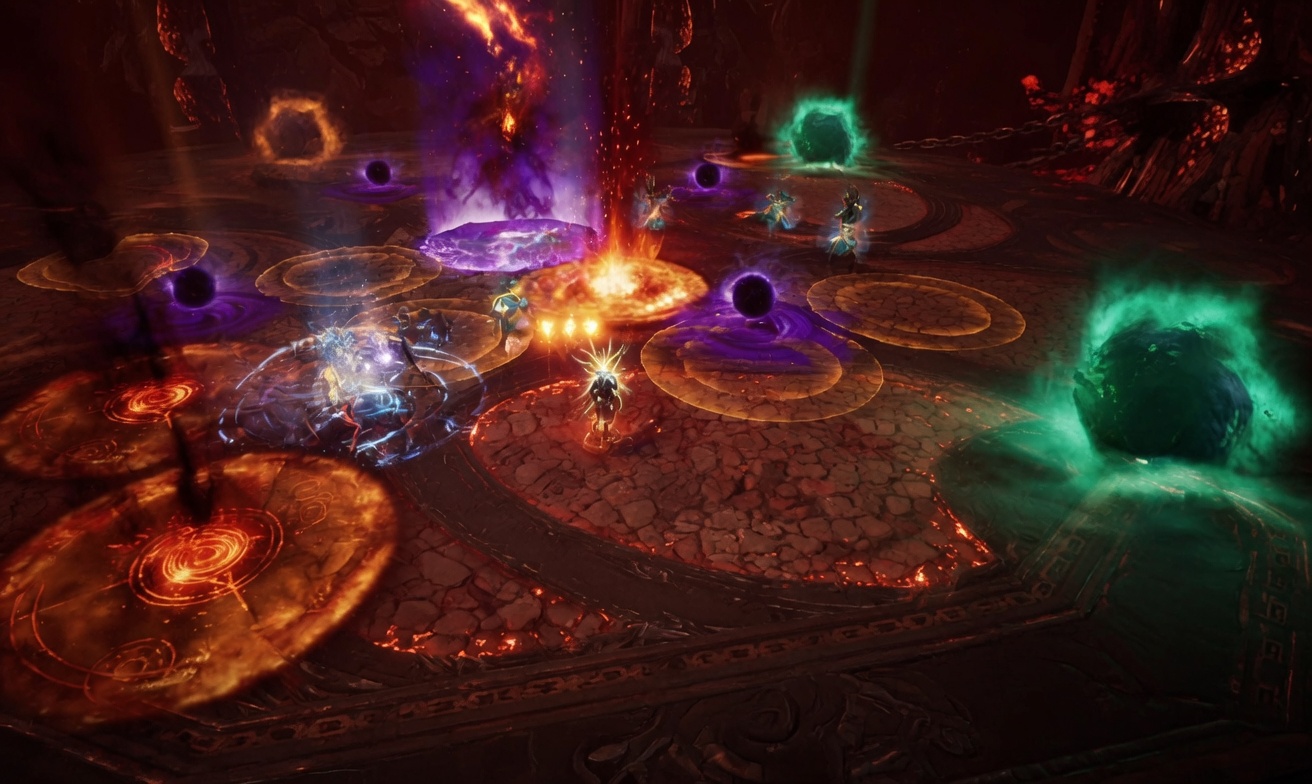
The soccer mechanic: kick each colored bomb into its matching portal. Once a bomb enters, the portal fires a line AoE at the nearest player — aim that line straight at the boss to damage his shield.


- It takes 4 successful hits to shatter the shield and stagger the boss
- Failing to break the shield before the cast ends = instant raid wipe
- Black holes: a bomb kicked into one teleports randomly back to center next to the boss — act fast and you still have time to retry
⚖️Phase 3 — 50% HP: Merciless Chromatic Judgment
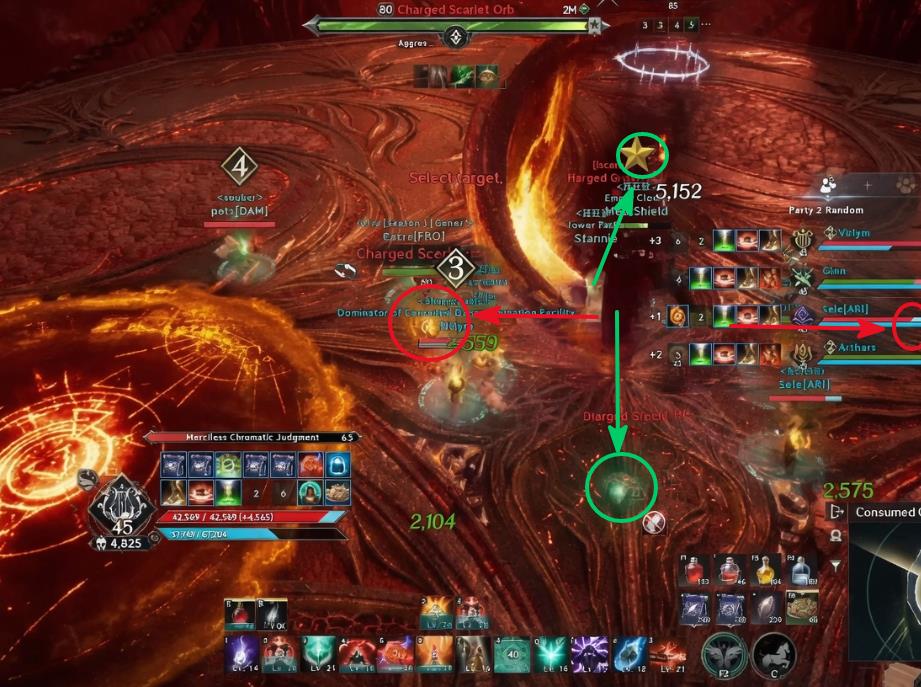
The boss locks his stagger bar and jumps to the middle to cast Merciless Chromatic Judgment.
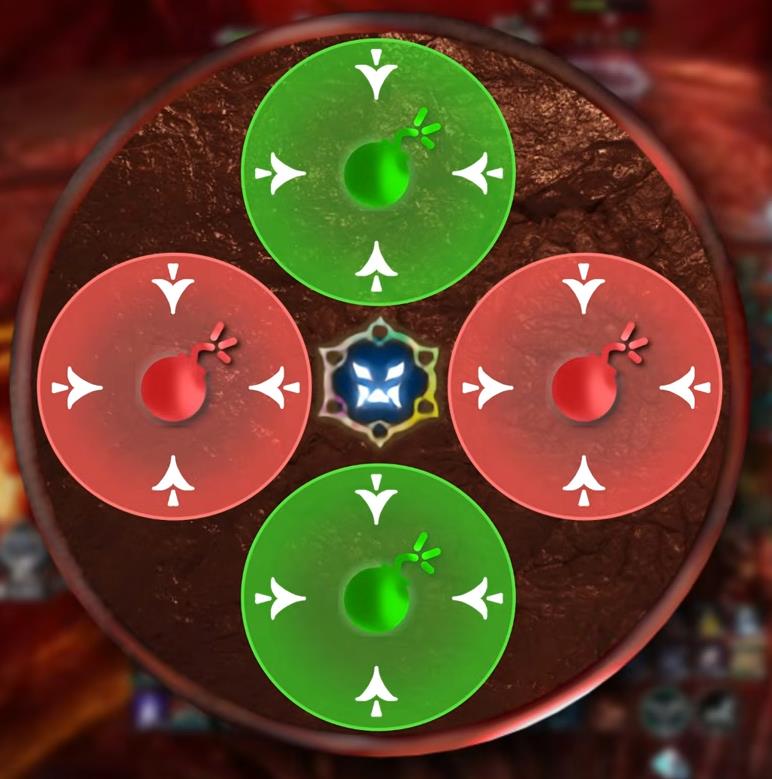
- Red bombs spawn directly East and West; green bombs spawn North and South
- Re-use your established pairs — each team kicks their bomb toward the outer edge and stands inside the stack indicator to survive
➕Phase 4 — 25% HP: Portals + Shape Markers
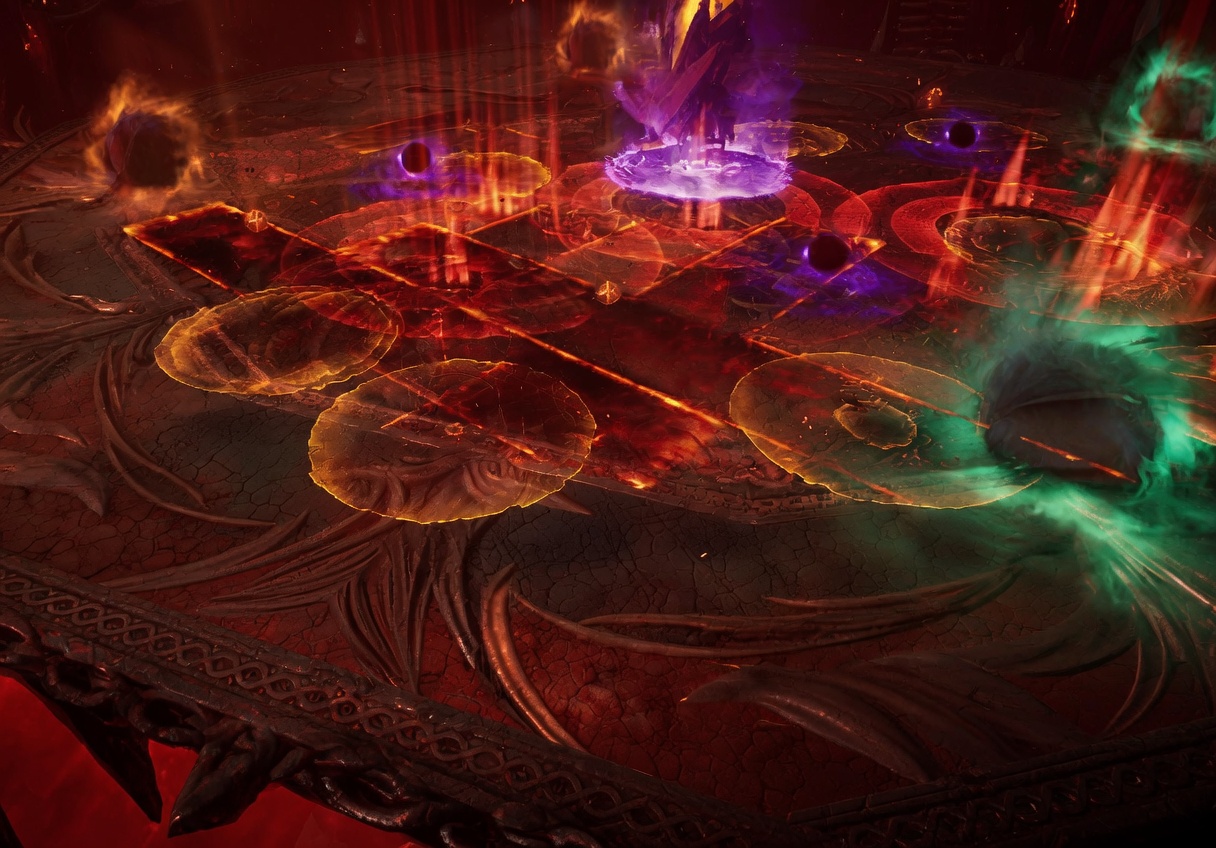
A repeat of the 65% portal/bomb mechanic, with a lethal twist: every player is marked with a Plus (+) or Sickle shape over their head. These drop matching high-damage AoE shapes that cannot be blocked or evaded.
- Kickers: don't rush. Kick the bomb close to the portal, then step away to drop your shape AoE safely, wait for it to resolve, then kick the bomb in and line up your shot at the boss
- Backups: stay on the absolute outer edge between portals to drop shapes away from the kickers
- Moving too fast risks killing yourself with your own shape while aiming the line — that's a wipe
🔁Filler & General Mechanics
- Triple Attack Combo: frontal cleave → point-blank circle → donut AoE, very fast. If you can't block: stand on the outer edge of the point-blank circle, then the instant it explodes dash inward into the donut's safe spot. A hit deals moderate damage + stun + a stacking burn
- Five Circle Spawns: 5 sequential circle AoEs track each player — keep moving continuously
- Star-Shaped AoEs: two fire back-to-back; the safe spot for the second is exactly where the first one struck
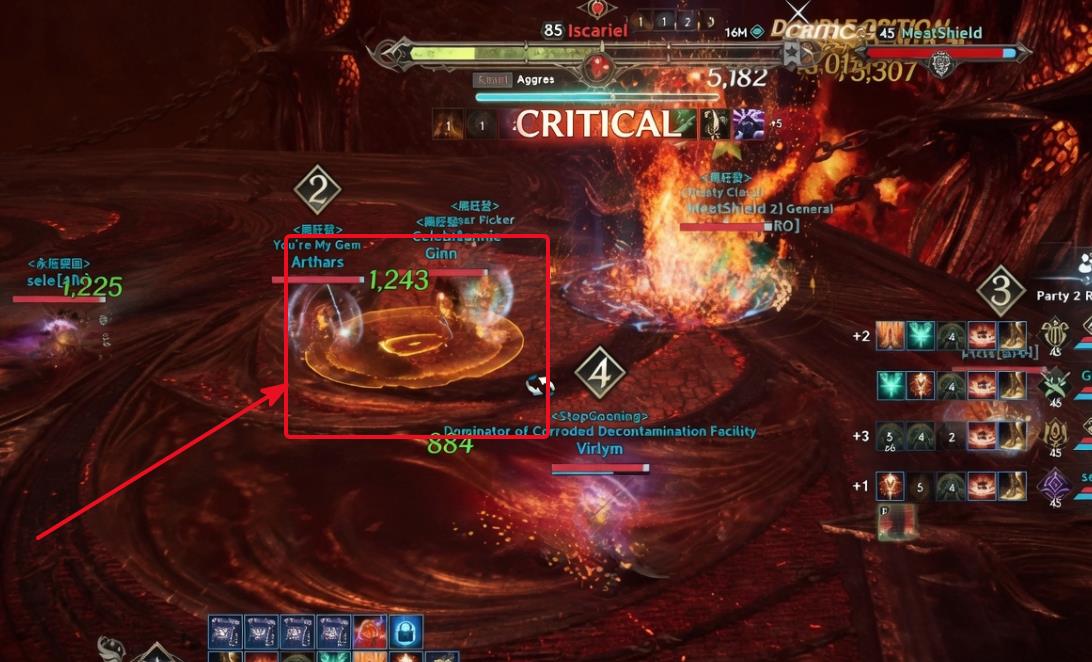
- Orange Shield Puddles: the boss drops an orange circle with a shield icon on the furthest target — a melee must stand in it and use an active block to soak the hit. After 50%: two puddles at once (two melees). After 25%: tornadoes often hide them
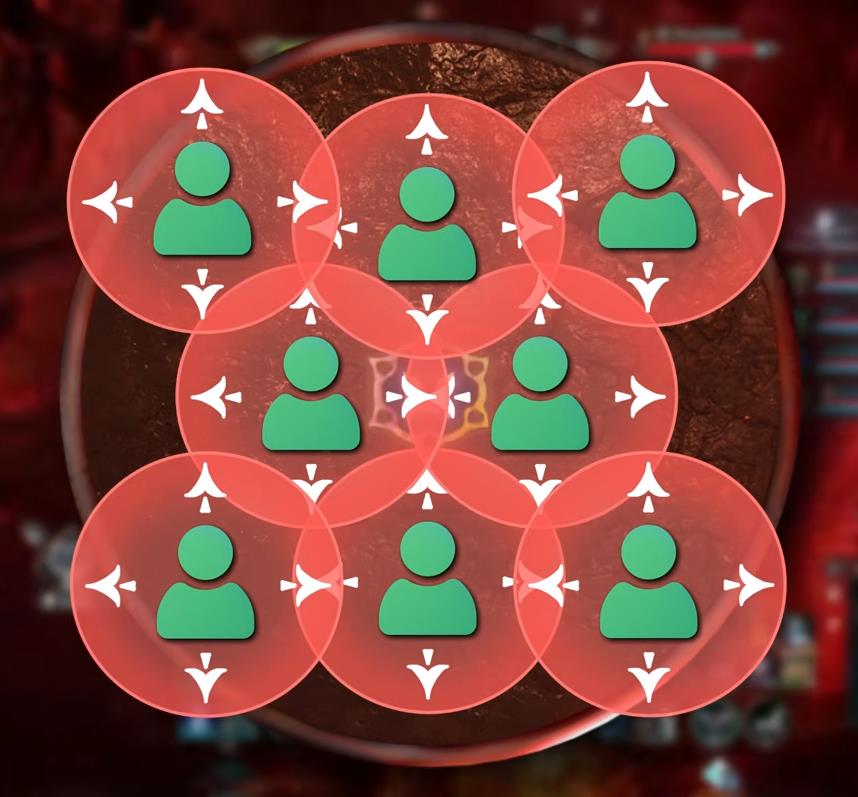
- Red Orbs (spread): a rapid reverse-stack. Melee step back onto the cardinals, ranged dodge back onto the intercardinals. If two players' circles overlap, both die
- Tornadoes & Sweeping Beam: tornadoes pull you in and stack burns, then a huge sweeping laser. Melee stand directly behind the boss and block the instant he raises yellow orbs; ranged run to the arena edge to outrange it
- Yank & Shape Drops (X / Circle): the boss pulls everyone into his hitbox and charges a point-blank AoE. Dodge right after the pull for a perfect dodge; fail and you get an X mark (run straight forward out of it) or a Circle mark (run to the arena edge to drop the donut). Ranged should always run to the edge after the pull
Boss 2 — Kaldrix (Final Boss)
Kaldrix, final boss of Sanctuary 3, uses color-shifting orbs, an aerial lava phase, and positioning-heavy mechanics that demand strict coordination from all 8 raiders.
⚔️Individual Mechanics & Counters
- V-Cleave Combo: a massive cleave on the tank leaves a tiny safe zone directly behind the boss; anyone caught takes moderate damage + a Bomb debuff. Then the boss spins to the closest player and fires a second V-cleave — offside tank (gladiator, assasin or chanter) player hugs the boss to bait it, while tank steps back.
- Targeted Cones & Tank Rectangle: all 8 get personal cone AoEs — any overlap one-shots whoever is in the intersection, so hold your assigned spot.
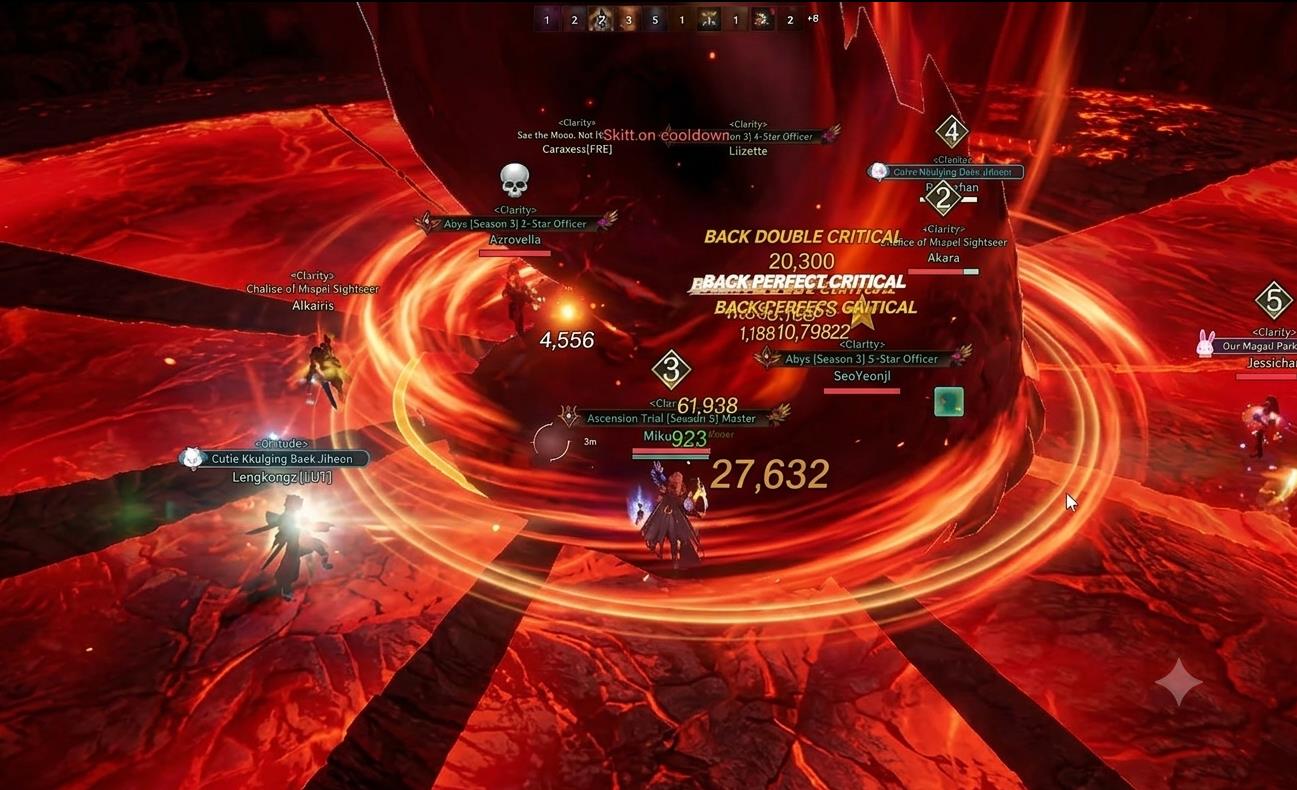 Immediately after, a giant rectangular stack lands on the tank — at least 4 players enter it to split the damage
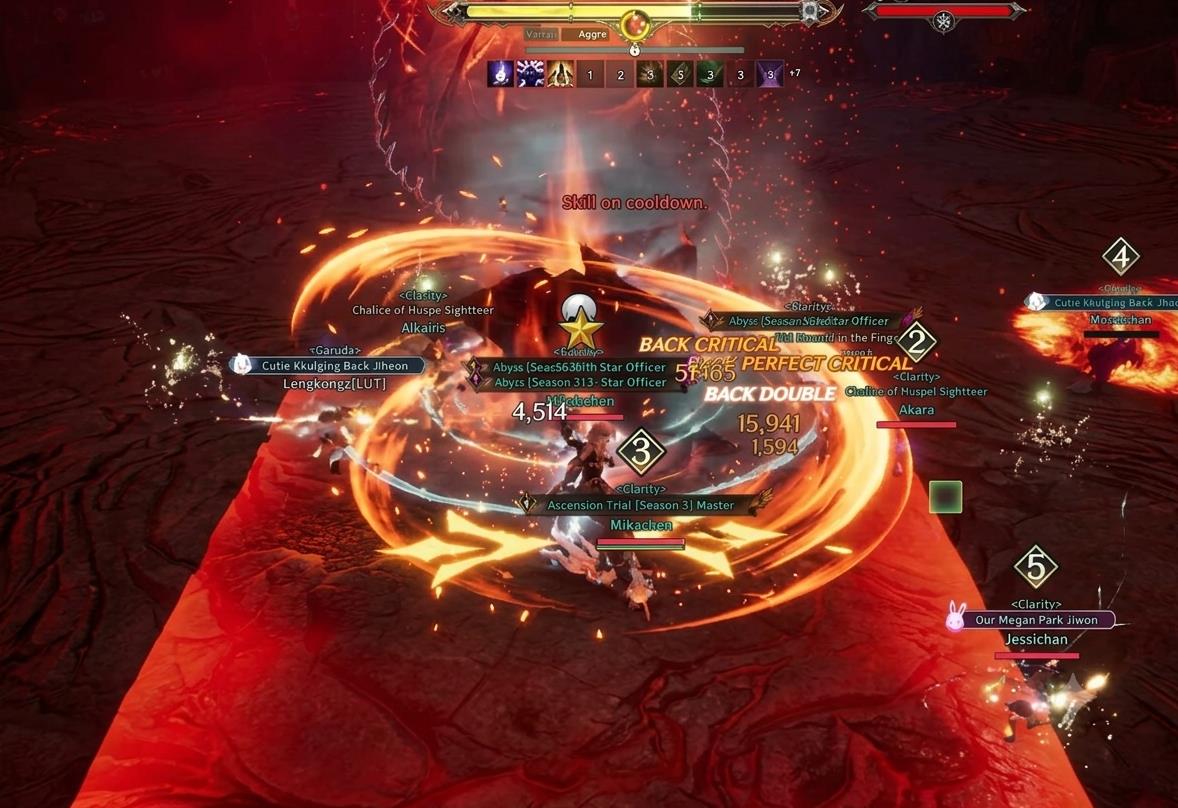
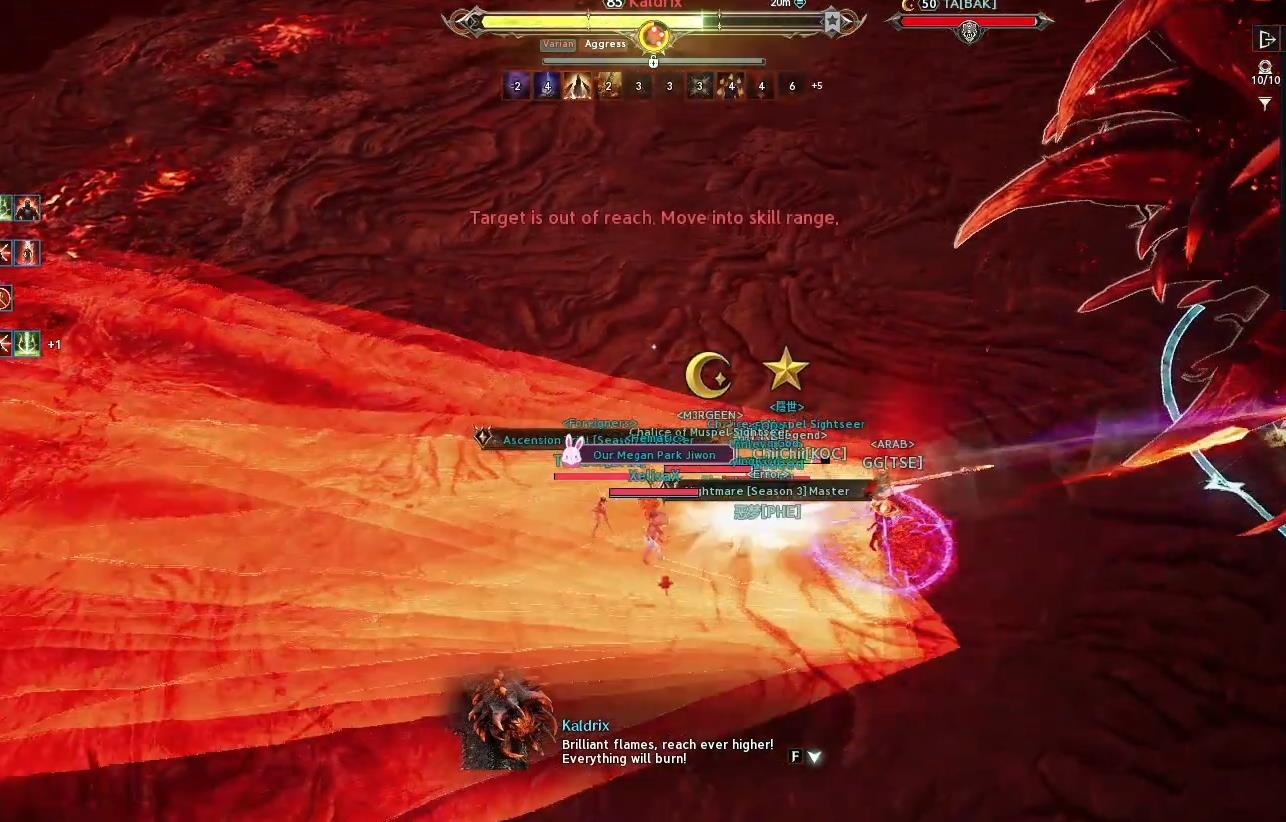
- Brilliant Flames: a random player is bound; after a delay, nine line AoEs shoot outward leaving permanent lava puddles. The whole raid stacks tightly behind the bound player and aims all lines away from the boss toward the outer wall
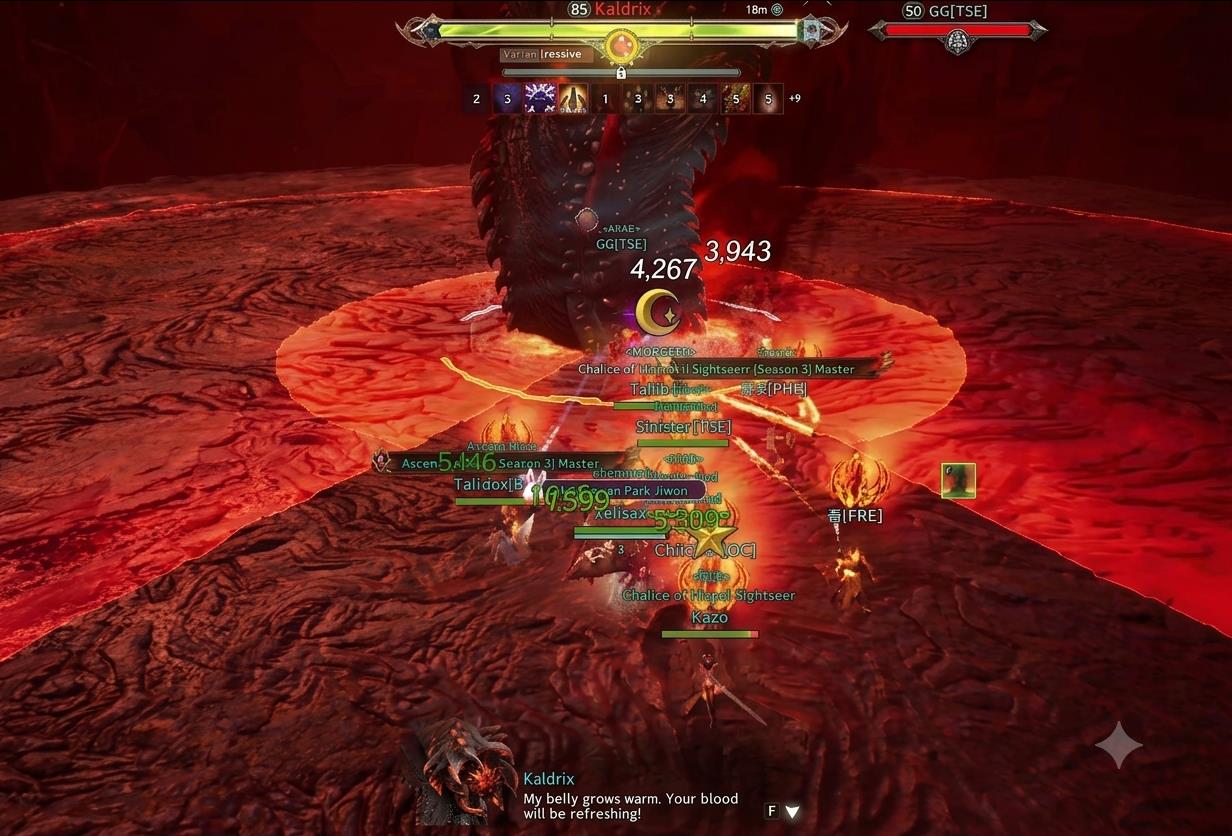
🔴🟢🔵Phase 2 — 75% HP: RGB Barrier & Orb Alignment
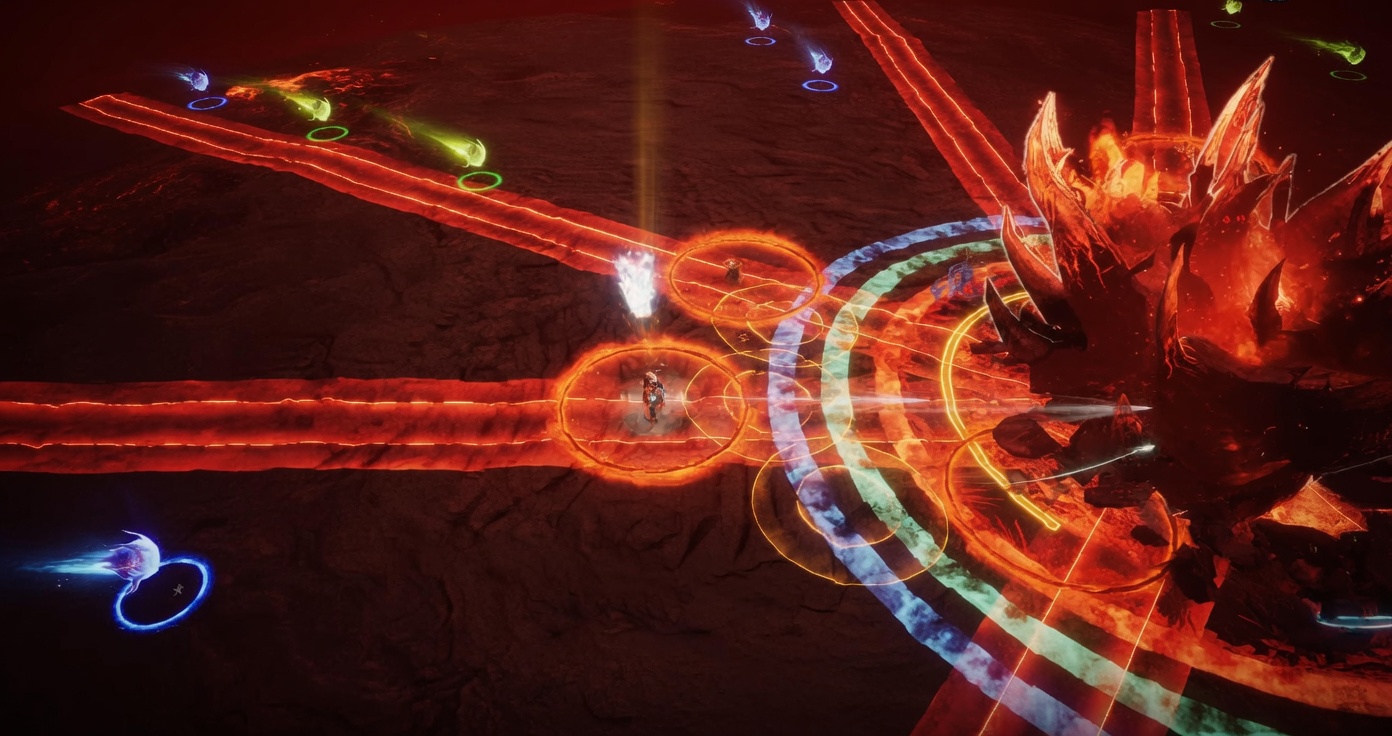
Kaldrix dives into the floor, re-emerges in center, and raises three colored shields (Red, Green, Blue).
- Eight radial lines of 3 colored orbs spawn and are traveling toward the boss (8 players will be marked and become one of radial lines).
- Orbs change color if you shoot towards it with a "long lane" Red → Green → Blue from the boss
- Everyone gets a lava ring that drains HP fast if you stack with a teammate — stay spread
- Line AoEs on each player there is a circle AOE, that will explode after filling up - move on the lane forth and back to avoid it, it deals decent dmg and also a puts burn debuff.
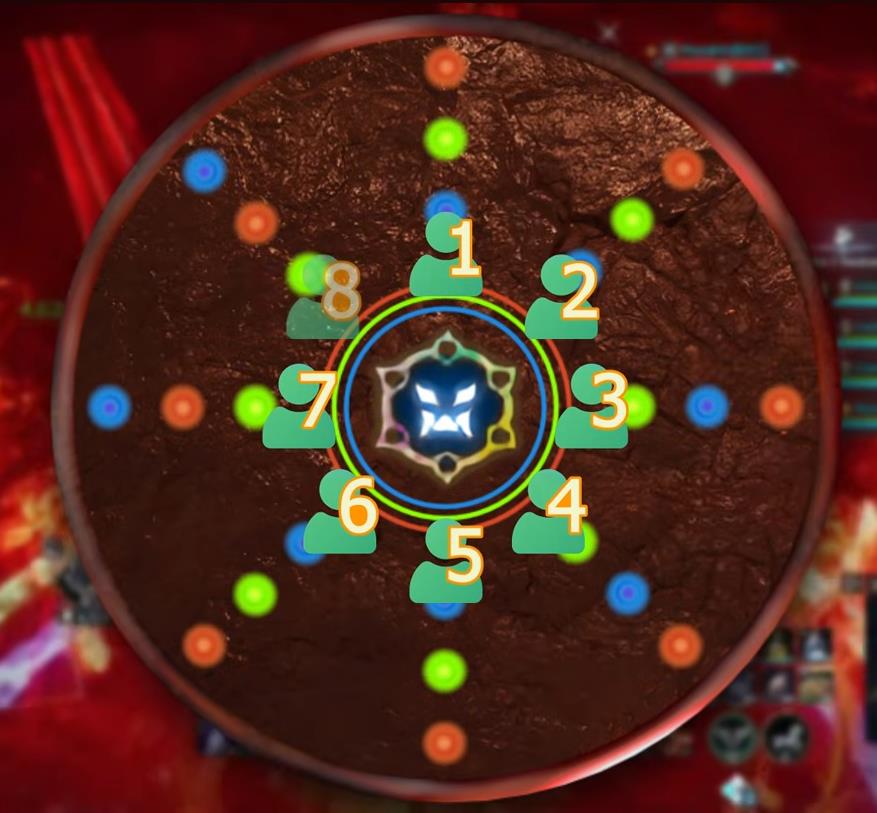
- Each player controls one lane. The orb reaching the boss must exactly match his outermost shield ring to destroy it
- A wrong-color orb hitting the boss explodes for 60% raid-wide damage
- Two orbs exploding at once, or three total across the phase = full wipe
- If your lane already matches, aim your line at the empty space directly clockwise of your lane to waste it safely
🌋Phase 3 — 50% HP: Lava Inundation & Flight
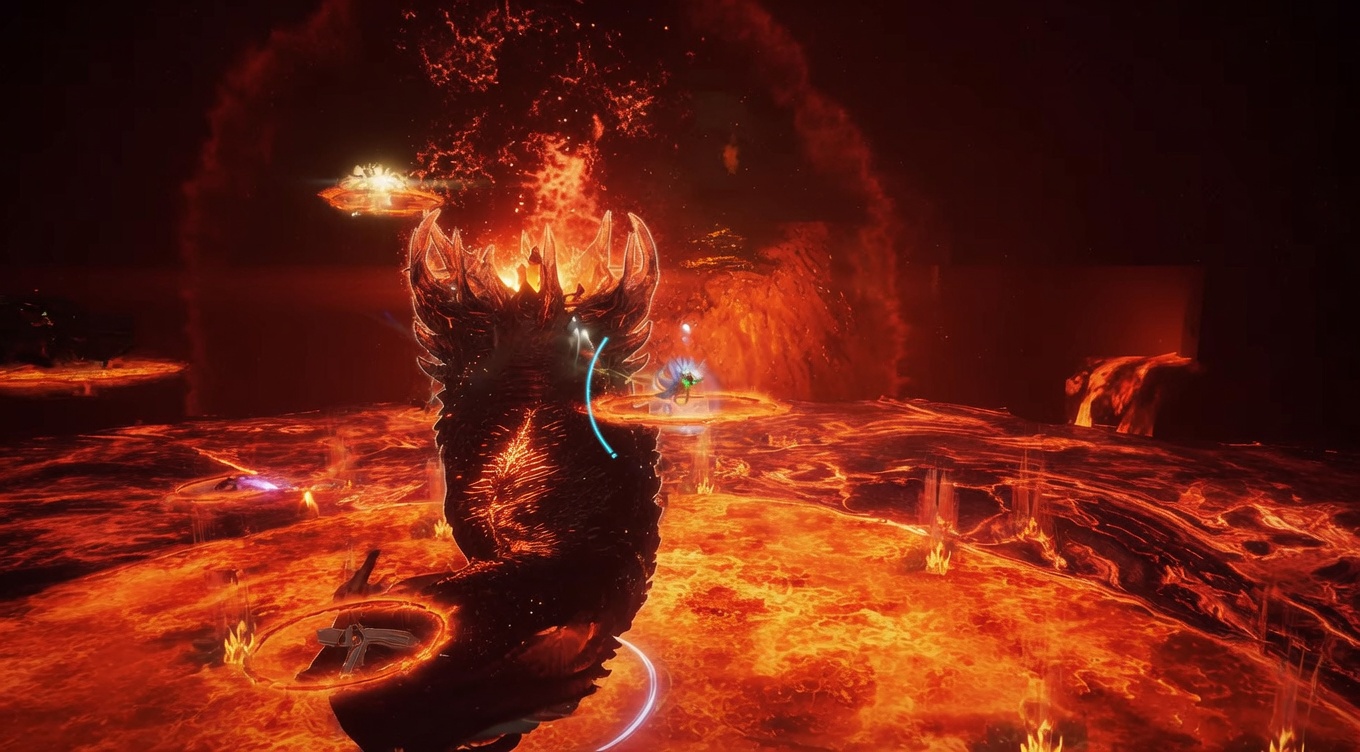
Kaldrix digs in and becomes untargetable; a cutscene floods the platform with lava and shrinks the arena. The floor lava deals massive ticking damage.
- Flight restrictions lift — everyone takes flight immediately
- Every player has a lava-ring debuff — do not overlap or fly into teammates. Lava pillars surge toward the edges
- Sweeping beams: three in a row, alternating a 360° horizontal sweep and a vertical front-to-back line. Melee stay spread around the boss; ranged fly above him and dodge/block the beams
- Hot potato (Bomb bouncing): the boss marks the tank and shoots a tracking orb that bounces to the nearest player as a bomb. Five pre-assigned players form a straight line away from the boss so the orb bounces cleanly 1 → 2 → 3 → 4 → 5. Max distance between players; 4 and 5 can stack for the final bounce. If it ricochets back to someone already touched, it wipes the group
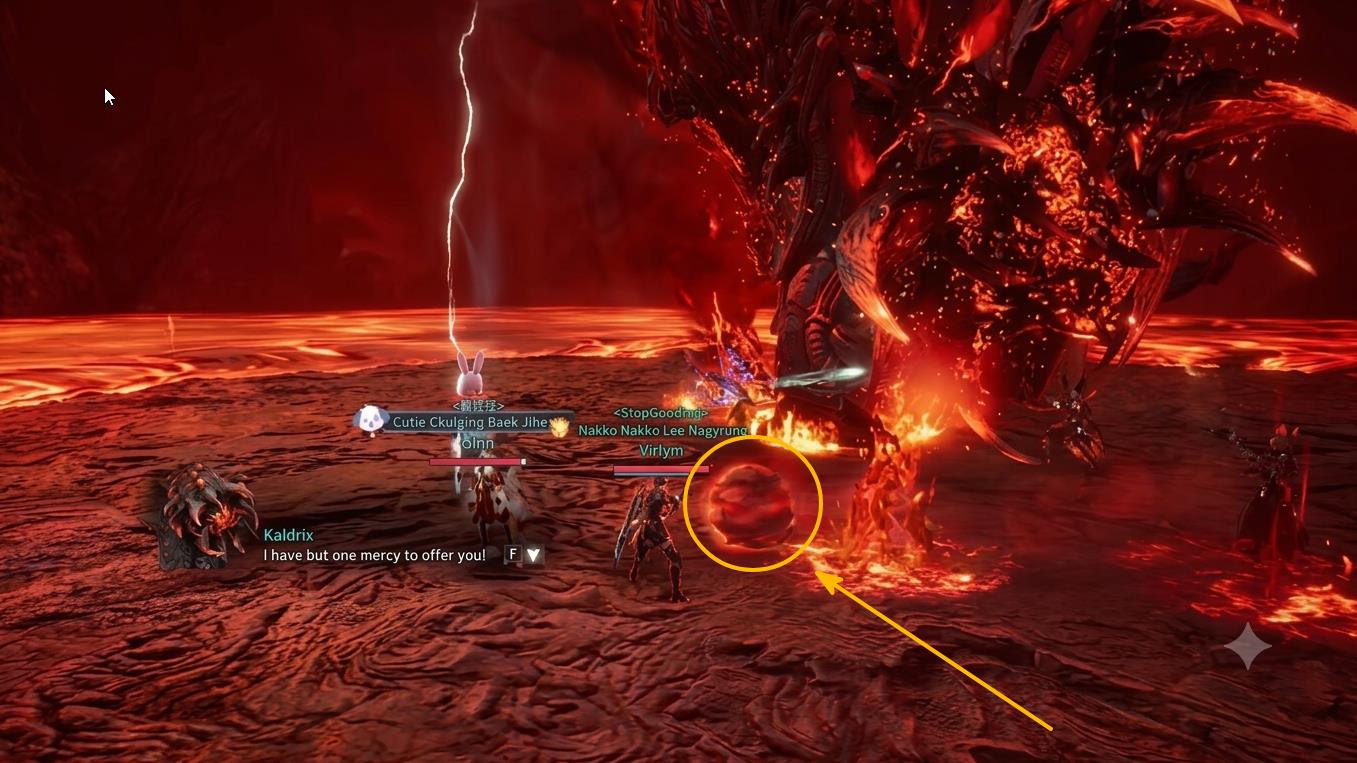
🔴🟢🔵Phase 4 — 35% HP: Enhanced RGB
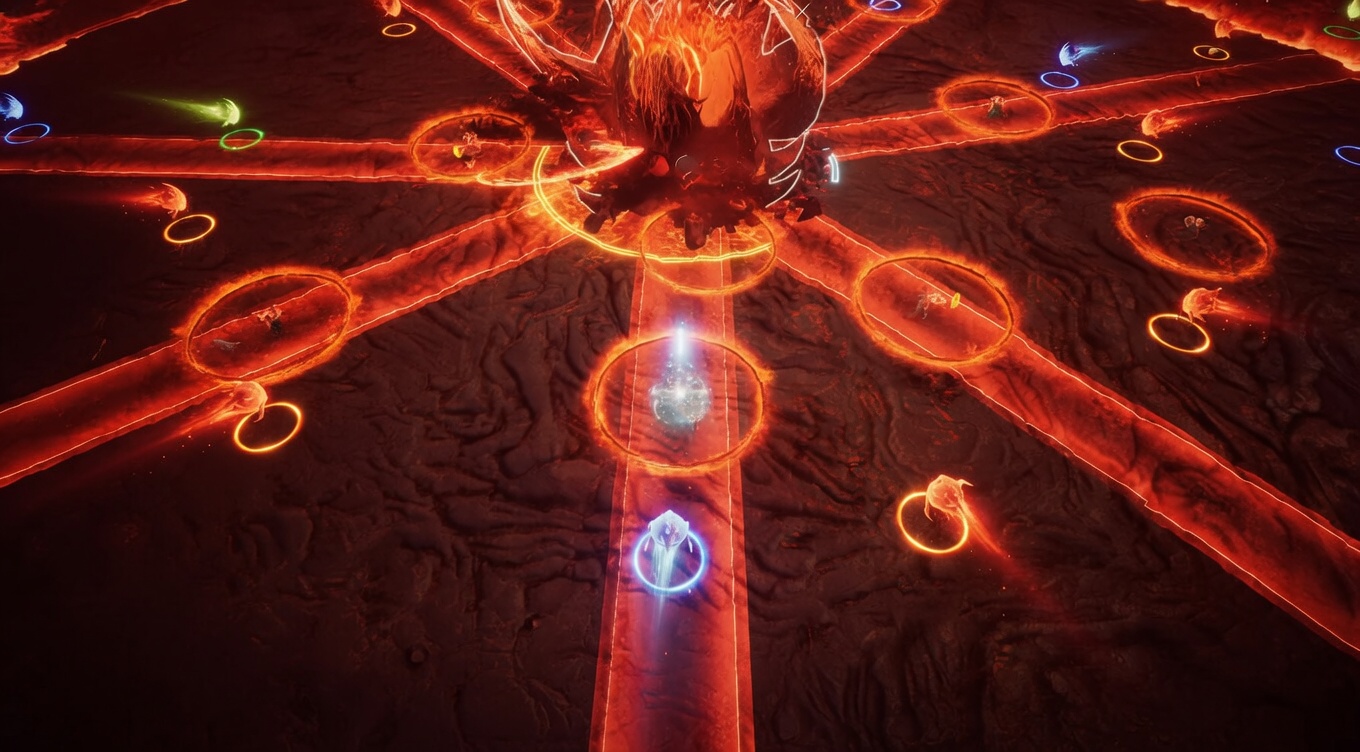
Identical to the 75% phase, but harder:
- Intercardinal players now manage two orb lanes at once
- Very little open space remains to discard unneeded lines clockwise
- Random AoEs strike continuously and player-centered ground AoEs are much larger
⏳Phase 5 — 15% HP: Conger of the Depth (DPS Check)
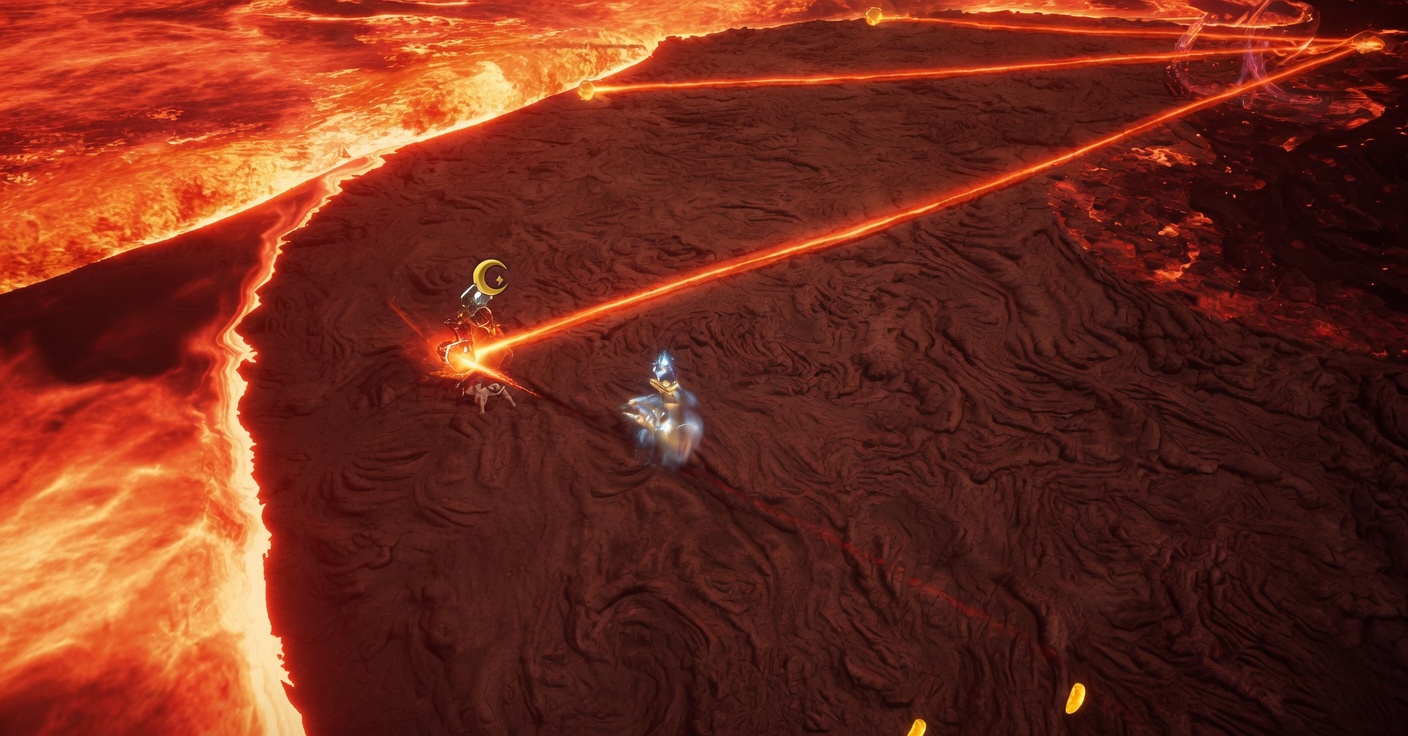
The boss vanishes underground and channels a 42-second wipe cast, Conger of the Depth. Eight anchored orbs spawn at the outer edges and tether to him.
- Destroy every orb before the 42 seconds end, or the raid wipes
- Lava waves sweep across the arena from all directions with small gaps. A hit strips ~70% max HP and cannot be blocked; standing inside one ticks and kills you
- Split into two balanced groups — Group 1 goes East, Group 2 goes West — both rotating clockwise along the outer edge to clear orbs
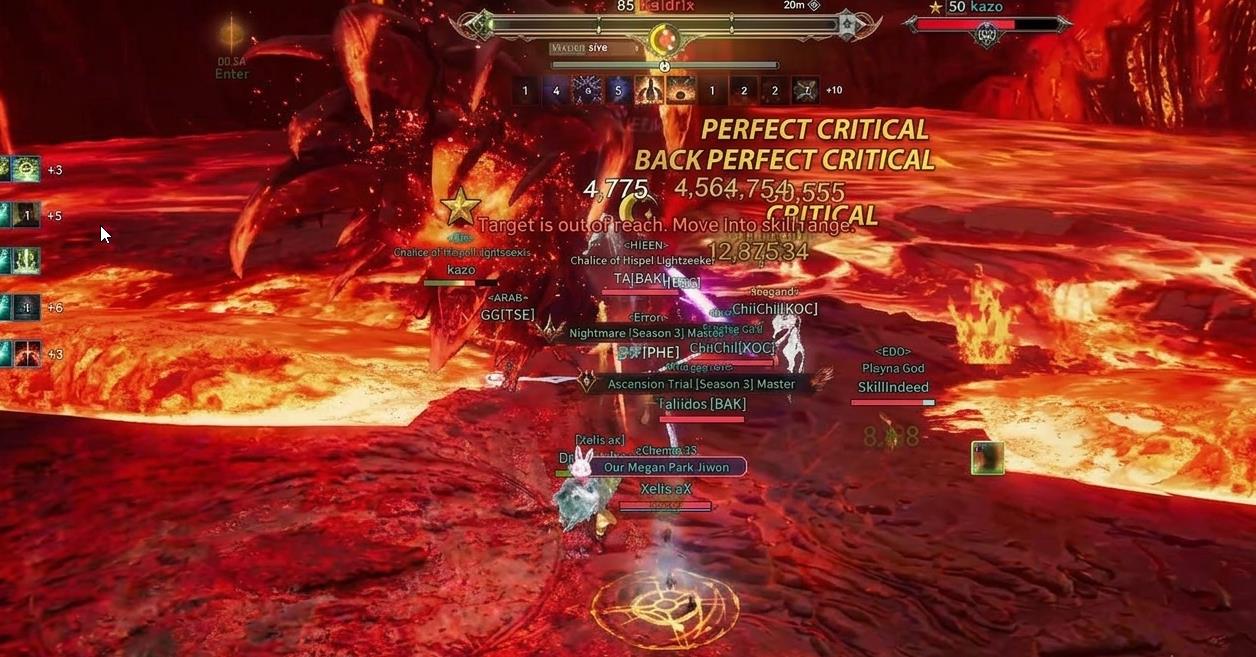
🧭Raid Positioning Blueprint
Use a static 1–8 numbering around the boss's rear indicator arrow. Kaldrix always snaps to face true North at the start of major phases.
         [TANK]  (True North)
         Pos 2      Pos 8
      Pos 3            Pos 7
      Pos 4            Pos 6
             Pos 5   (True South)
- Tank: true North • Pos 2 & 8: flanking the tank
- Pos 3 & 7: side edges of the rear arc • Pos 4 & 6: midway between the rear arrow and the edges • Pos 5: directly behind at true South
- Even numbers (2, 4, 6, 8): your most mechanically confident players — they handle the dual orb lanes in the 35% RGB phase
- Positions 2, 3, 7, 8: the Orb-Bouncing conga line
- Healers: split evenly (e.g. one at Pos 3, one at Pos 6/7) for lane coverage; place squishier classes between supports for cross-healing