
Mirror of Scarlet Desire — Dungeon Guide (Levels 1–4)
The dungeon is available in four difficulty levels. The main challenge is group coordination: most mechanics are tied to positioning and timely interaction with objects on the arena.
First Boss — Rotar
This boss requires high coordination and precise positioning from the group. Three key mechanics, each dangerous in its own way.
🔷Geometric Shapes
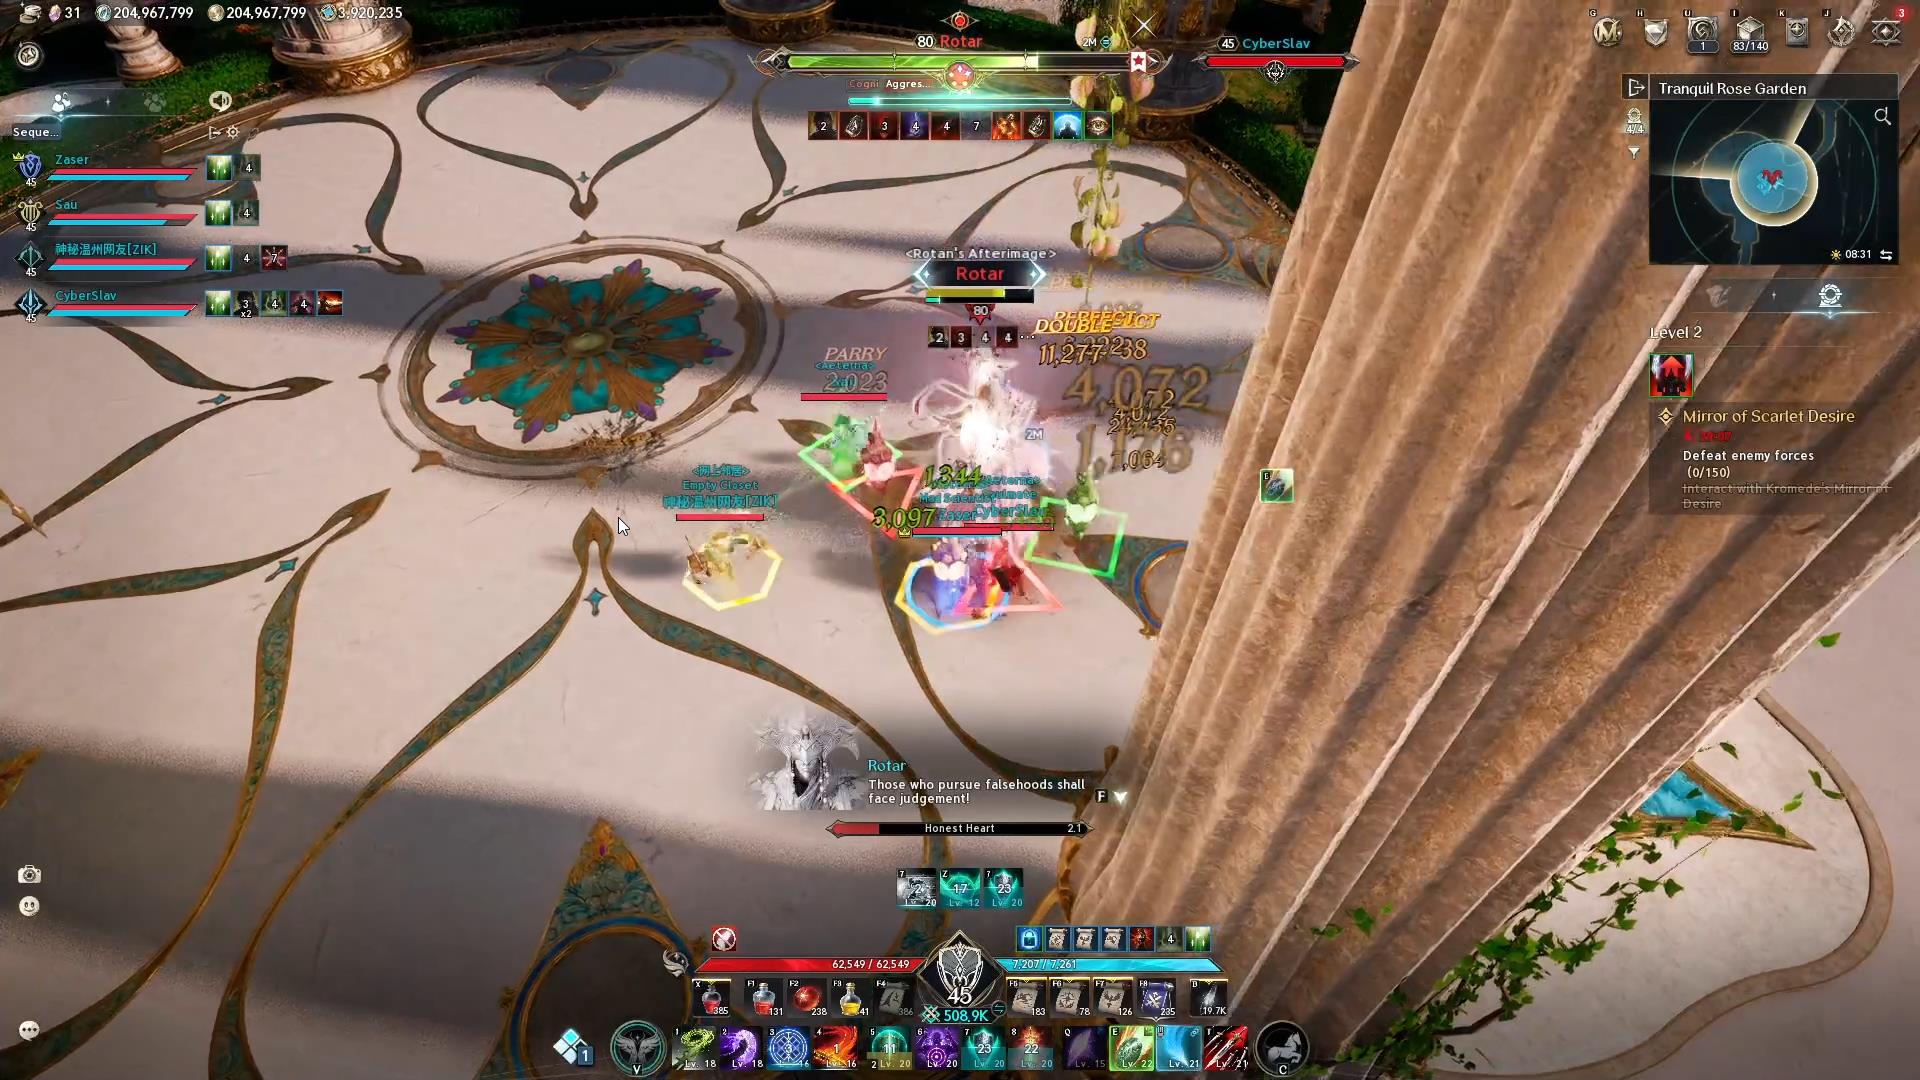
Before the attack, colored geometric shapes appear under each group member and close to the boss.
- Initially stand close to Rotar — this is critical for reaction speed
- As soon as the shapes appear — immediately STEP ON your shape (your color)
- Stepping on someone else's shape = death
- If you can't find yours — don't step on any: you'll take ~80% HP damage, but it's survivable
- You do NOT need to STAND on the shape!
⛓️Totems on Geometric Shapes and Bonds (70% HP)
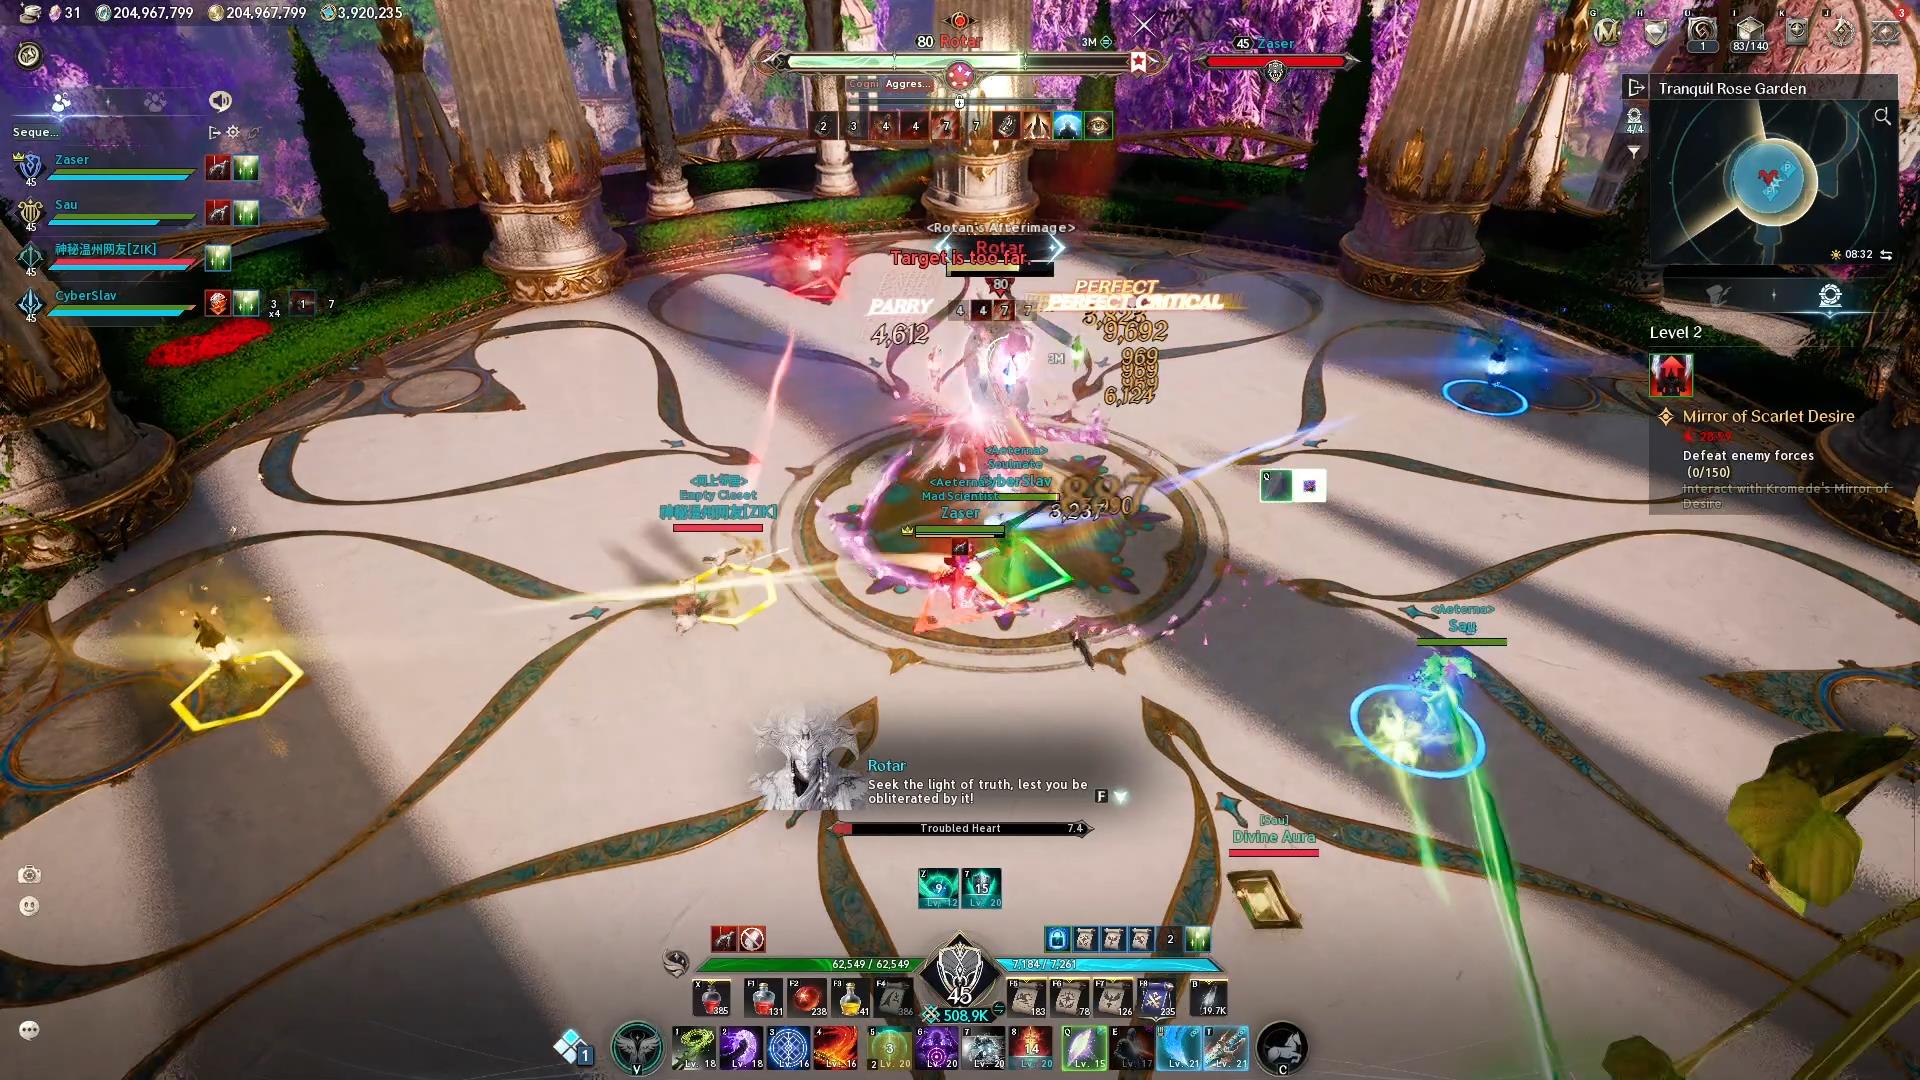
The main and most dangerous mechanic of the boss. Shapes with totems appear in a circle around the arena, and players are bound by bonds to OTHER players' totems.
- Each player must destroy the totem above their own color
- However: bonds link you to other players' totems — help allies hit their targets
- While breaking totems, the boss continues attacking — dodge his abilities
🟣Orbs of Vows
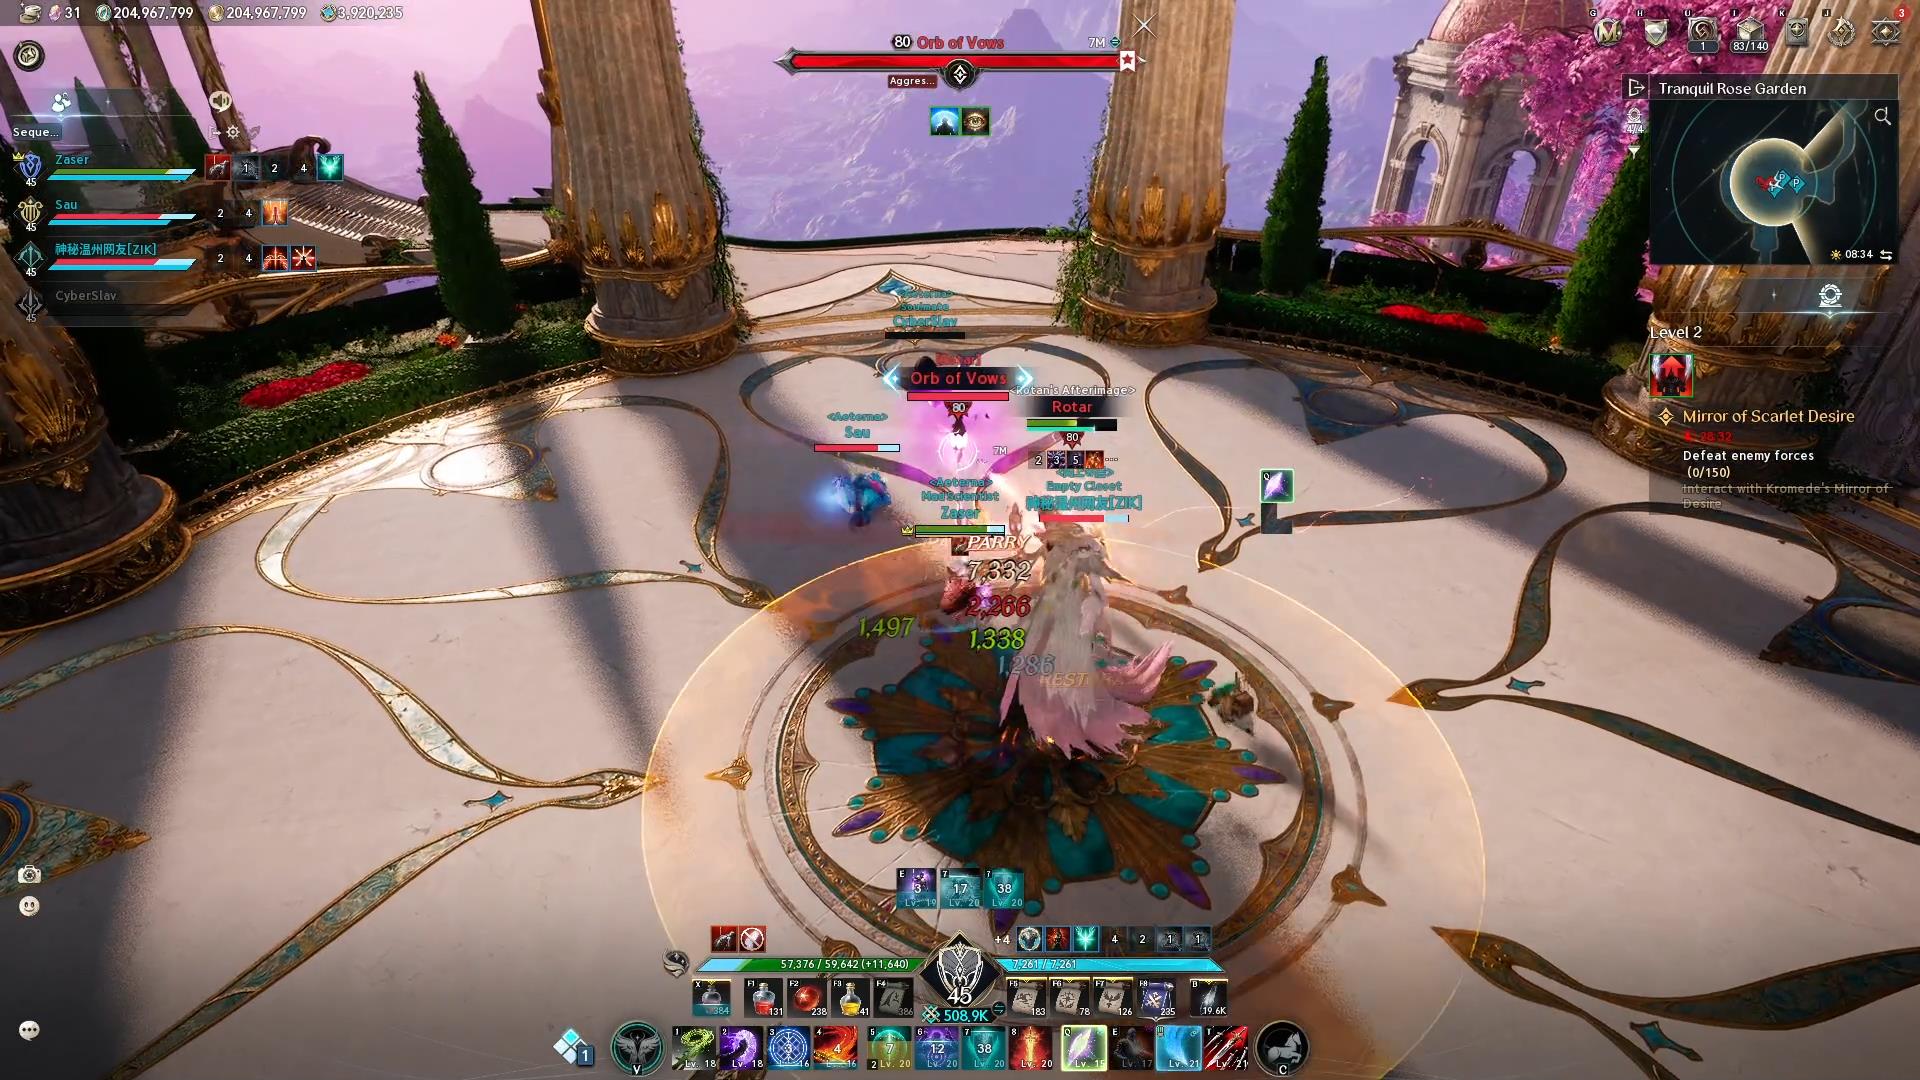
Periodically, purple totems appear on the platform, each linked to one or two players (depending on difficulty level).
- The linked player CANNOT break the totem they are bound to!
- Your allies must quickly switch to destroying the totems before they detonate!
- One orb-totem explosion — damage across the entire platform (survivable)
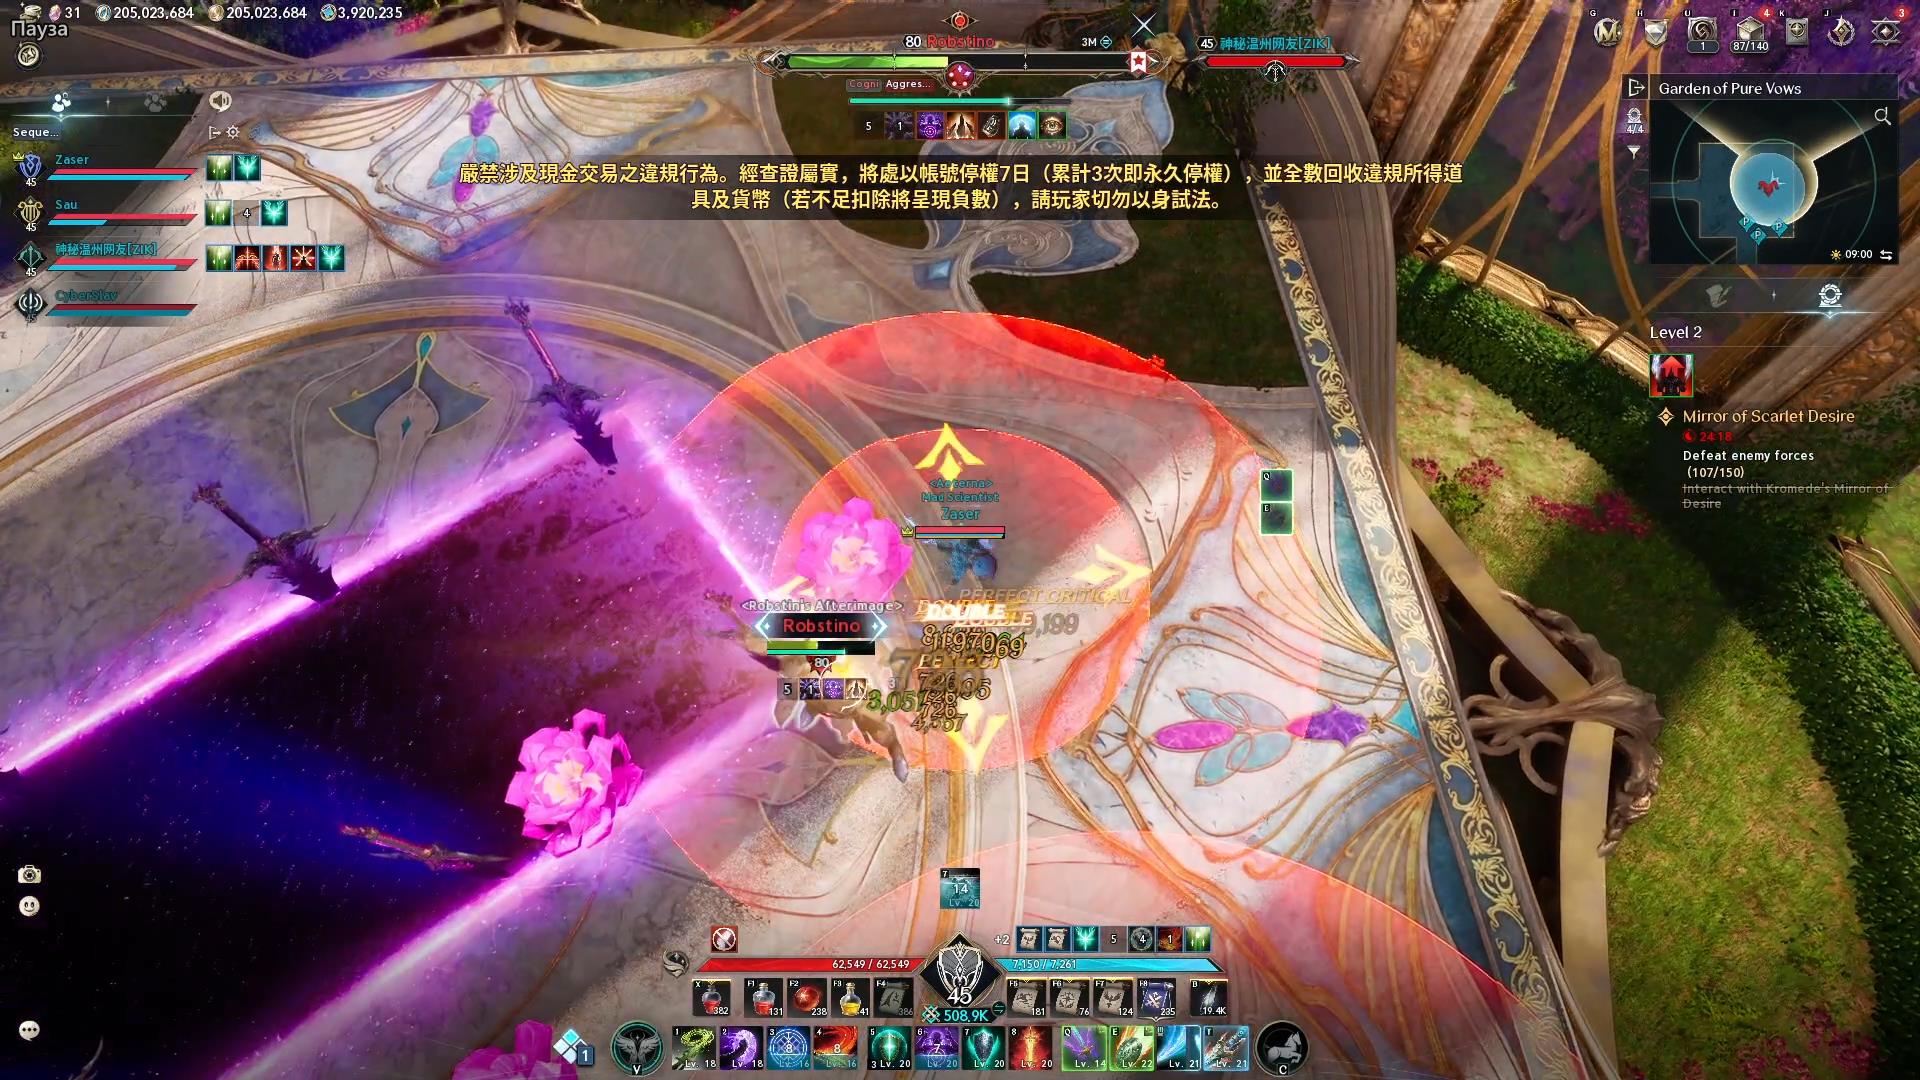
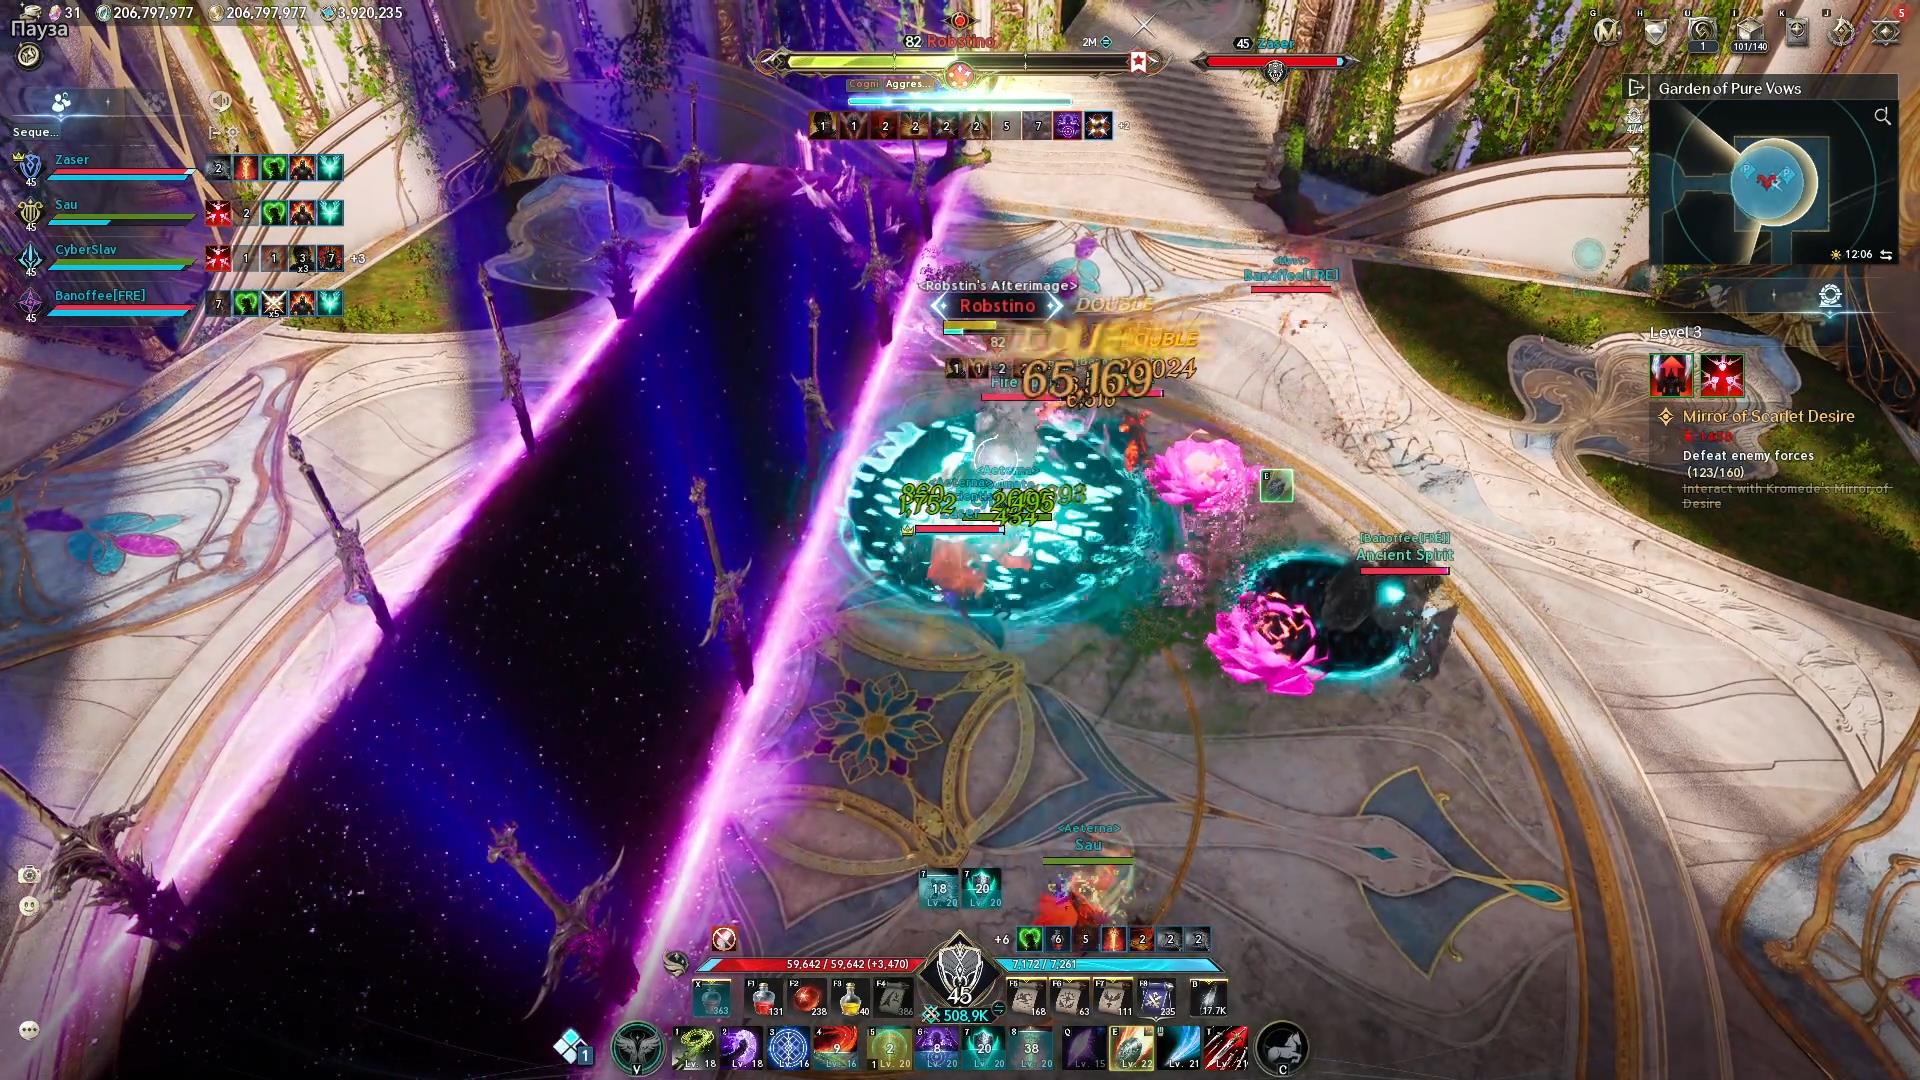
Second Boss — Robstino
Significantly easier than the first. The main rule is to carefully watch your step and properly clear the arena of flowers.
🌸Explosive Flowers
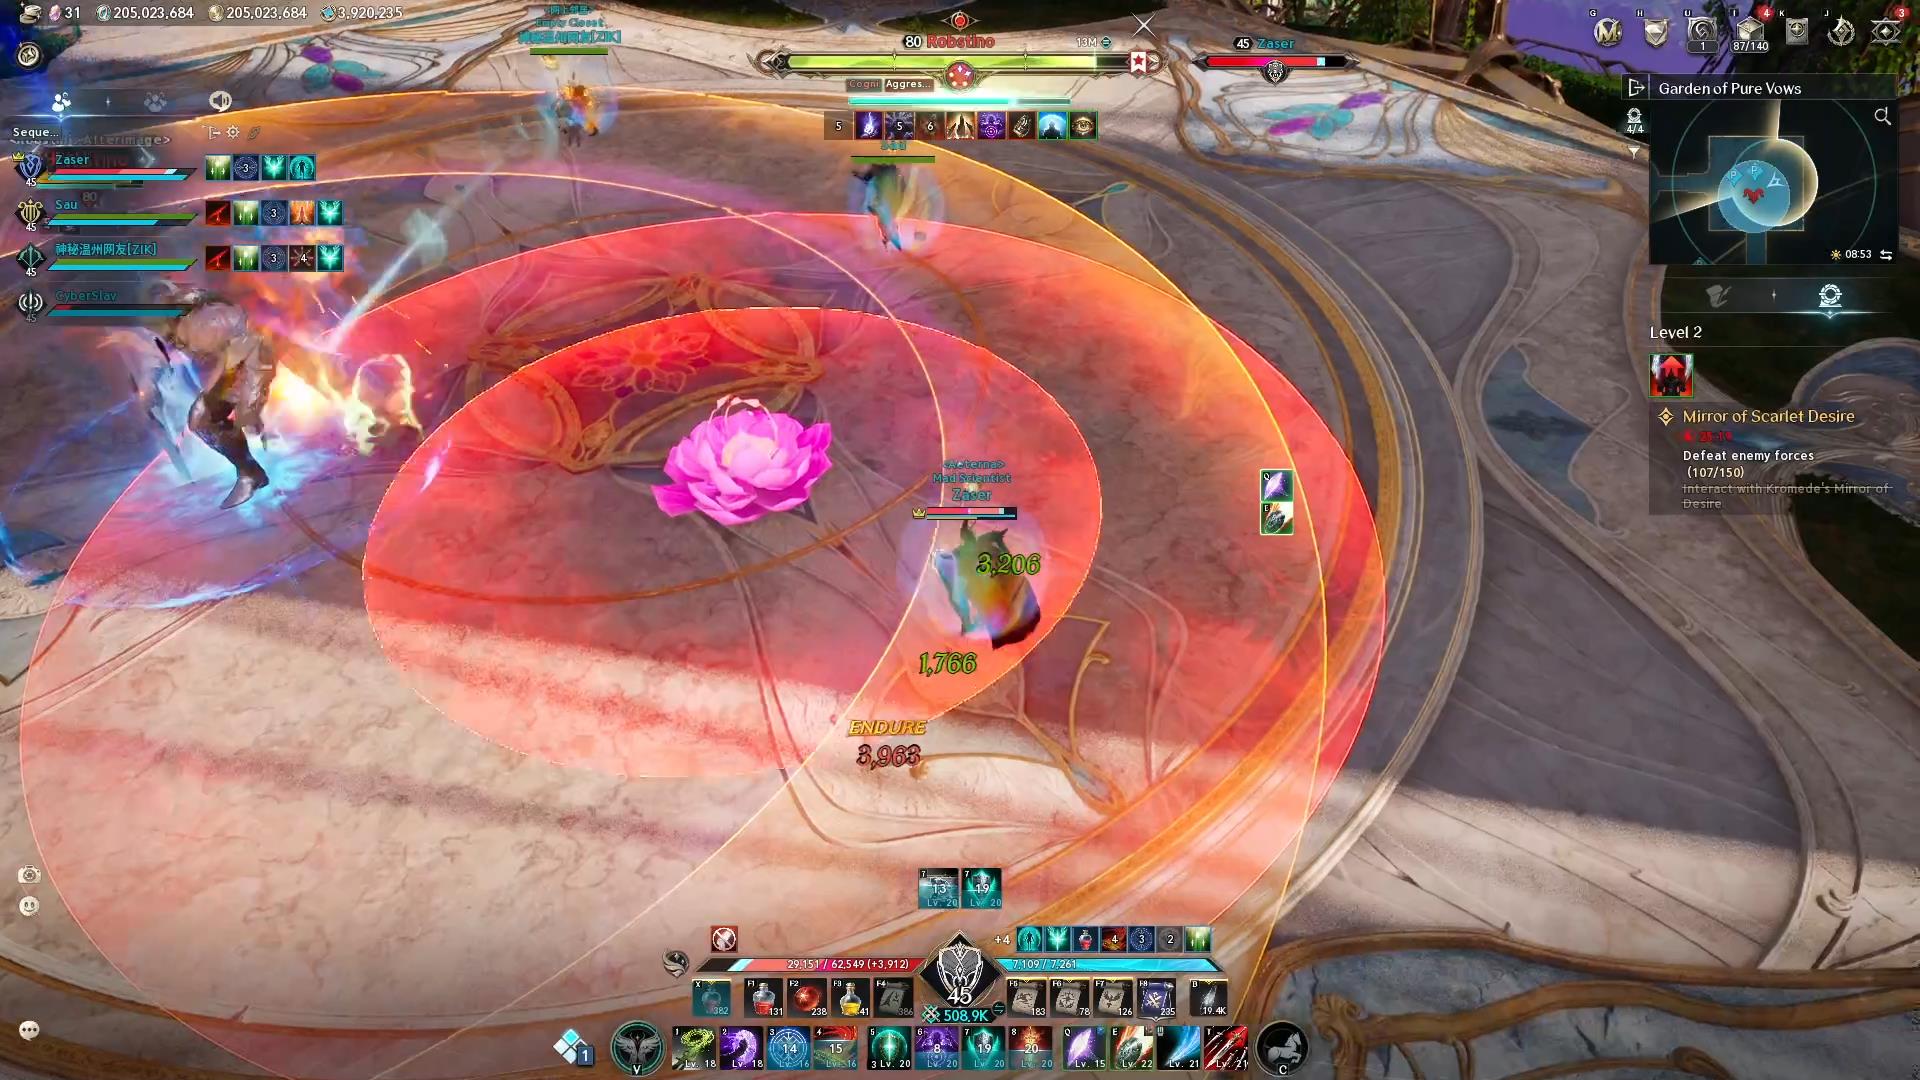
The boss randomly summons a large number of flowers across the arena.
- Don't get too close — a single flower explosion (the affected area is shown as a red field) deals ~60–70% HP
- Two flowers at once = instant death
- Carefully detonate flowers while staying away from the group
- Use the red zones with outward arrows that the boss places on players — direct them at flowers to burn several at once (without hitting allies)
⚫Field Slash
Robstino slashes the arena with a line that turns into a black path; walking on it deals heavy damage.
- Run away — the lines deal heavy damage
- You can run across them — they don't kill instantly.
Transition Phase — Fire Arcade
After defeating Robstino, activate the mirror in his room to teleport. Before the final chamber, there is a corridor of traps.
🔥Fire Walls and Archers

- Dodge the moving fire walls in time
- 3–4 level Illusions of Kromede appear in the corridor, shooting in a straight line — each hit deals damage and can root you in place = death
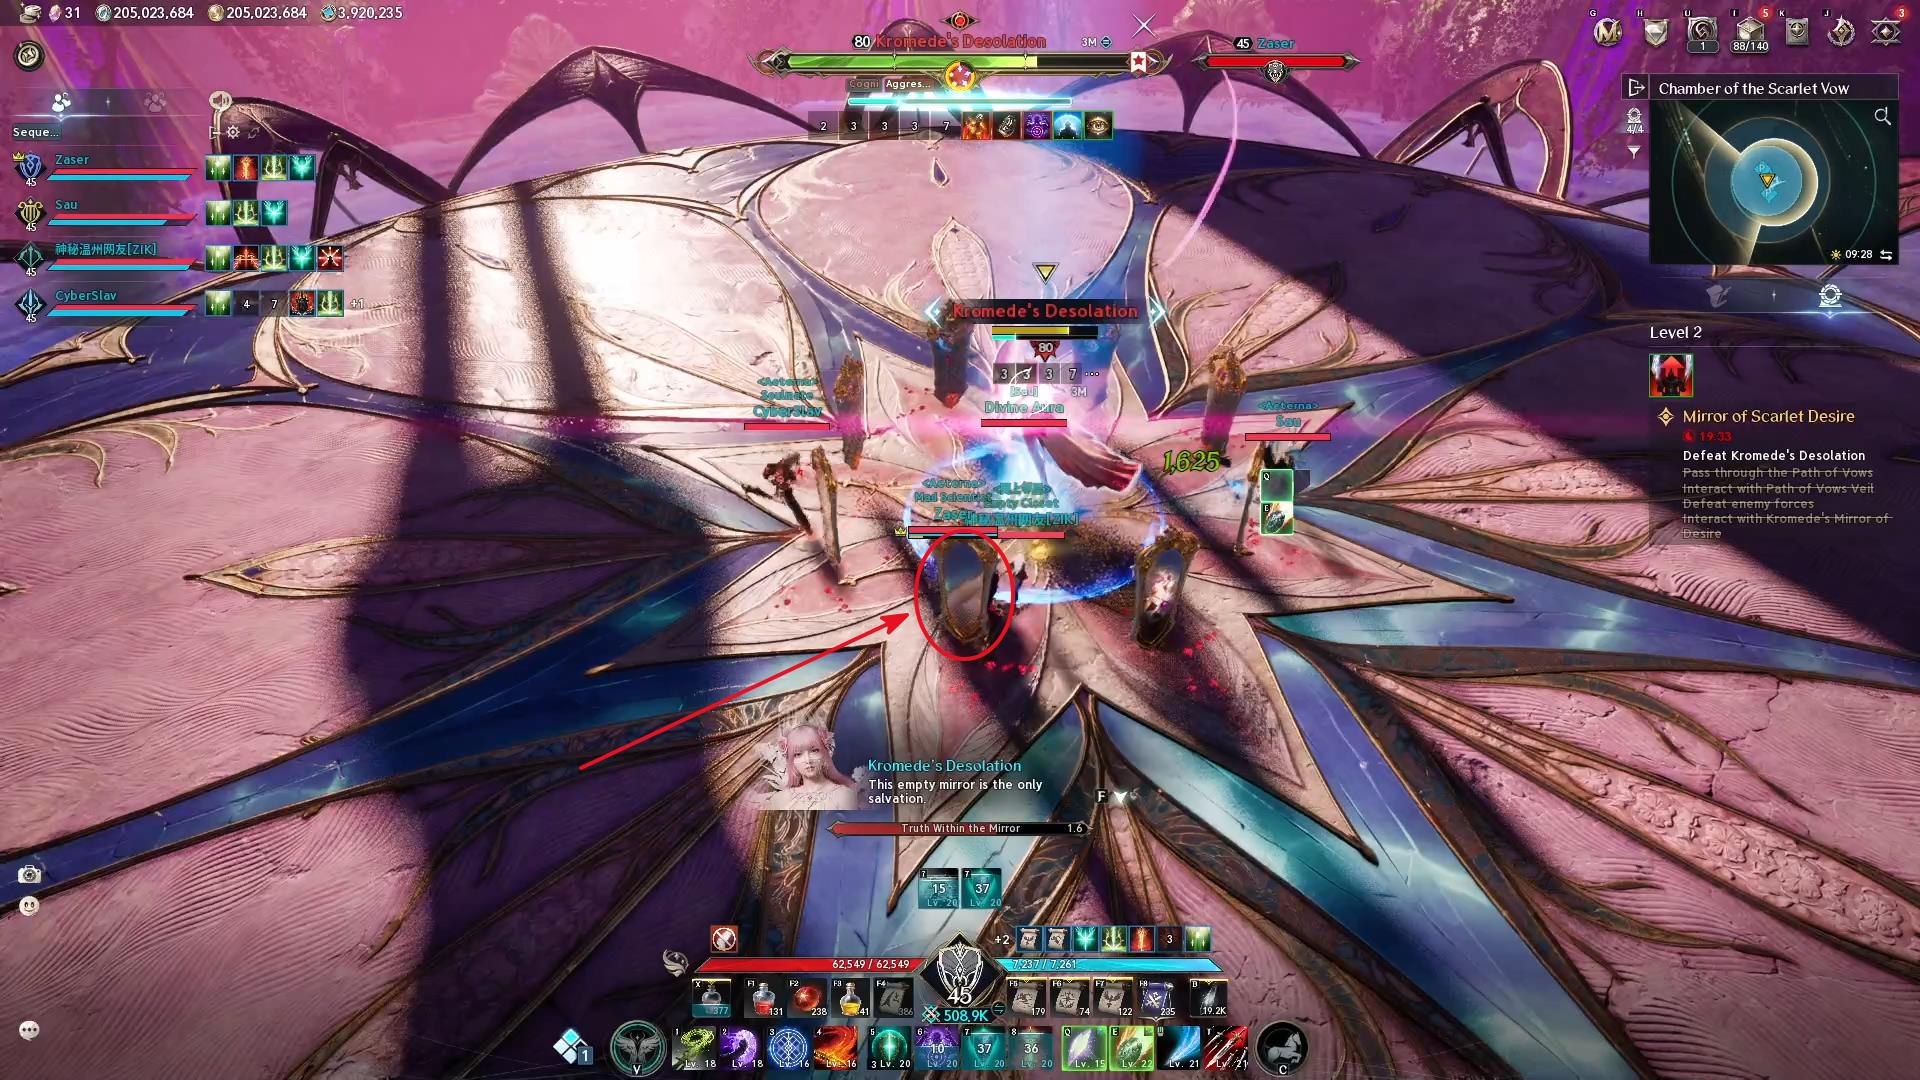
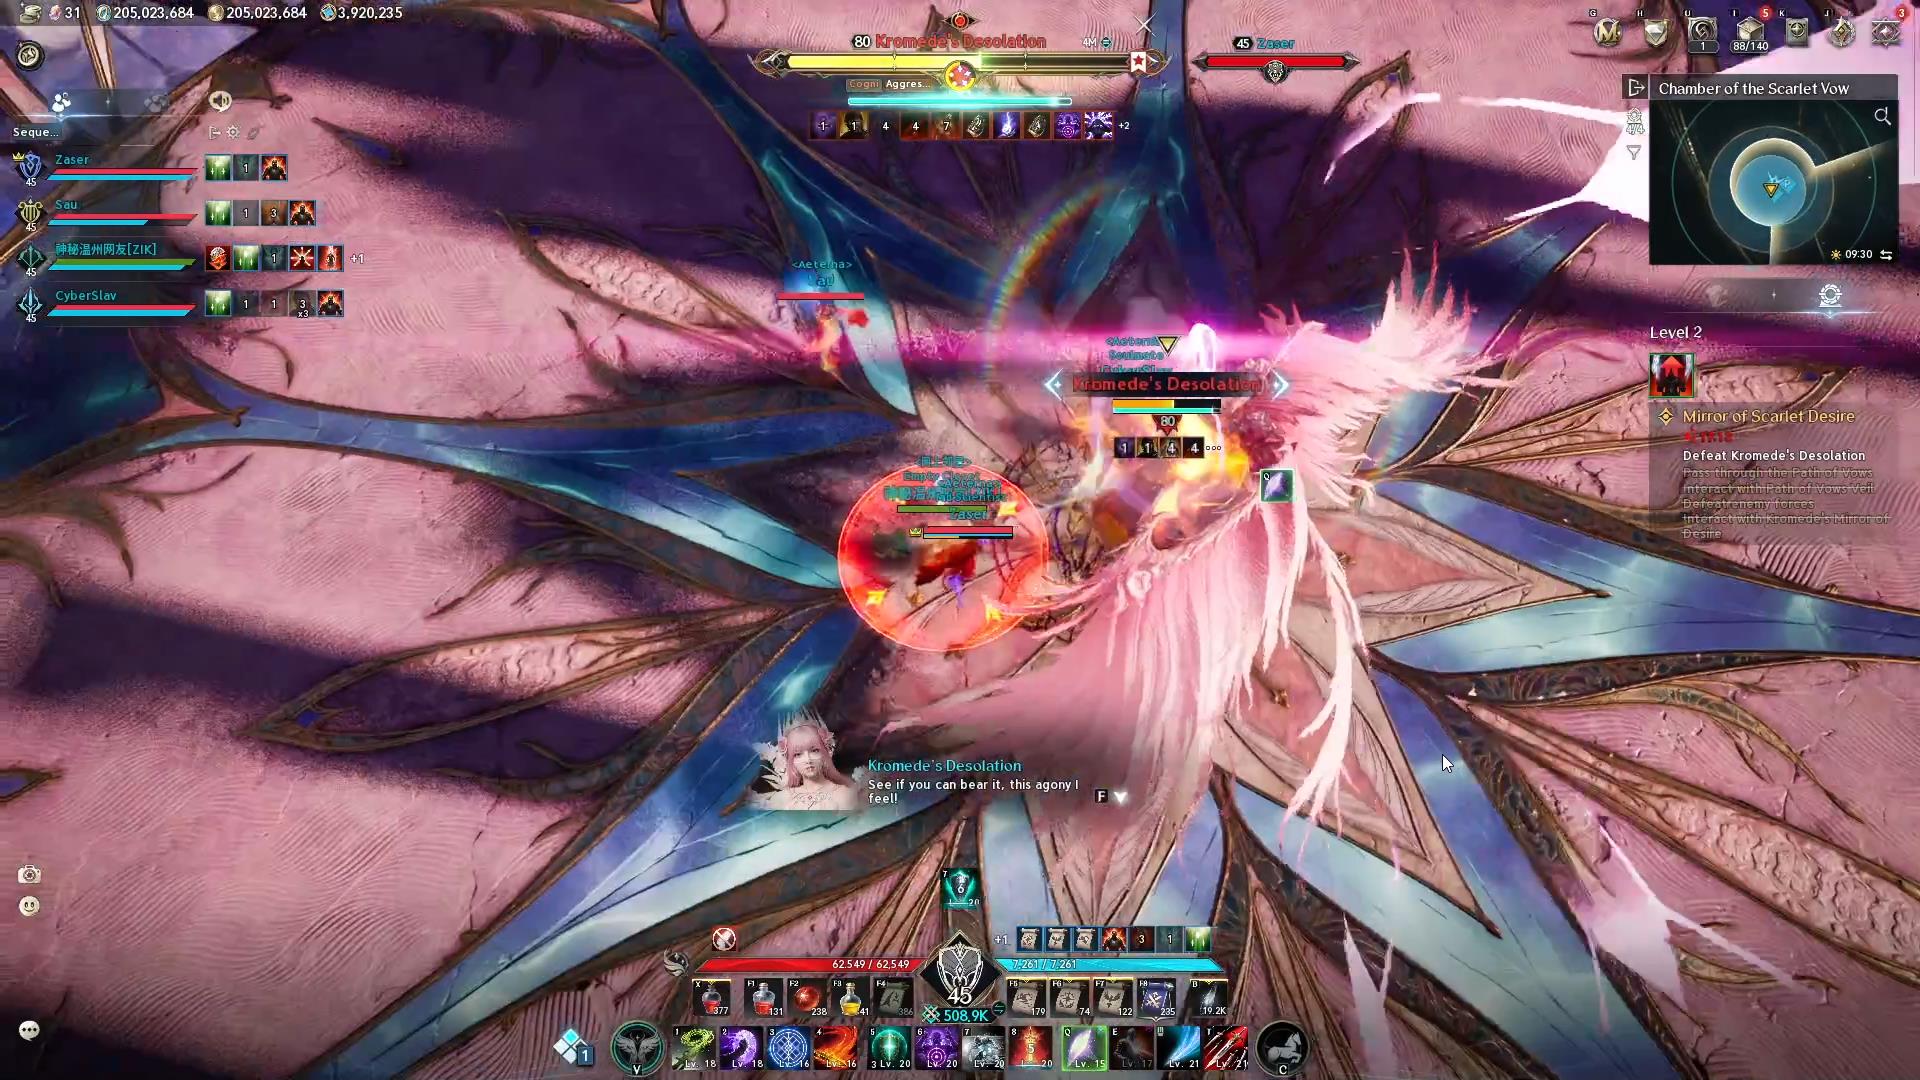
Final Boss — Kromede's Desolation
The fight consists of a series of punishing phases that test the entire team's reaction. Seven mechanics — some appear only on higher difficulty levels.
☠️Poison Zones
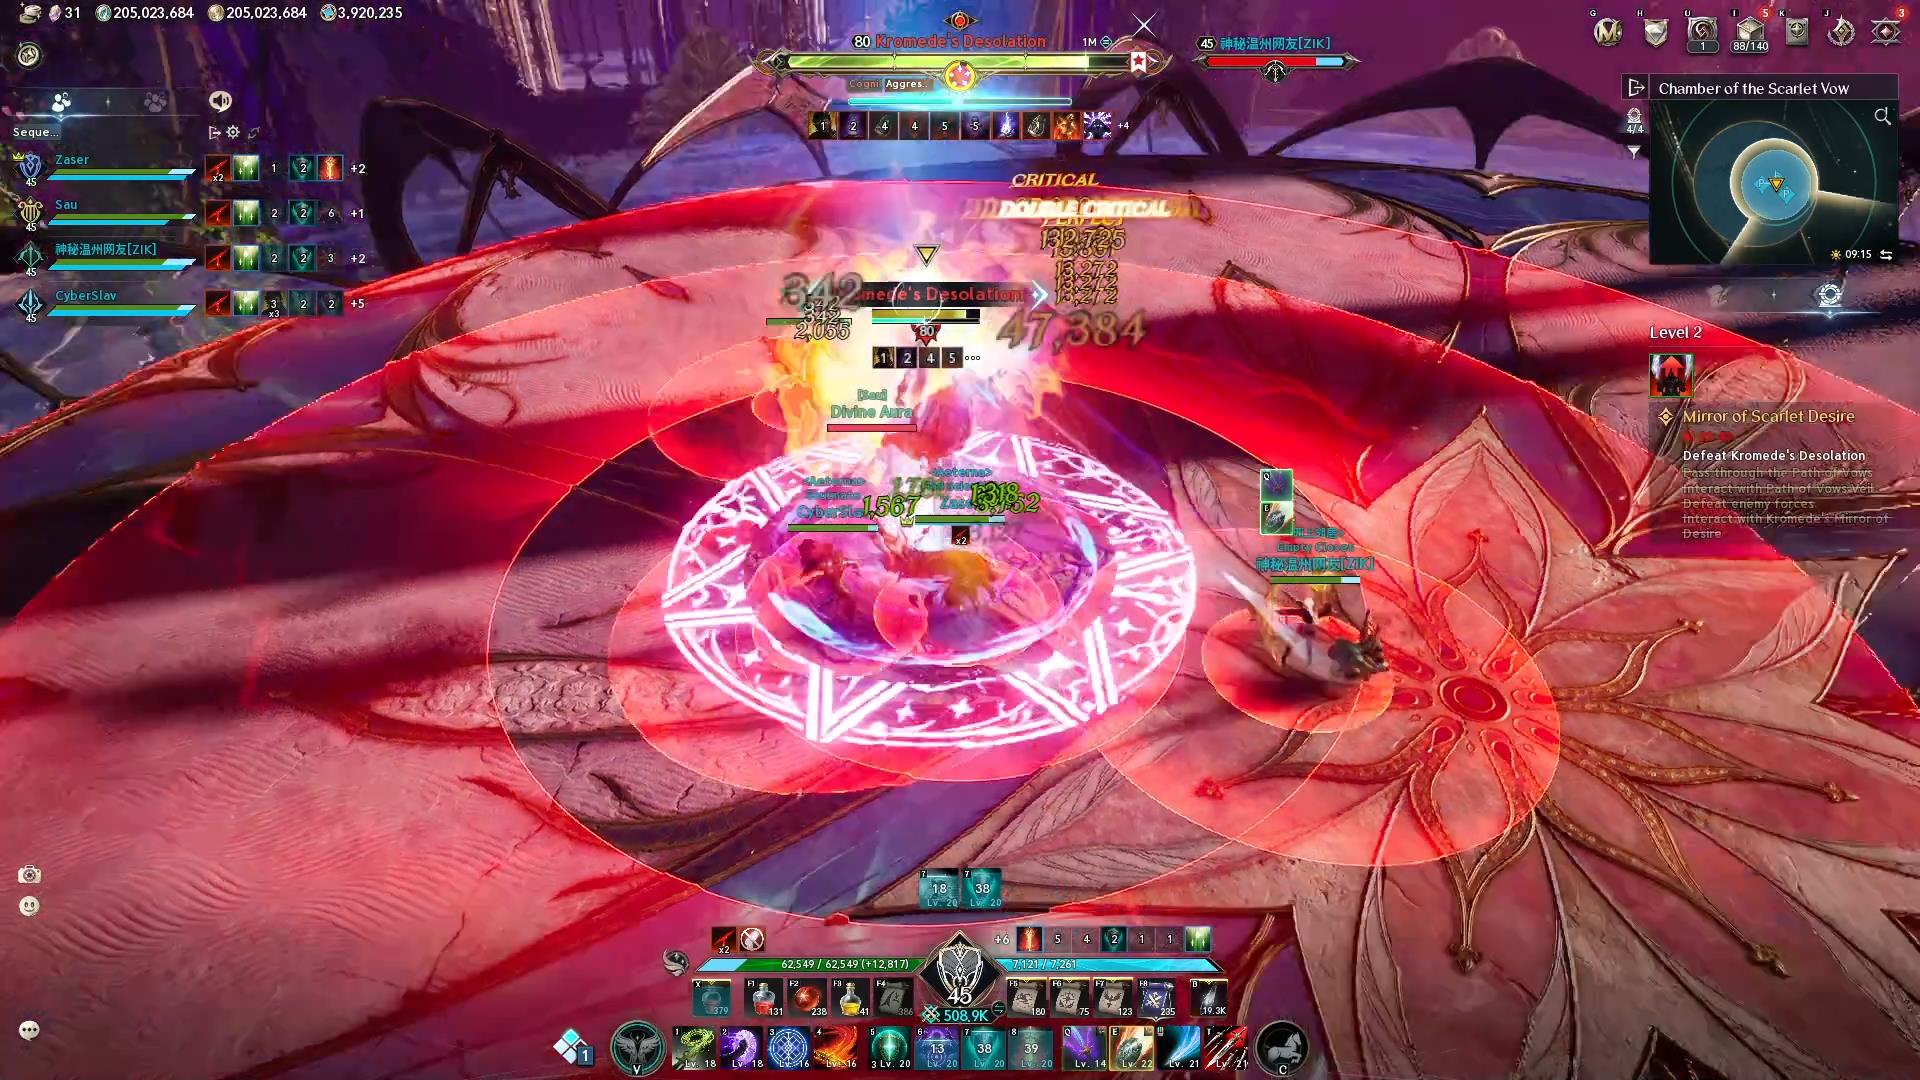
A safe zone forms around Kromede, and projectiles begin falling on players from above.
- Group up, preferably at the edges of the circle
- Wait for the projectiles to land
- Immediately move away — poison puddles appear at the landing site (~5 seconds)
- Leave a small space near the boss — melee classes need room to deal damage
🪞Mirror Puzzle
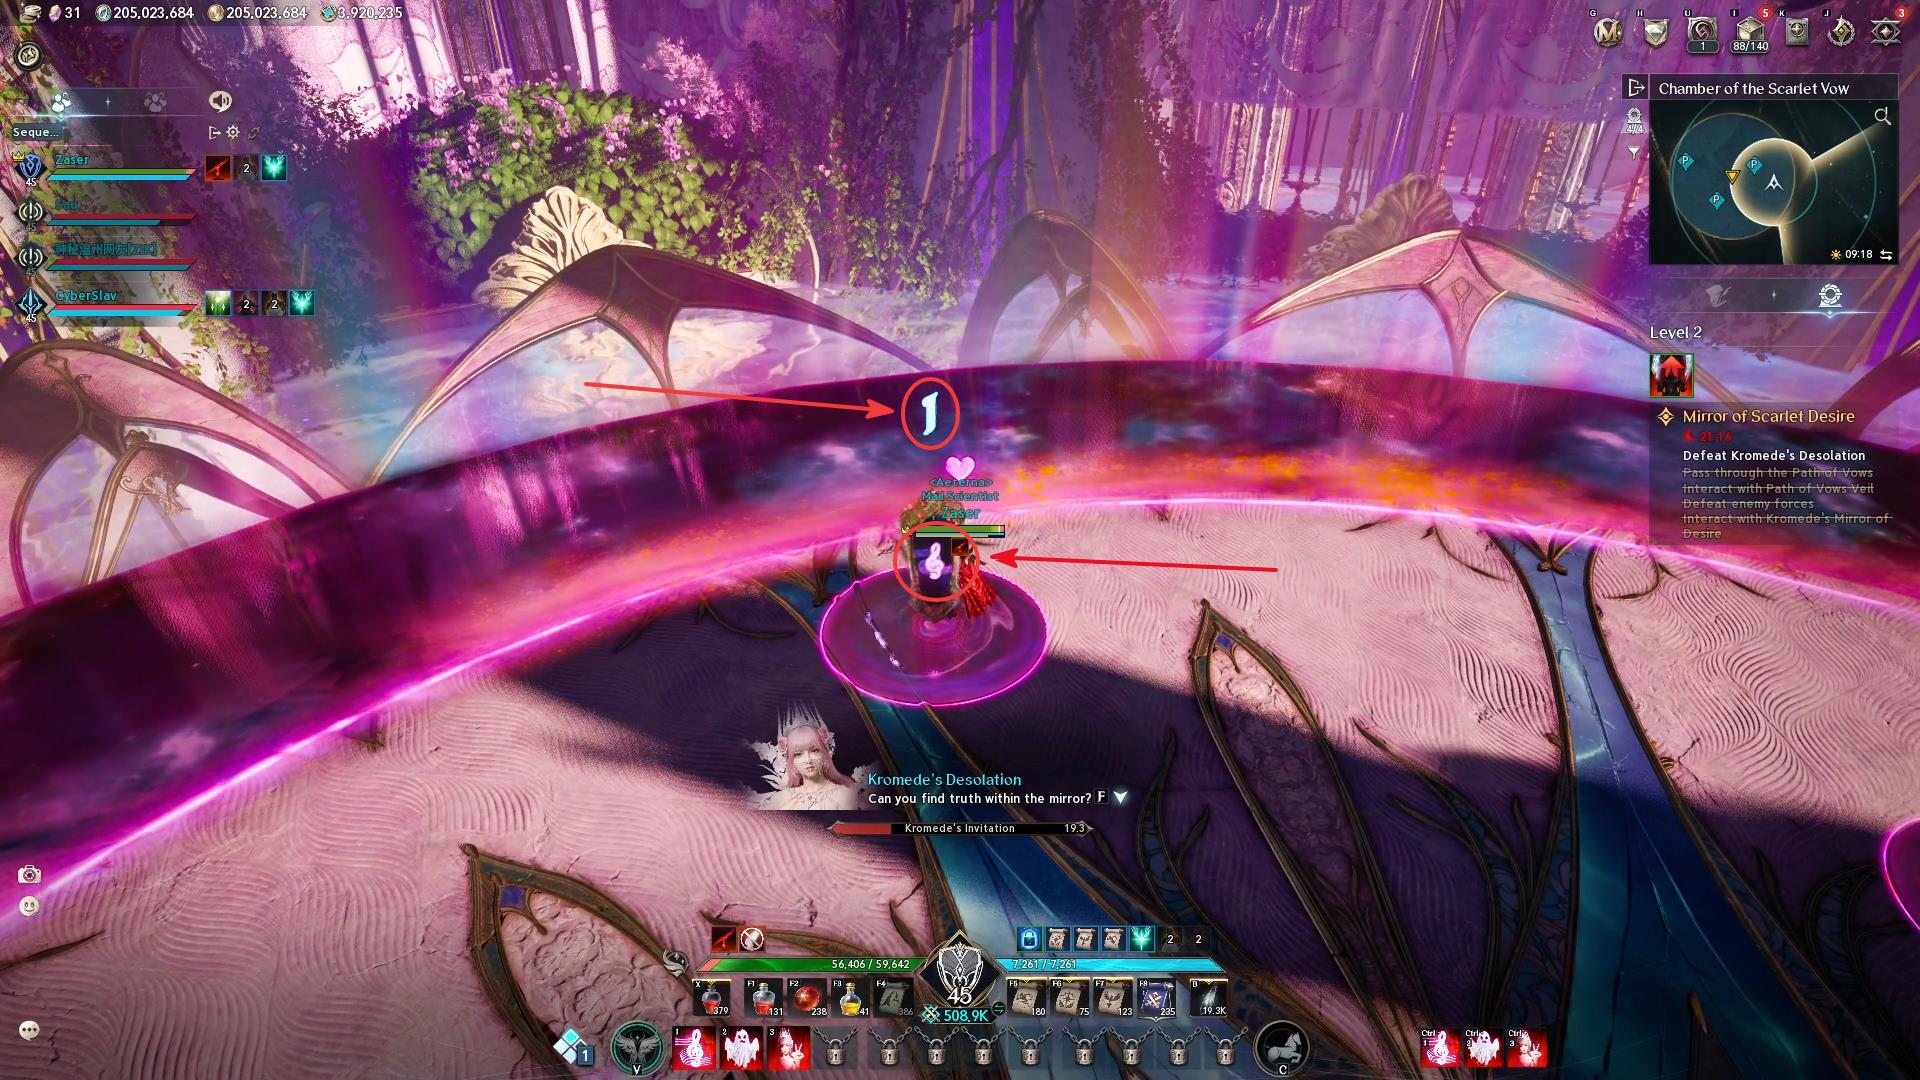
Mirrors appear on the arena with numbers and icons of one of three special skills: note, ghost, or girl.
- Number = number of players who must simultaneously use the corresponding skill at that mirror
- Tier 3 May require up to 2 players per mirror
- Tier 4 Up to 3 players per mirror
👁️Cone Attack — Finding the Real Mirror
8 mirrors appear close around Kromede. All show a girl's face — except one.
- Stay near the boss
- Quickly look around the circle — find the mirror without a reflection
- Stand behind it or in front of it
- Kromede will deliver a powerful blow to the rest of the arena area
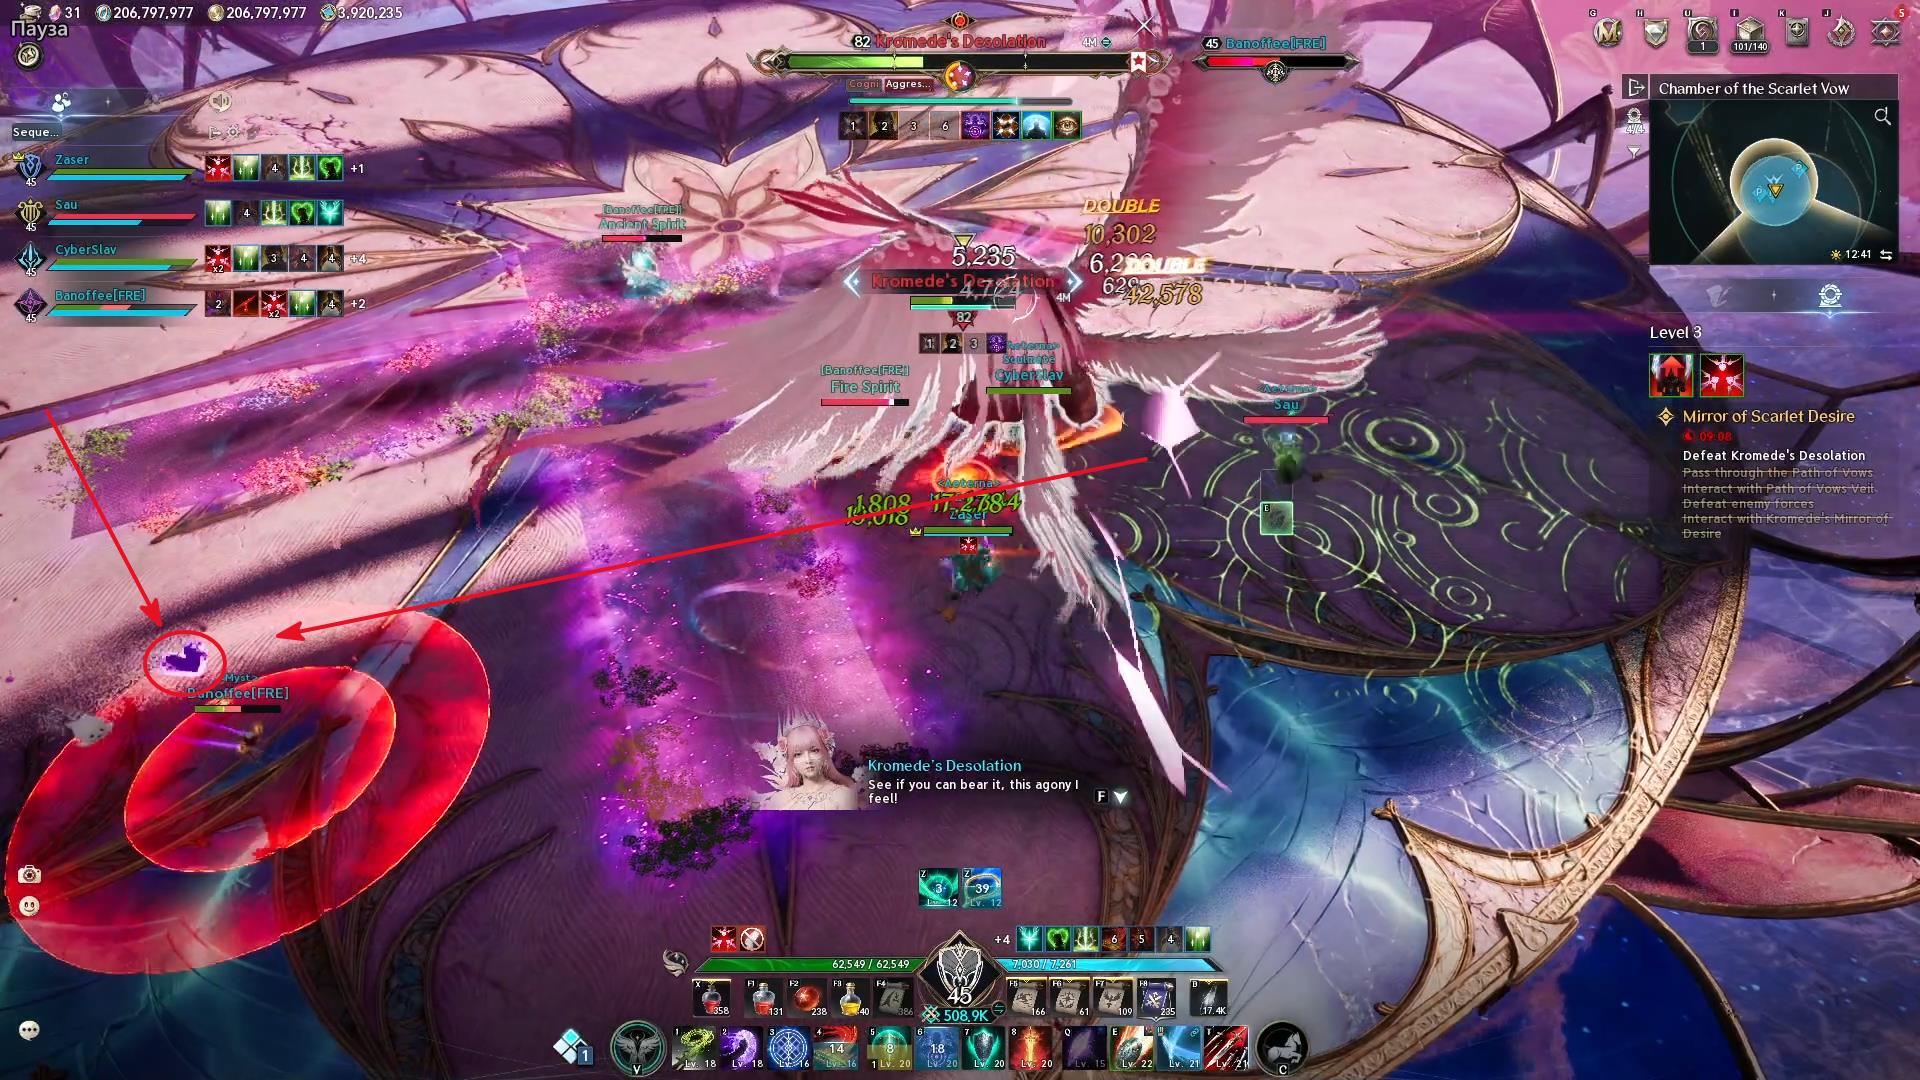
🎯Damage Split
A small red circle with inward-pointing arrows lights up under one player.
- You have 3–4 seconds — the entire group must run inside the circle
- Damage is split among all players inside
💥Red Field and Purple HeartsTier 3–4
If a player is far from the team, a red field (medium-sized) appears under their feet, which explodes.
- All players hit by the explosion will get a purple heart marker above their head
- A player with the heart marker who receives a second explosion dies instantly
- Strategy: As soon as the phase starts — spread out
- Once the heart marker appears above your head, remove the debuff with cleanse: Cleric / Chanter, or a yellow Healing Potion
🛡️Domes Tier 4 only
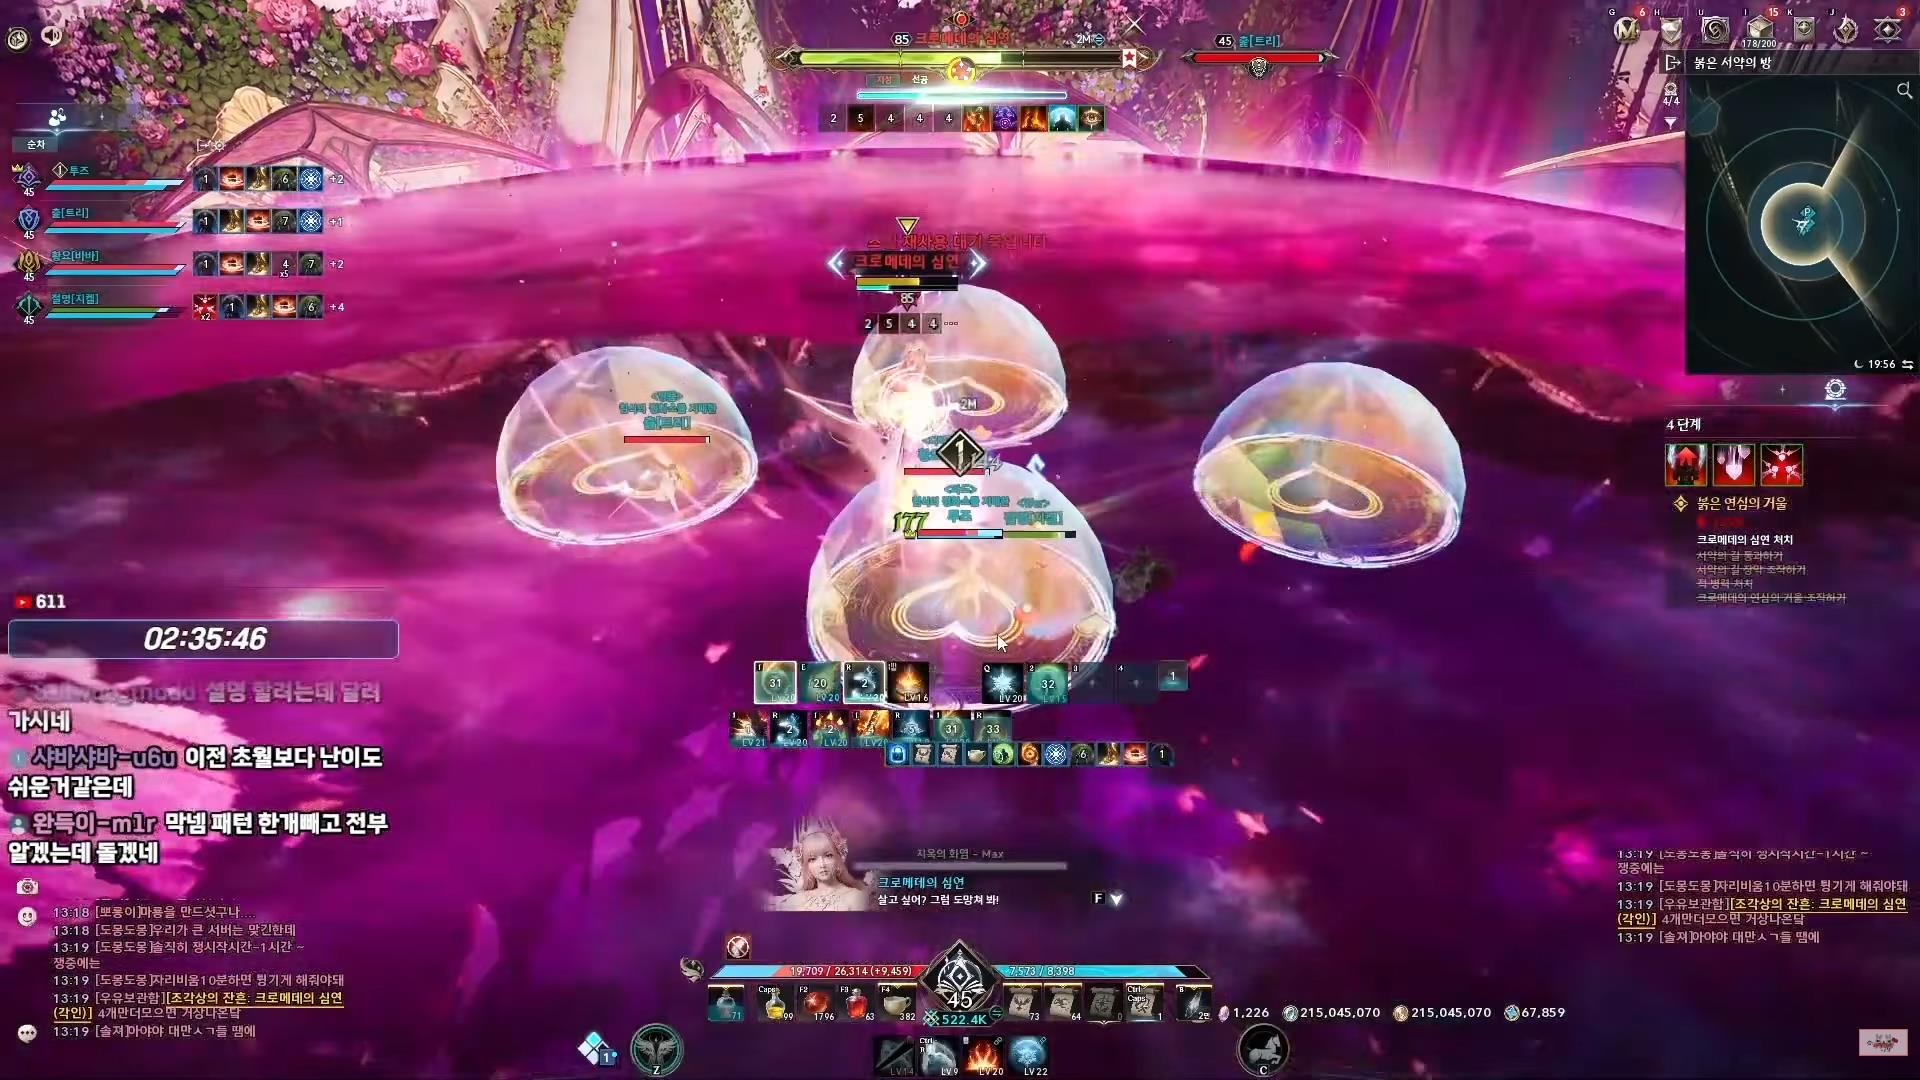
Green fields appear under all four players' feet — the future locations of the domes.
- Carefully spread out around the boss so the fields DO NOT overlap (the boss hits with a cone and can destroy all domes at once)
- The entire group enters one dome
- Watch who Kromede is targeting — as soon as the attack lands, smoothly move to the next dome before the used one disappears!
💖Control Phase — Run Through the Hearts (Stagger)
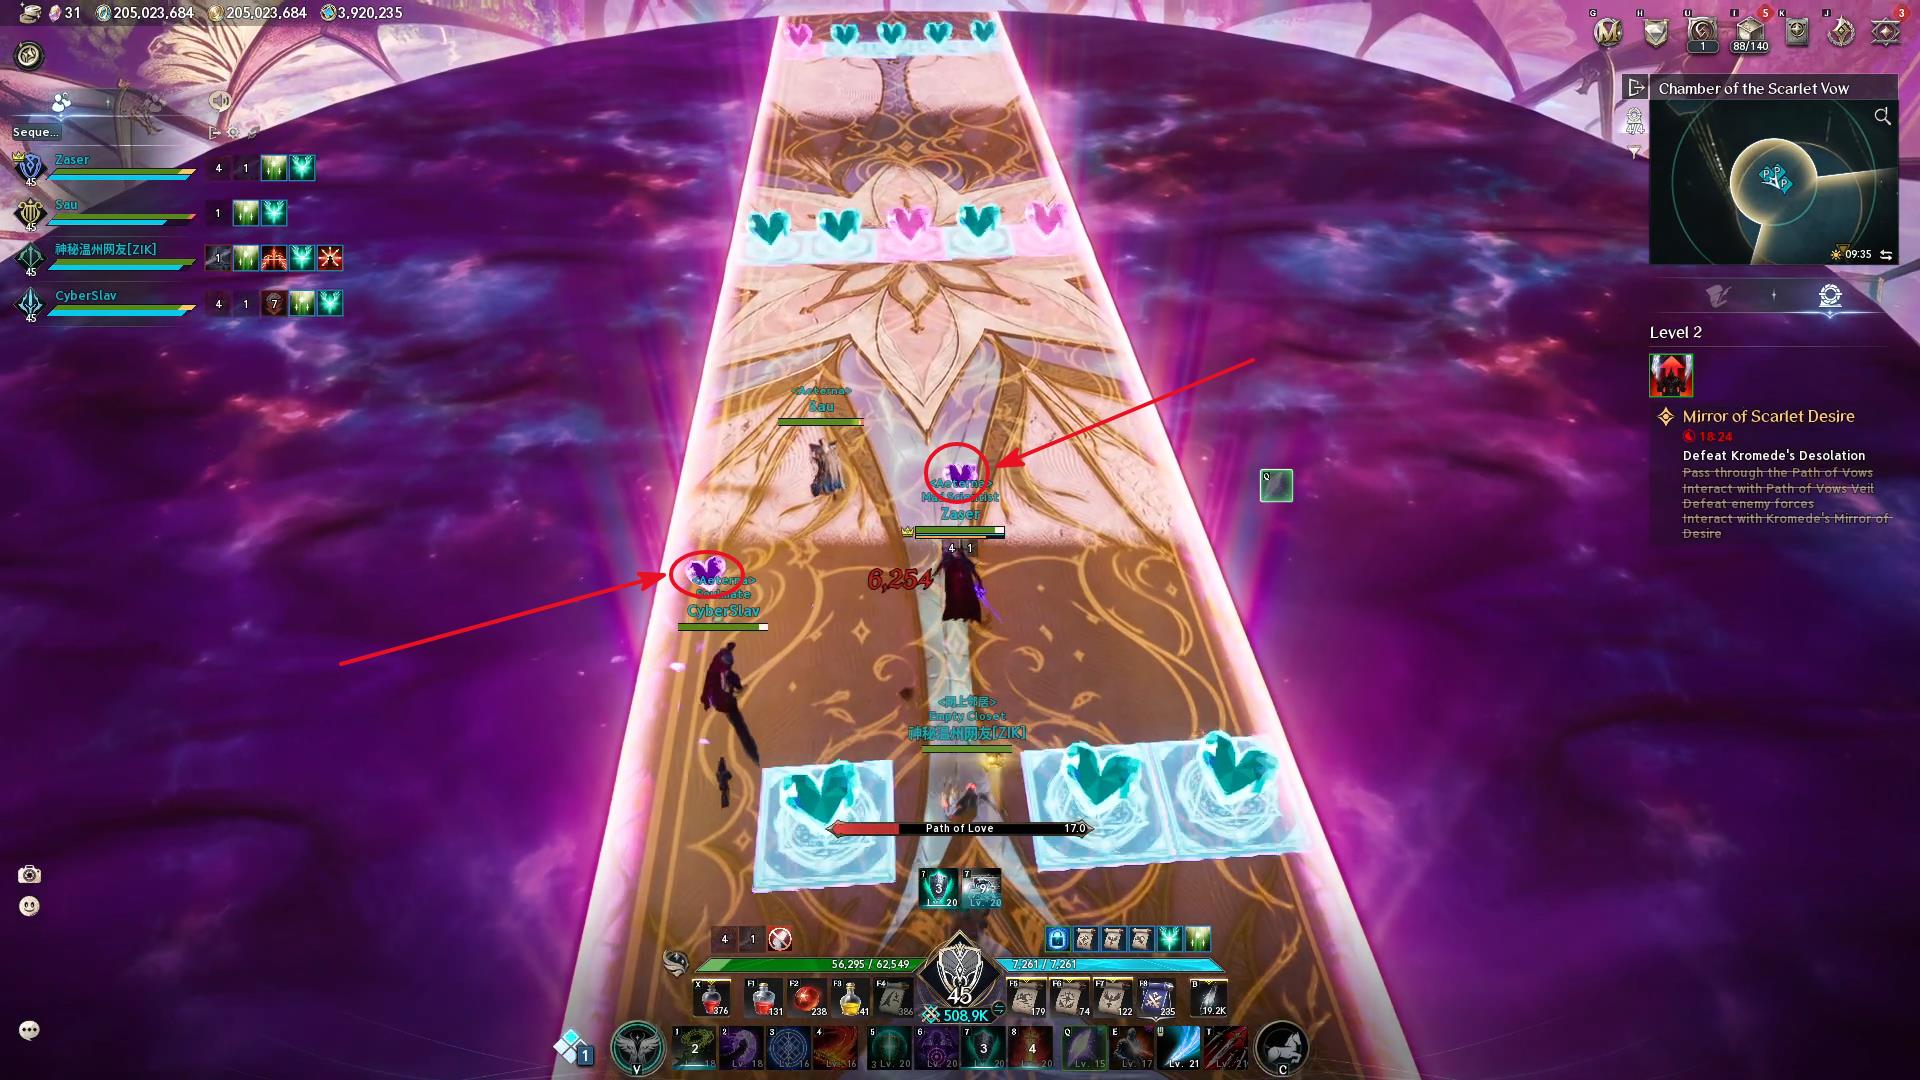
You have exactly 20 seconds to reach Kromede across the entire arena and break her stagger bar. By this point, keep all stagger skills ready; 2 characters are enough to fully charge the stagger.
Two types of hearts appear along the path:
🟢 Green Hearts
Don't touch! They stun the player and waste precious time.
❤️ Pink Hearts
They clear the path. One heart per player. After collecting, a purple marker appears above the head for 5 seconds.
Movement rules:
- Run together, break pink hearts strictly one at a time
- The first player breaks a heart — yields the path, waits for the marker to fade
- The second player breaks the next one, and so on
- Once you reach Kromede — deal maximum stagger damage