
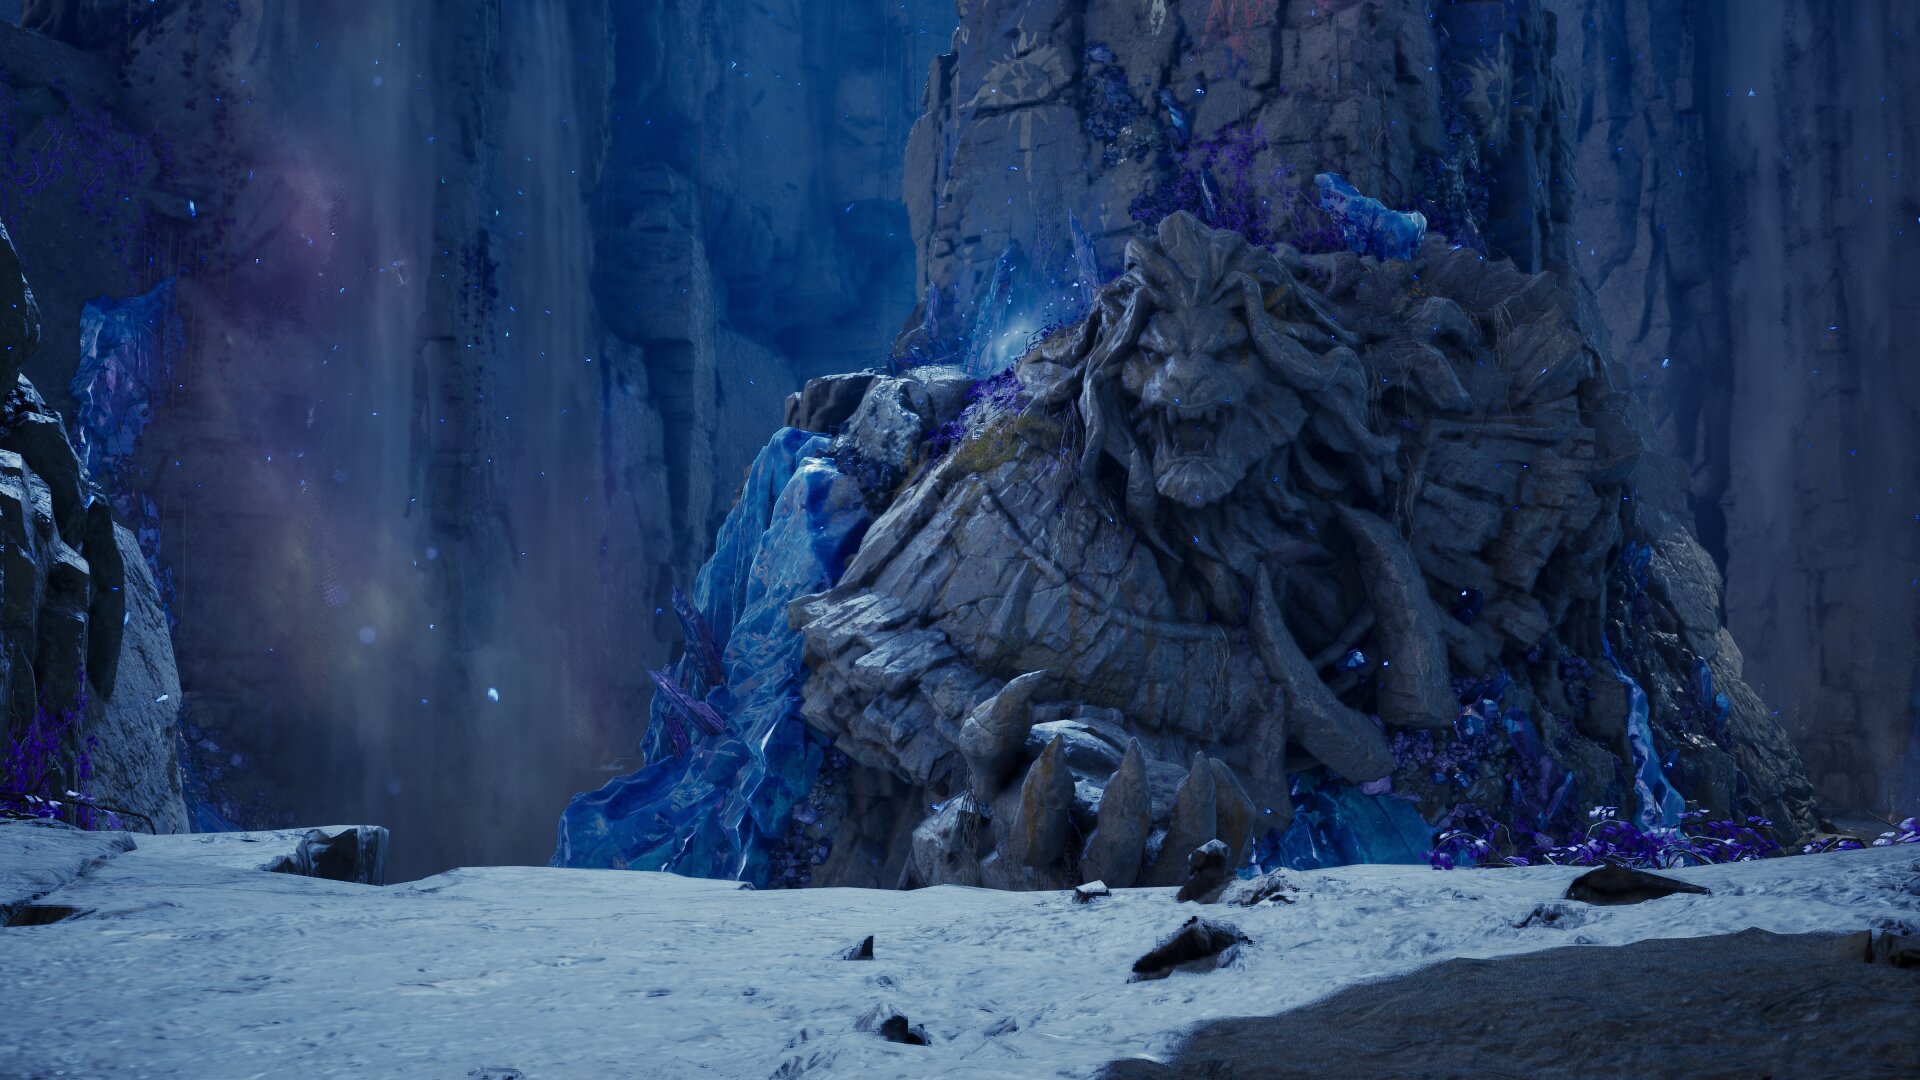
Abyssal Horn Den (Transcendence Stages 1-4) — Dungeon Guide
A detailed walkthrough of the Abyssal Horn Den on Transcendence Stage 4: three bosses, all the critical mechanics, and how to avoid the wipes.
A word before you start
Let's be honest — this is the laziest dungeon in Aion 2. The developers straight-up copied Ferocious Horn Den, repainted it in dark tones, shrank the arena (so you run around less), and made the bosses tankier — that's it. Maybe 1–2 genuinely new mechanics were bolted on, and nothing more.
The upside: if you already know Ferocious Horn Den, you basically already know this one. Same fights, harder numbers, one or two extra wrinkles. Learn those wrinkles and you're done.
Boss 1 — Kapu
Builds on the Ferocious Horn Den version of Kapu, but hits much harder and adds a clone mechanic.
👥Fear-Casting Clone
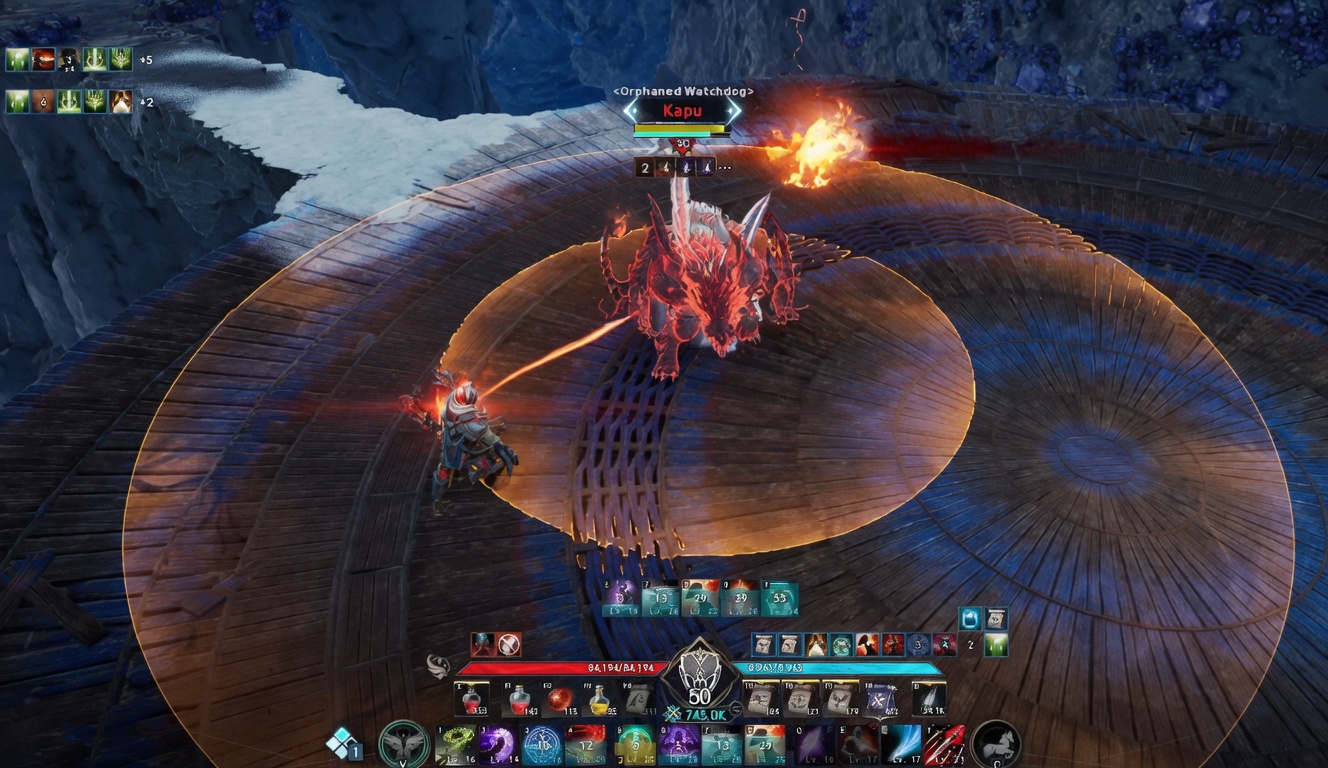
If the party lets the boss land four consecutive stacks of attacks on one target, a clone spawns and casts Fear.
- Rotate threat / mitigation so no single target eats four hits in a row
- A loose clone means an uncontrolled Fear on your group at the worst moment
⚡Lightning Balls
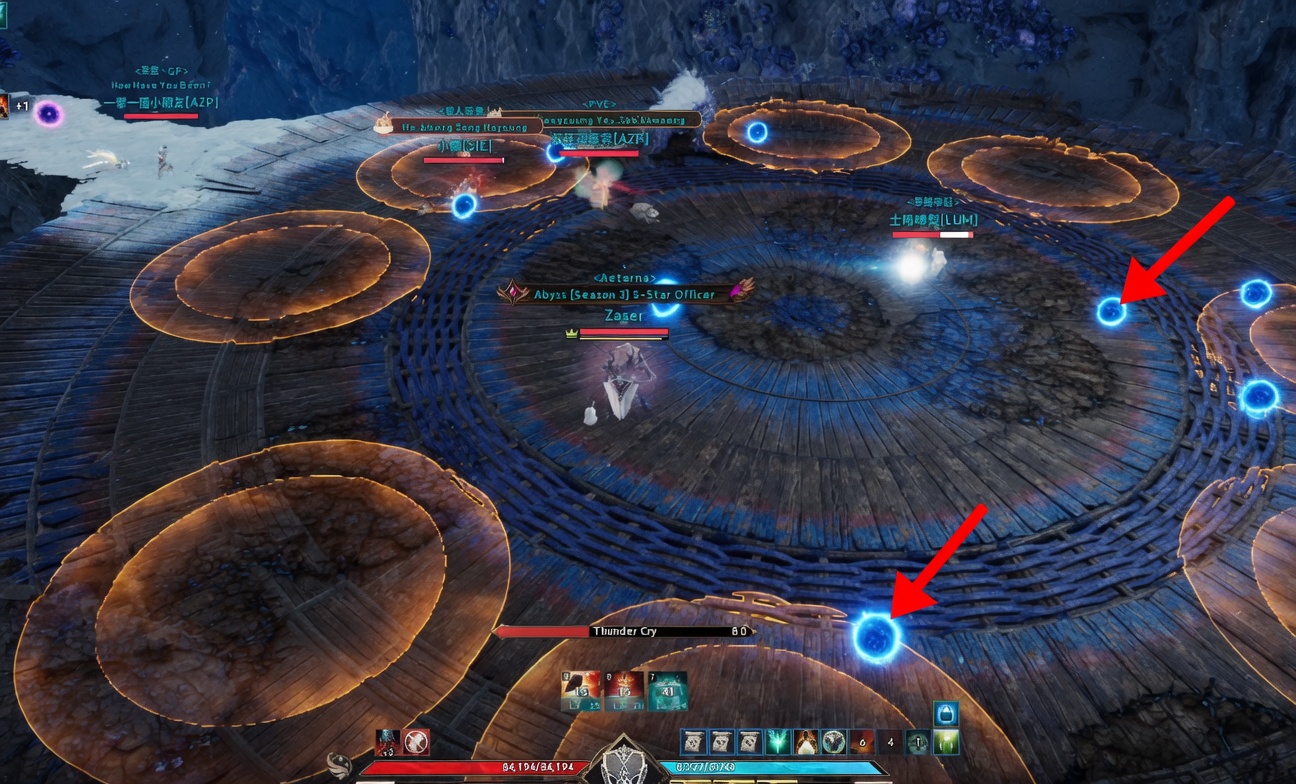
Kapu frequently leaps into the air and scatters small blue lightning balls across the floor.
- Every player gets a massive slow debuff — move early, collect as many balls as you can
- Leftover balls explode violently. One explosion is survivable; two will instantly one-shot you
Boss 2 — Dhakan
A necromancer-style boss: quick target switching, heavy defensive-button usage, and damage sharing.
🌩️Sky Strikes
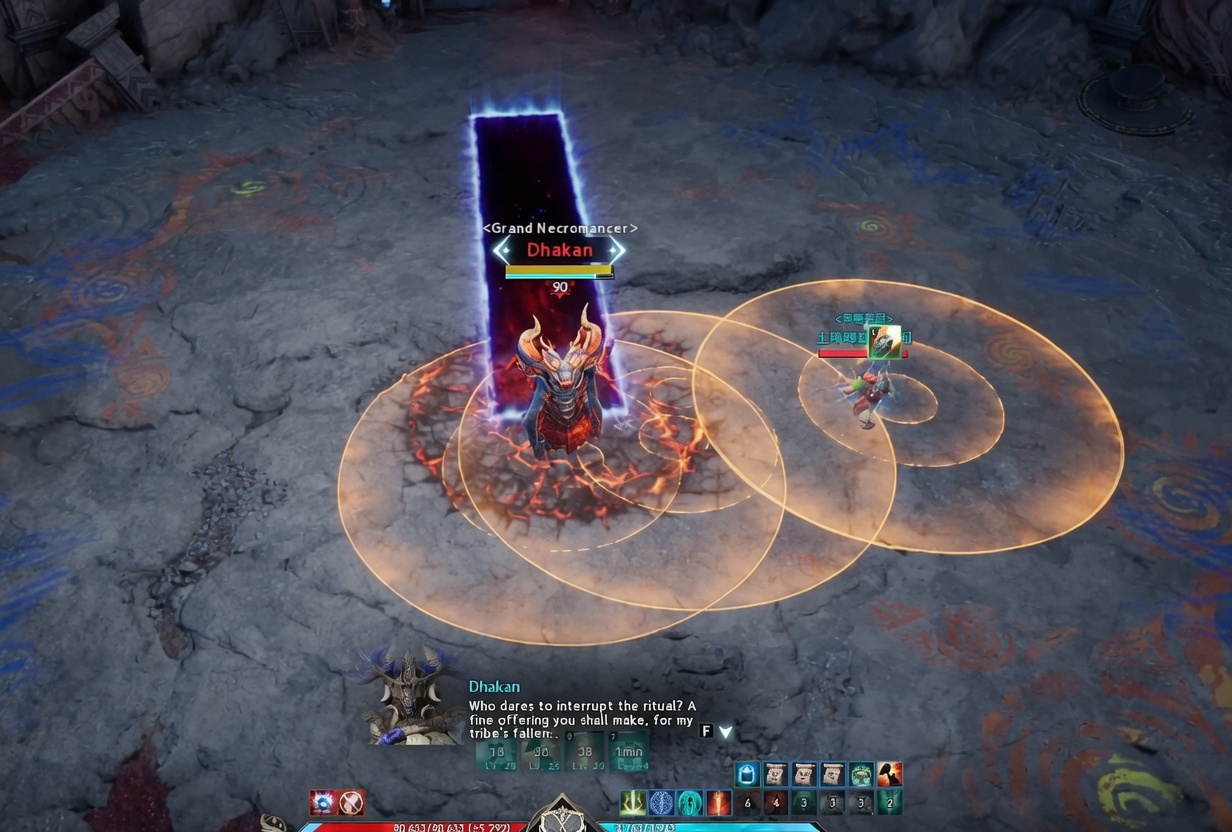
The boss calls down triplets of strikes from the sky.
- Use block, evasion, or shift to negate the damage
- Missing these defensive buttons can instantly wipe the group
👻Soul Devour (Healing)
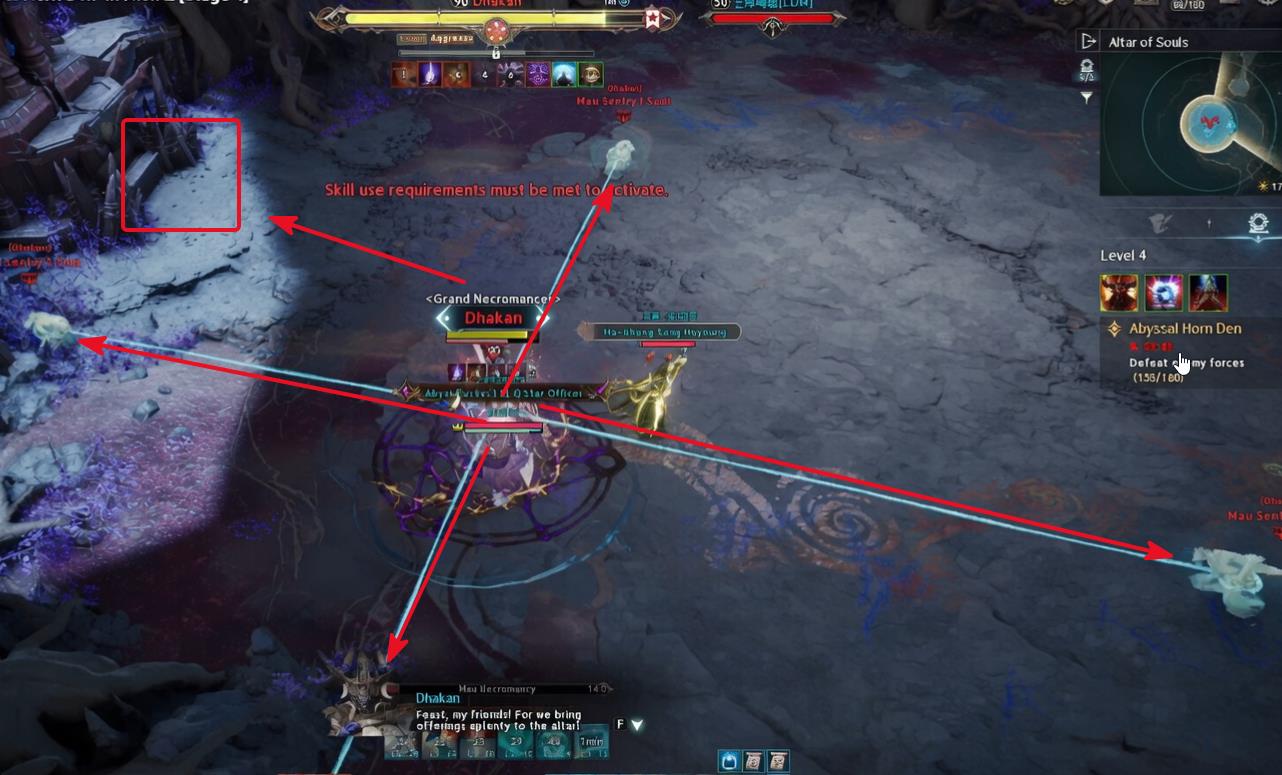
Dhakan summons 4 souls around him.
- One player runs to the side altar to grab a special attack buff
- The buffed player must quickly hunt down and destroy every soul
- Each soul that reaches the boss restores a huge chunk of his HP — let them through and the fight never ends
☠️Poison Pool Stacking
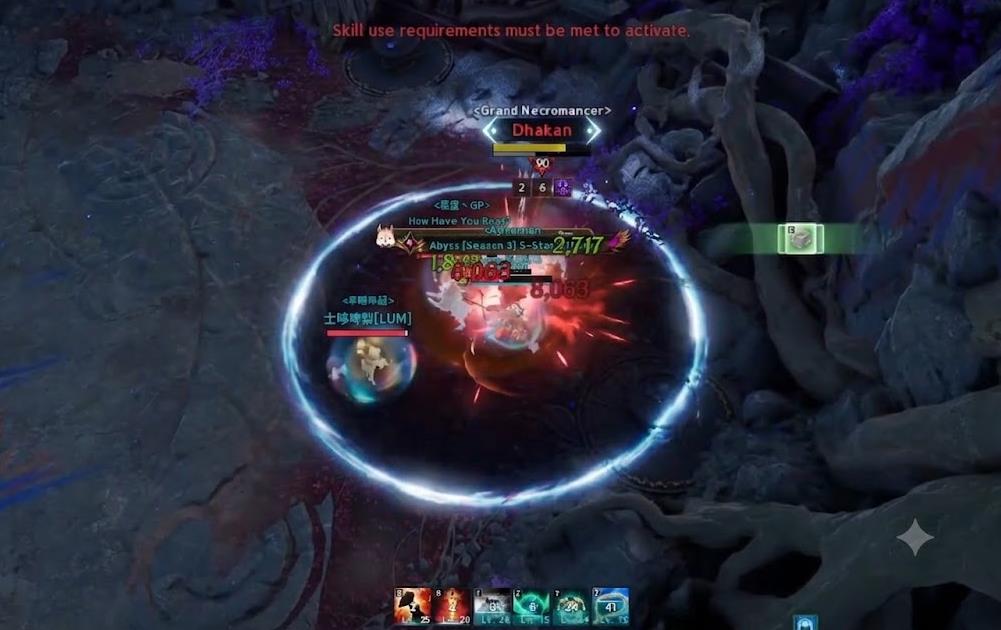
A toxic poison pool drops onto a random party member. The target can't simply walk out of it.
- All five party members stack inside the pool to split the incoming damage
- Leaving one person to solo it is a death sentence
💥Center Explosion
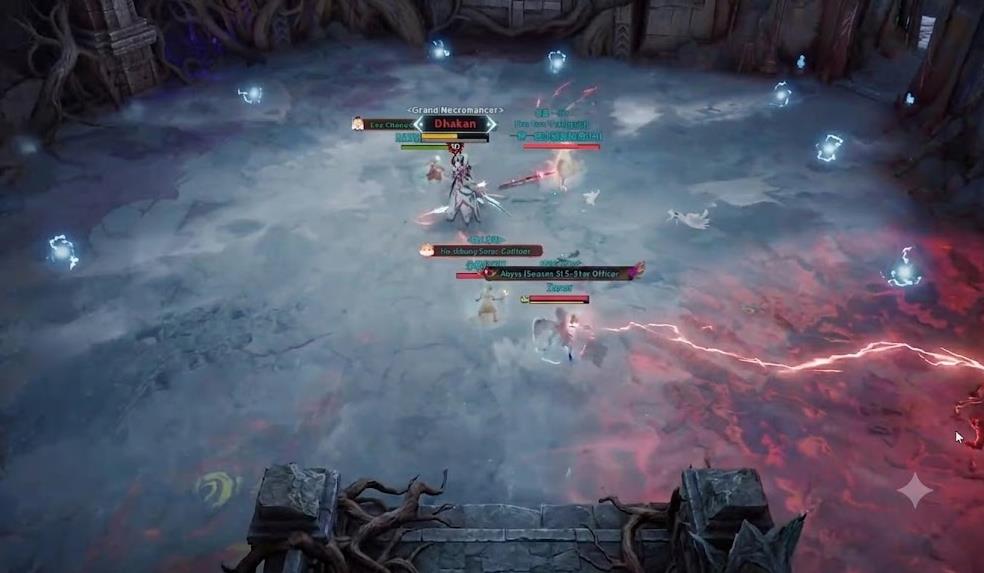
The boss teleports to the dead center of the room and pulls the lightning balls inward.
- Run as far out to the outer edges of the platform as possible
- Once he gathers all the balls he unleashes a massive, lethal explosion — distance is everything
Boss 3 — Gargaum
The final hurdle of Stage 4. Here Gargaum fights alongside an active clone, which makes his baseline mechanics twice as explosive and lethal.
👁️Target Mark & Clone Fear
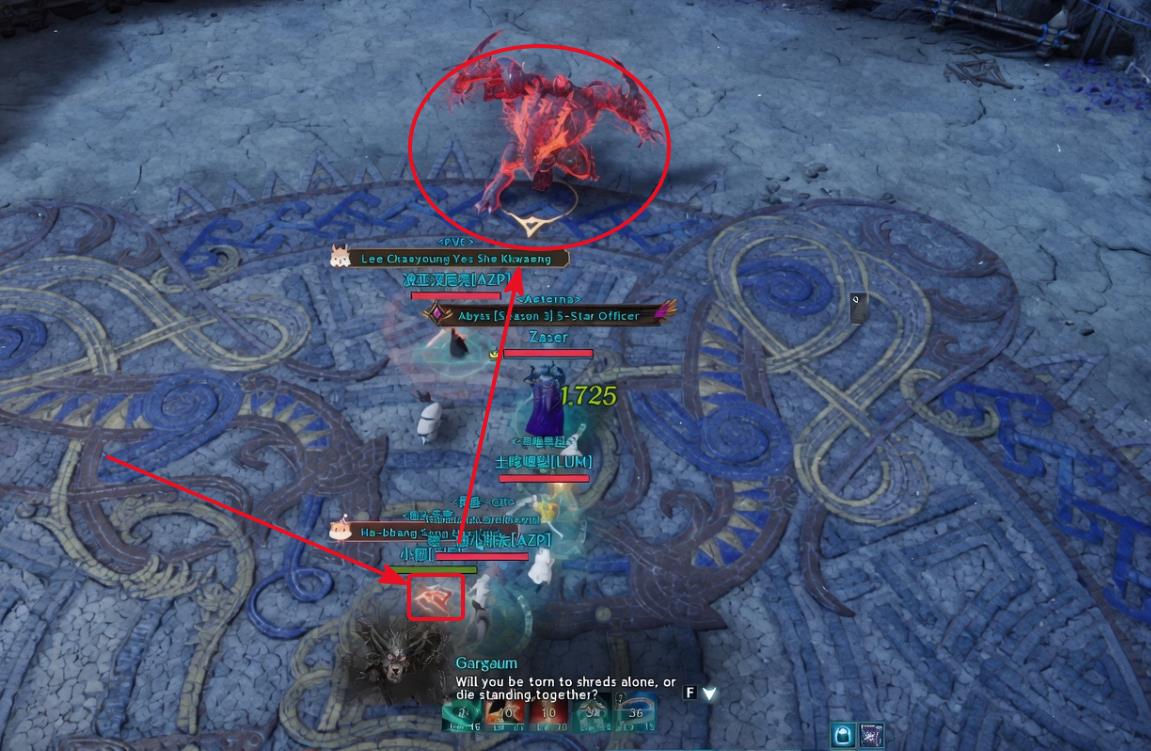
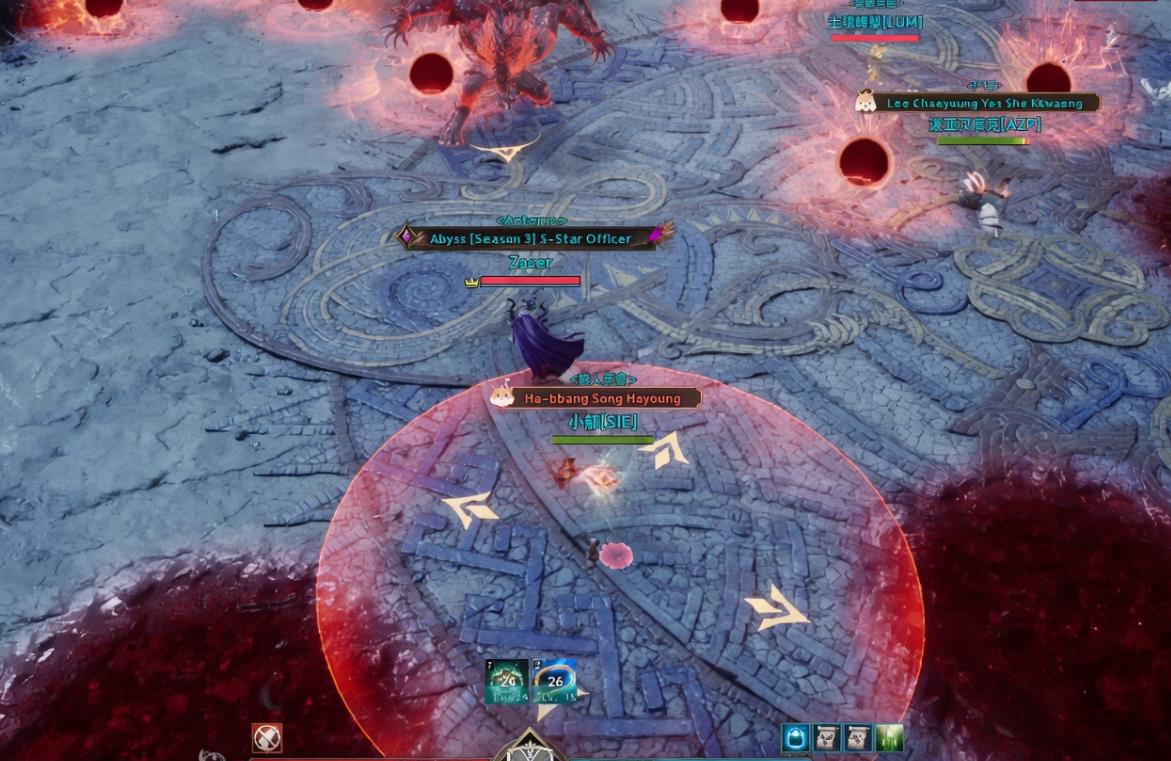
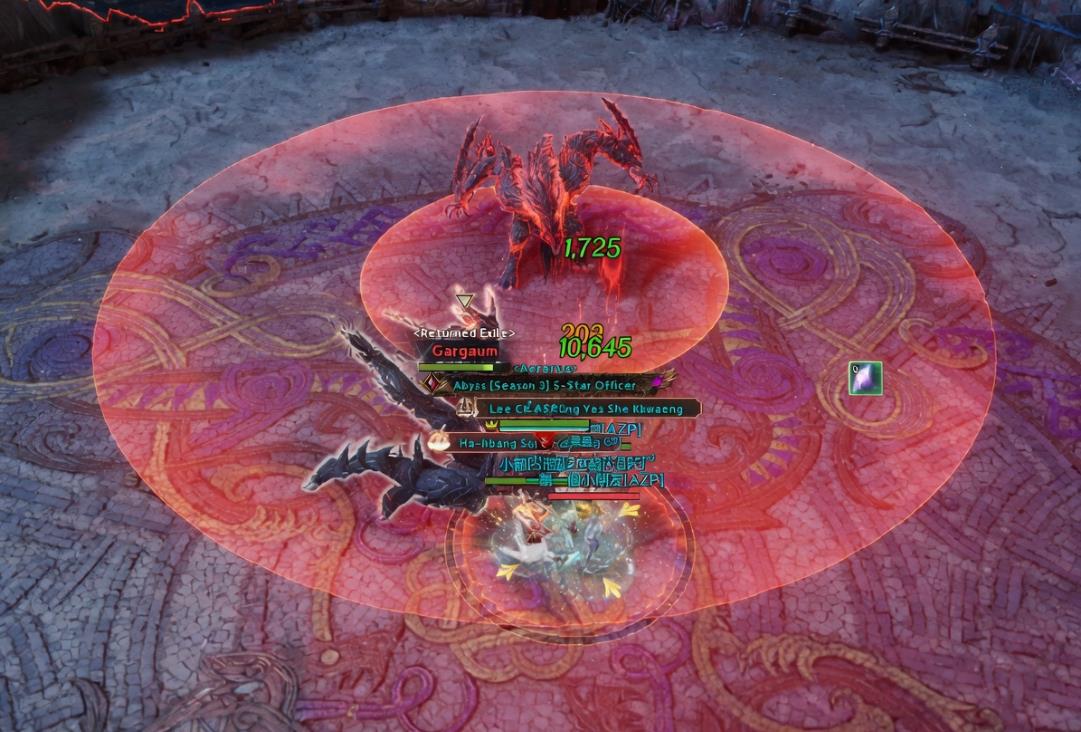
The boss leaps back and places an eye mark over a player's head.
- The party must immediately block the incoming clone rush
- The moment the clone is blocked it detonates, inflicting a wide-area Fear
- While 1 player blocks clone, it should be a player WITHOUT claws mark on him (if a player with those marks blocks clone he will die), others should either share damage or run away from marked player (on screenshot above they share dmg, and on one below you need to run from it)
🎯Ball Interception
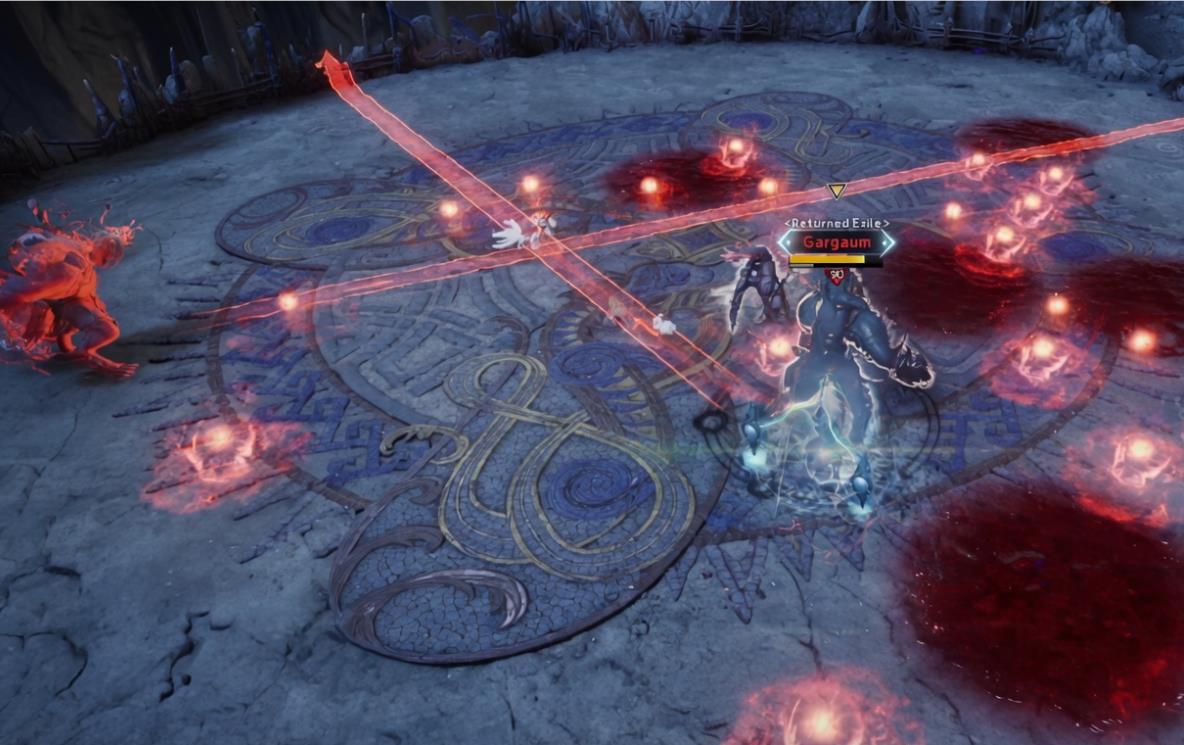
The boss and his clone pick a player and hurl targeted projectiles at him.
- Other teammates must physically step into the line of fire to intercept the balls
- A ball that reaches its target explodes and deals 70–80% HP dmg to players around him
🕳️The Black Hole Phase
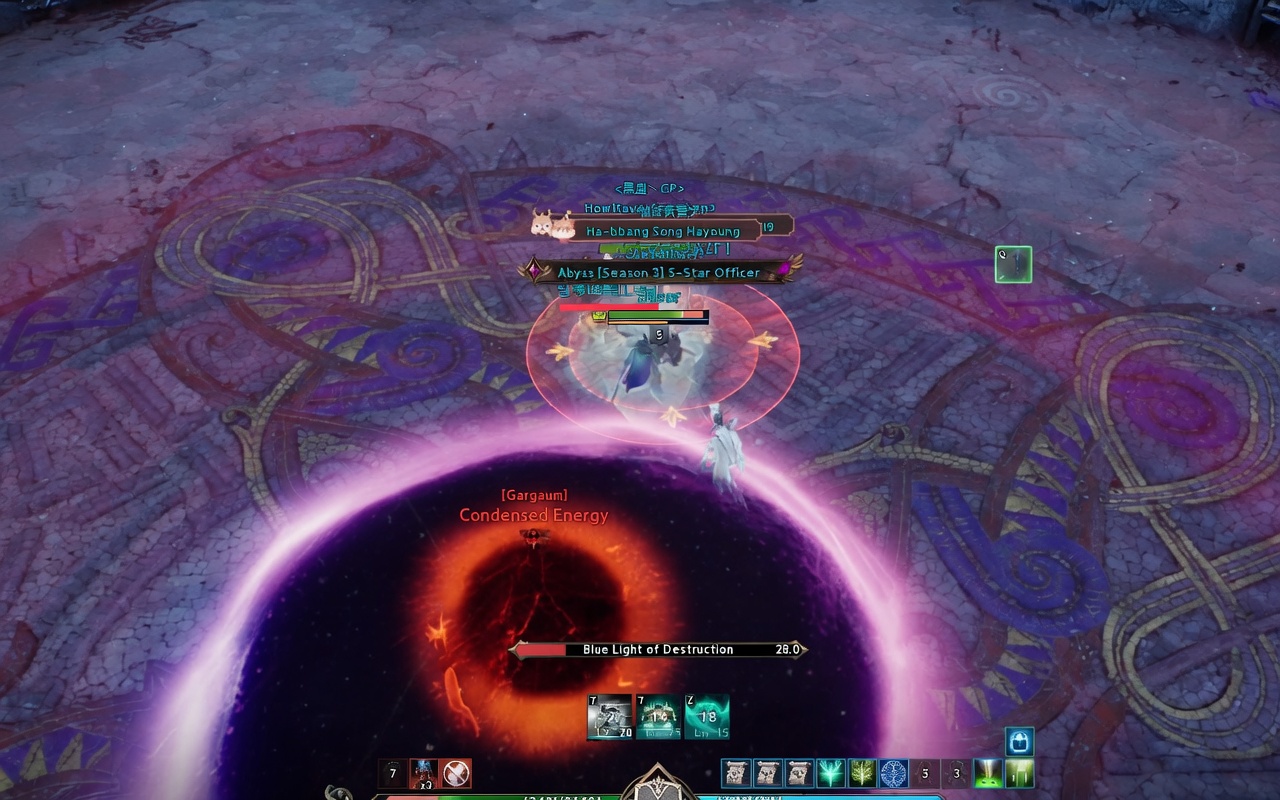
The signature mechanic of Stage 4. The boss channels a massive black hole on one side of the room.
- Sprint to the safe side of the arena
- The boss channels a damage-share link — stack tightly to distribute the damage safely
- Surviving the split triggers a player-centered explosion that deals damage back into the black hole
- Execute this damage-share exactly three times to shatter the black hole